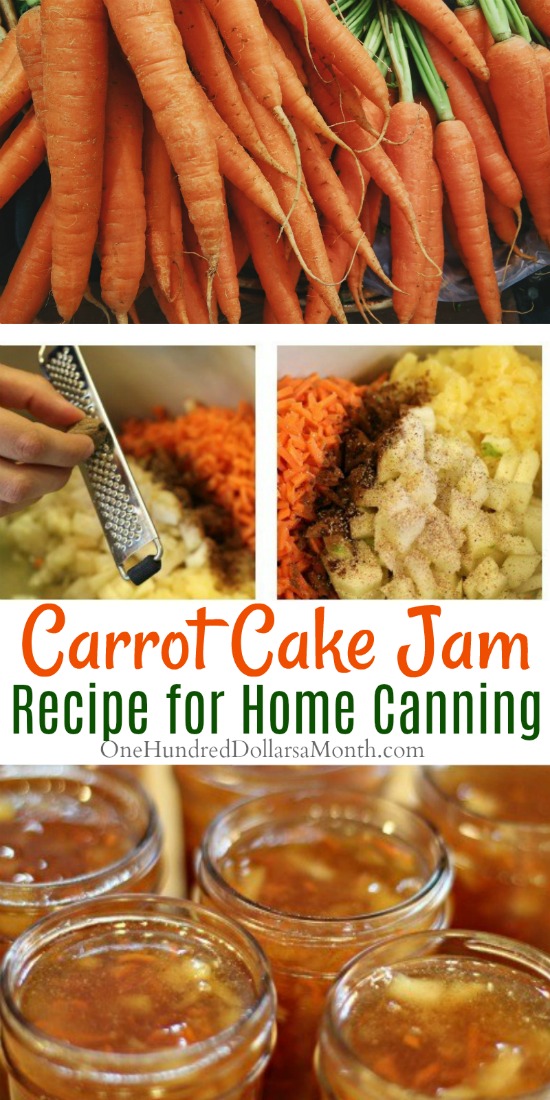
Carrot Cake Jam Recipe
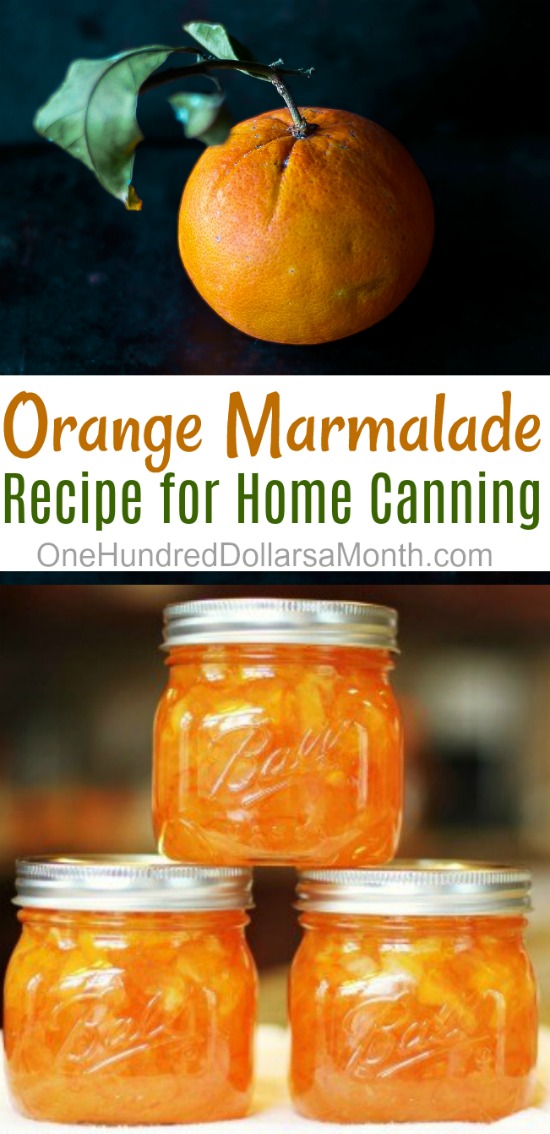
Orange Marmalade Recipe

Meyer Lemon Marmalade
Mavis Garden Blog – Raspberries, Squash and Moss
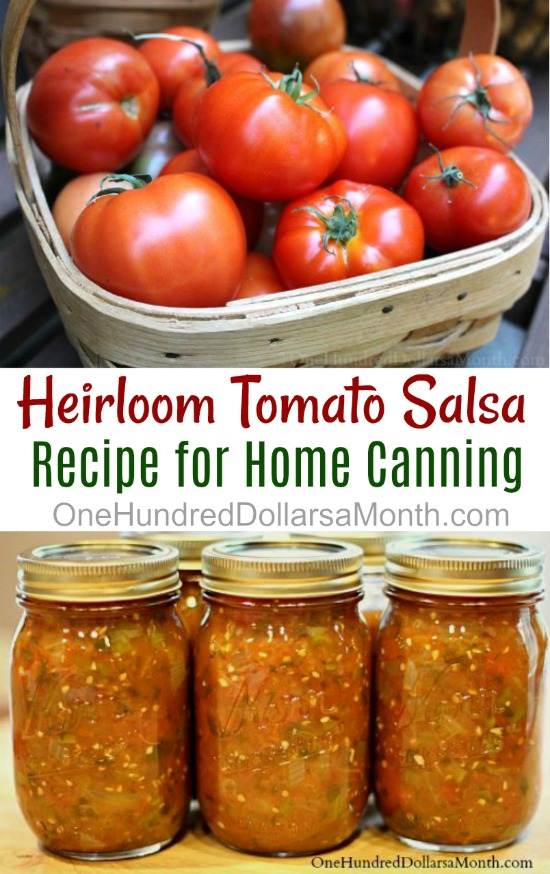
Heirloom Tomato Salsa Recipe
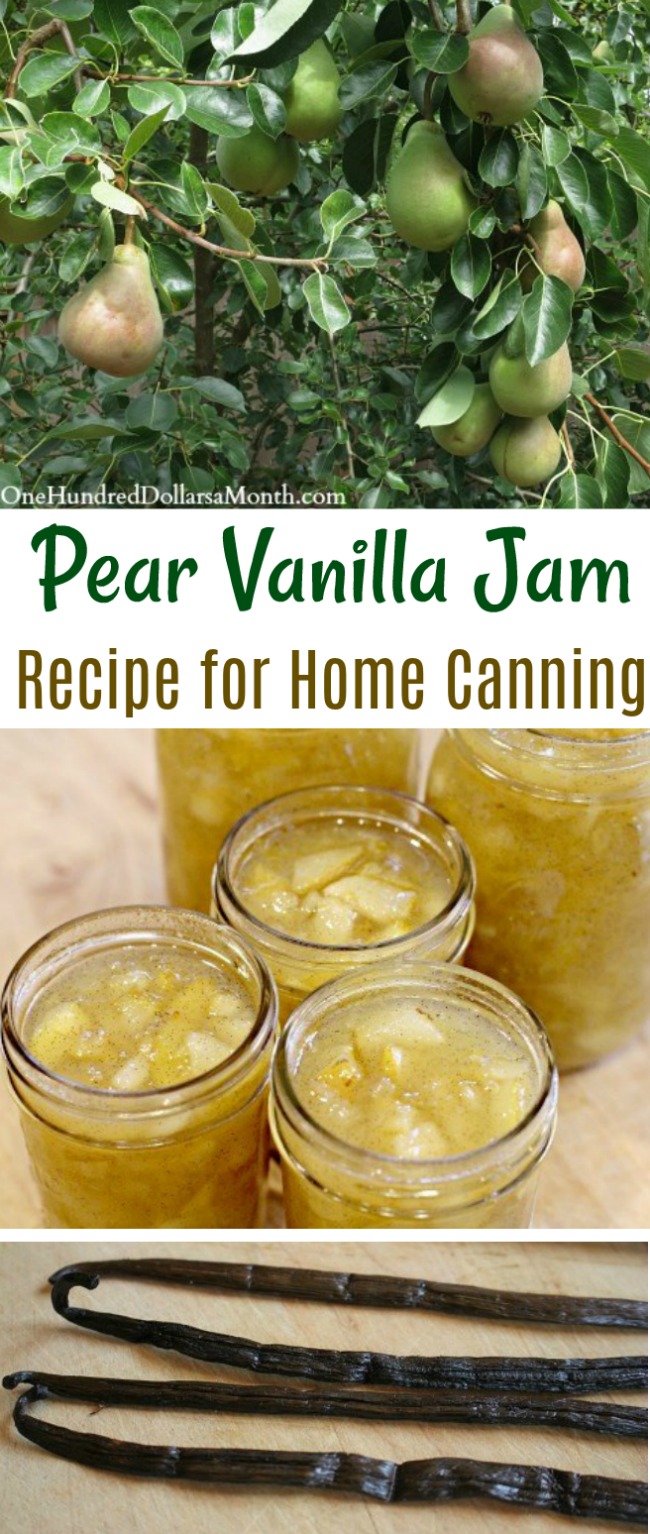
Canning 101 – Pear Vanilla Jam Recipe
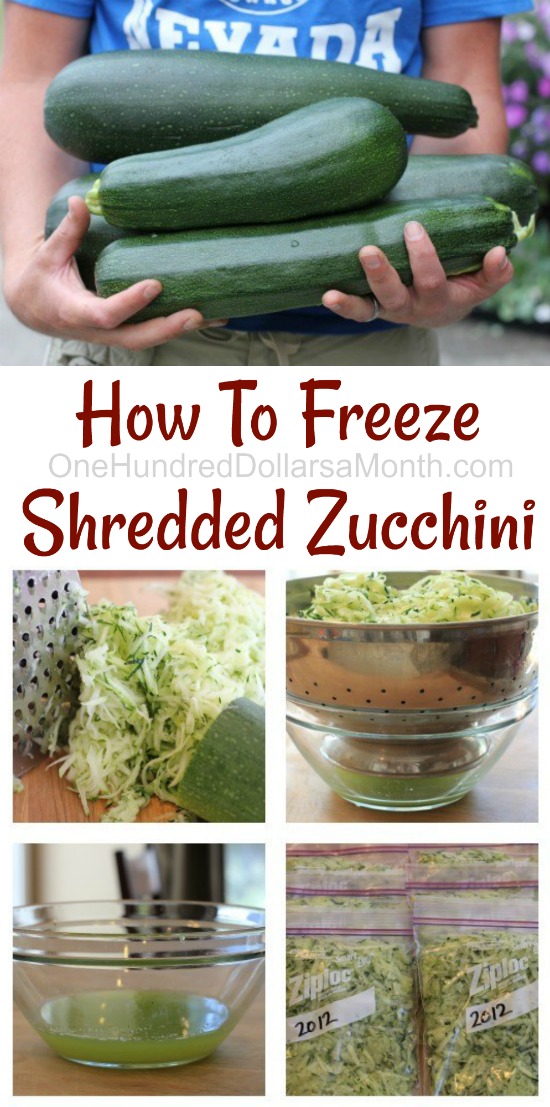
How To Freeze Shredded Zucchini
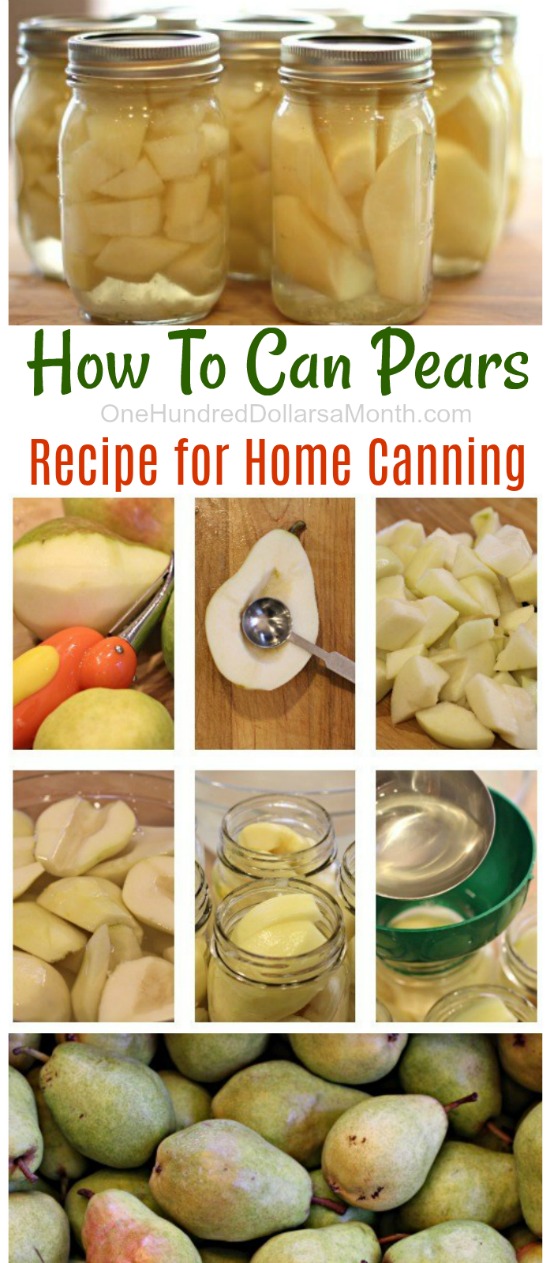
Canning 101 – How To Can Pears
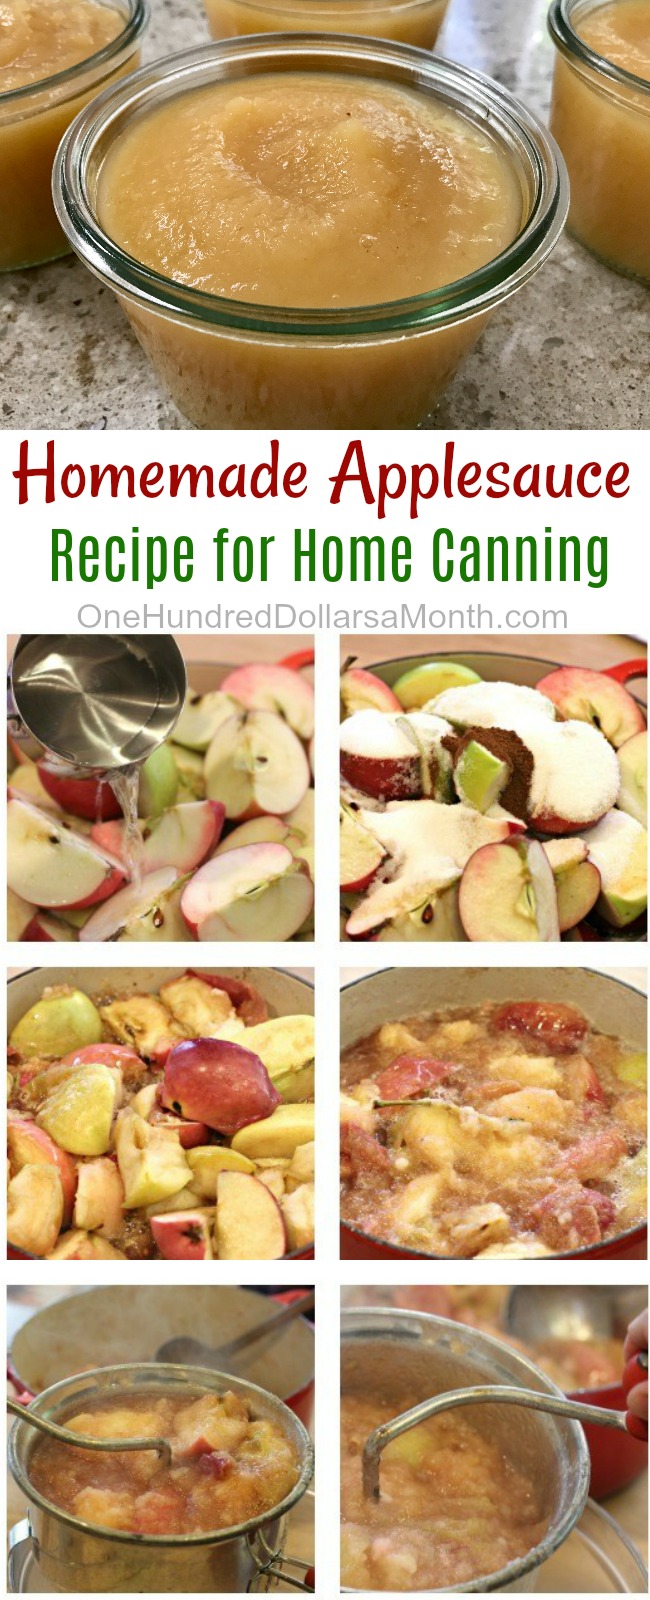
Canning 101 – How to Make Homemade Applesauce
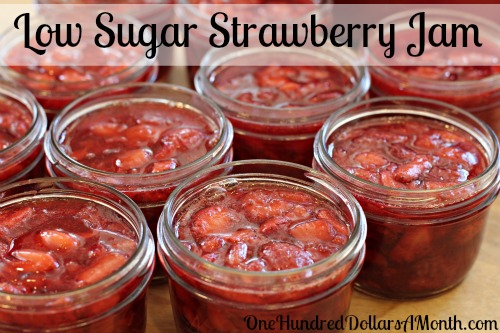
Canning 101 – Low Sugar Strawberry Jam Recipe with Pomona’s Pectin
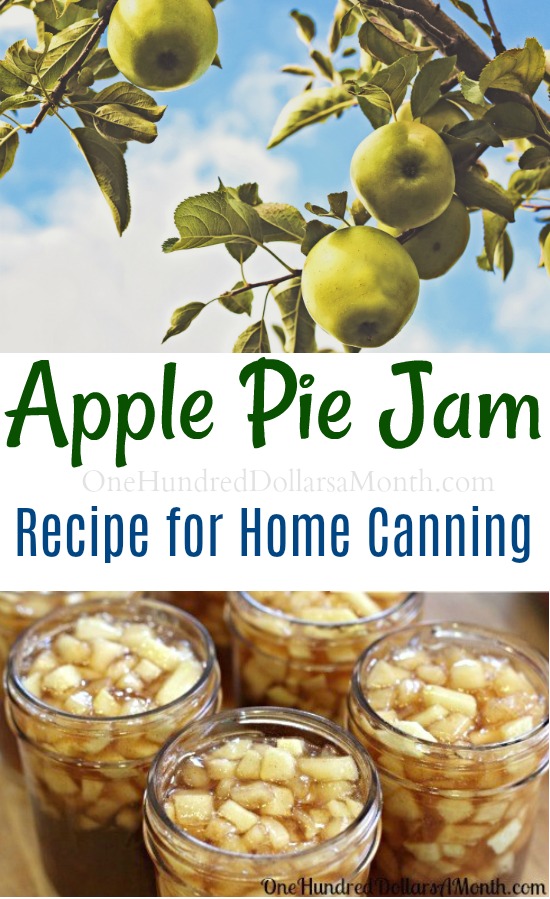
Apple Pie Jam Recipe

Canning 101 – Carrot Cake Jam Recipe
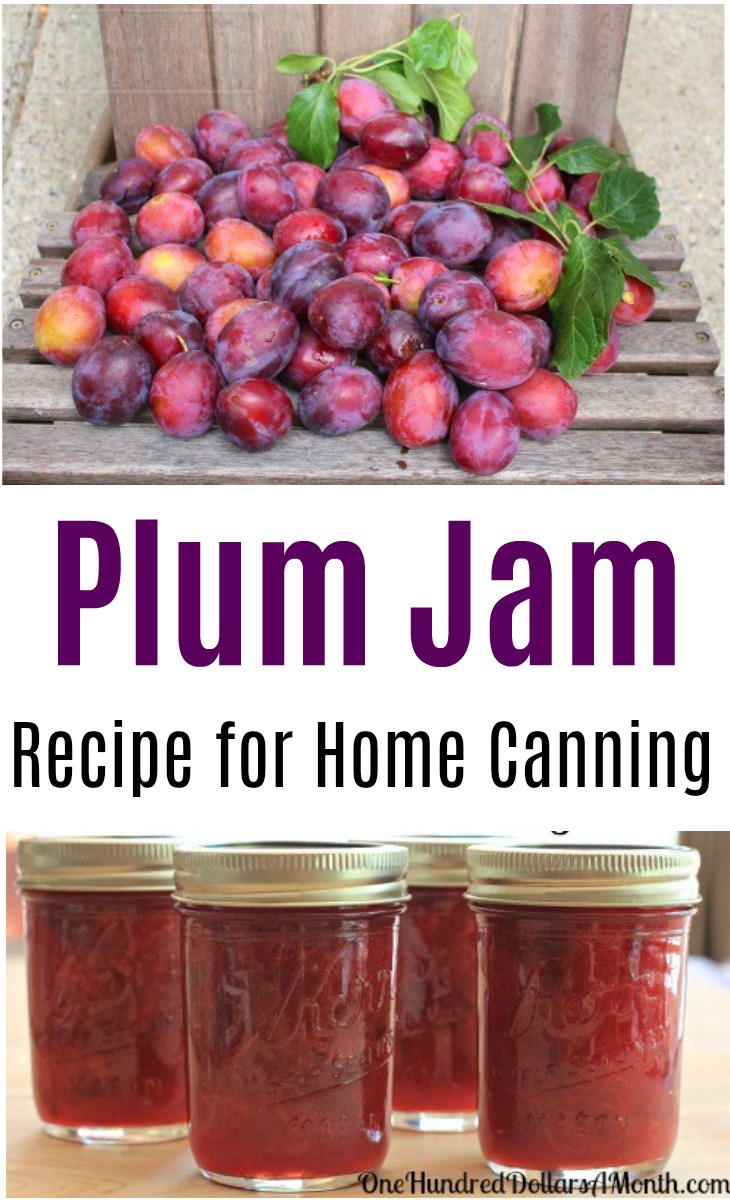
Canning 101 – Cinnamon Plum Jam Low Sugar Recipe

How to Make Blackberry Jam
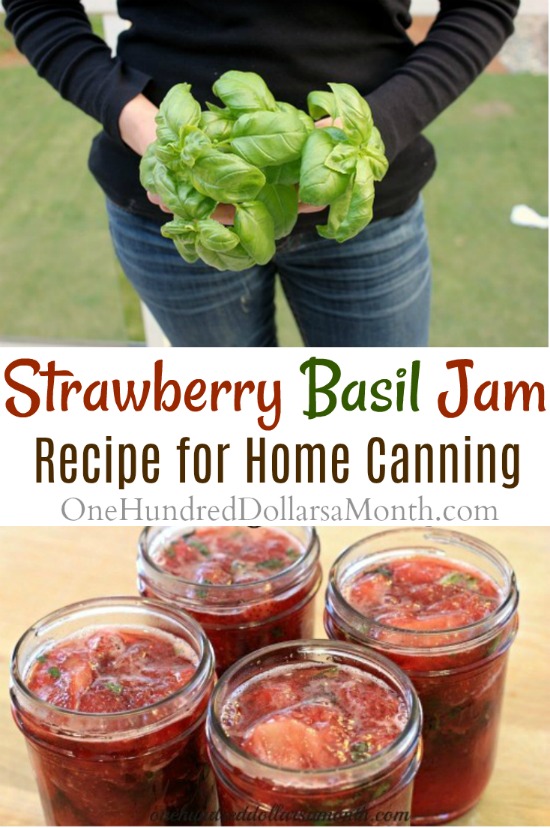
Strawberry Basil Jam Recipe
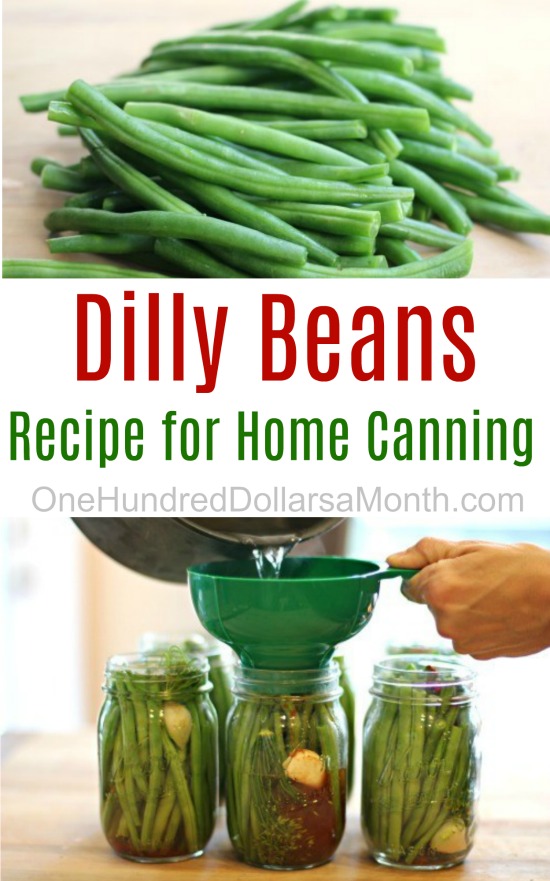
How to Can Dilly Beans
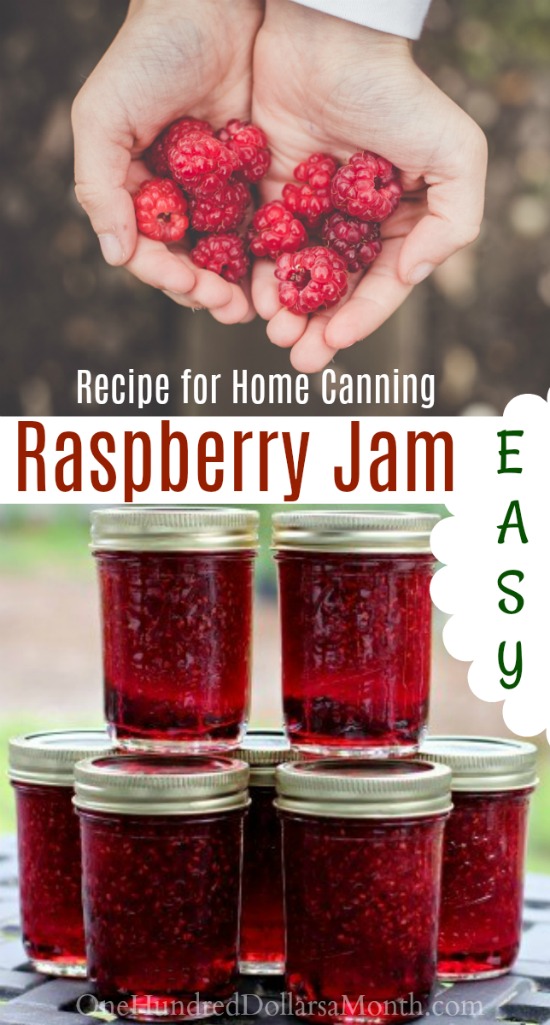
Canning 101 – How to Make Raspberry Jam
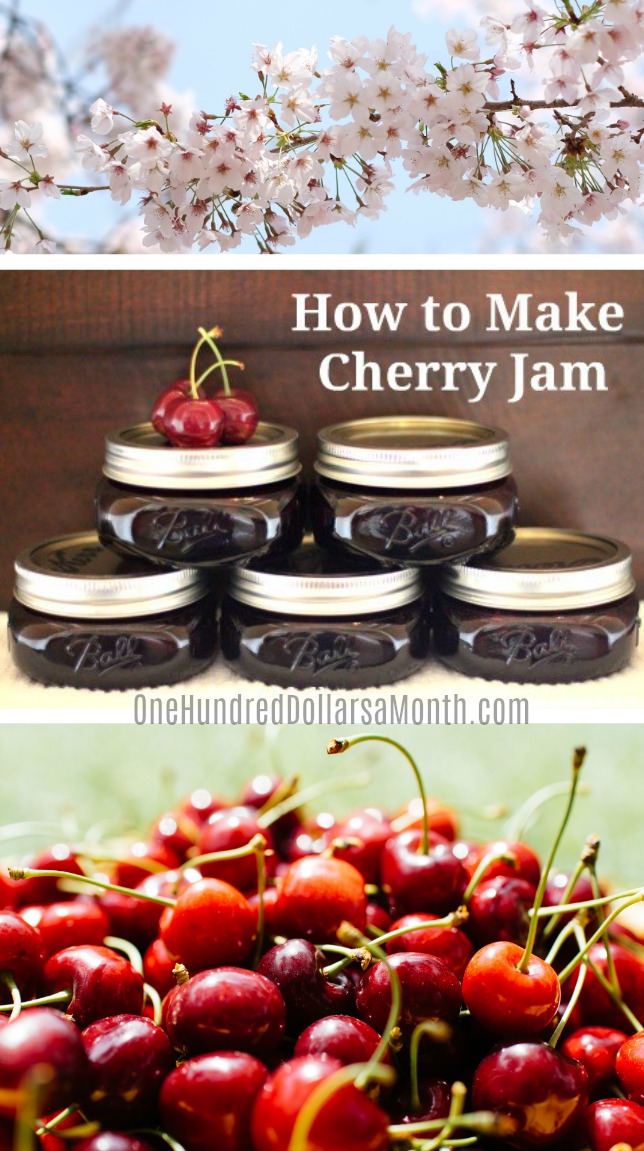
Canning 101 – How to Make Cherry Jam
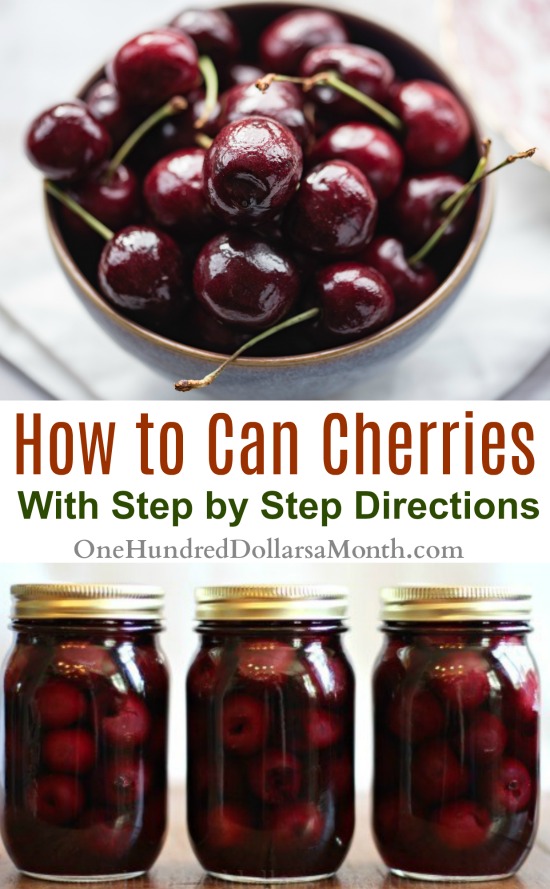
Canning 101 – How to Can Cherries
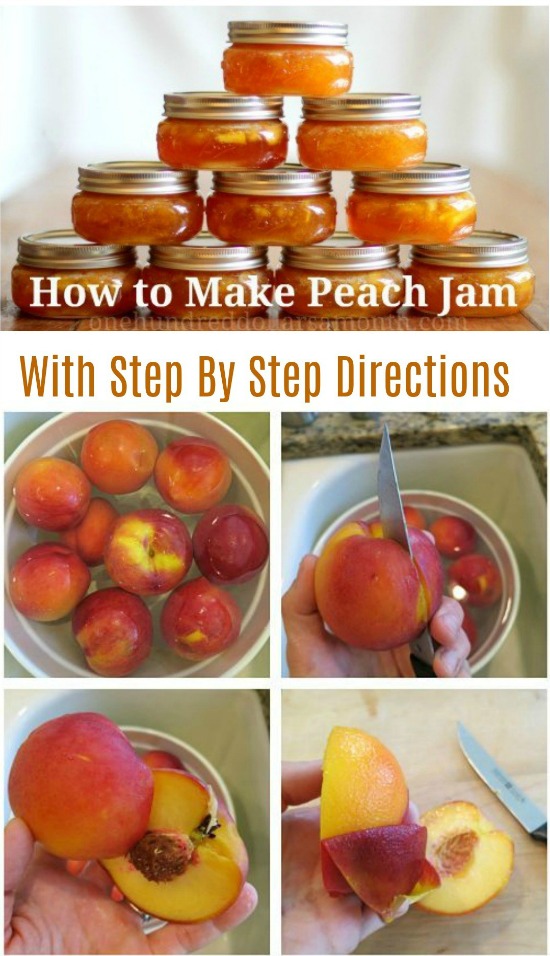
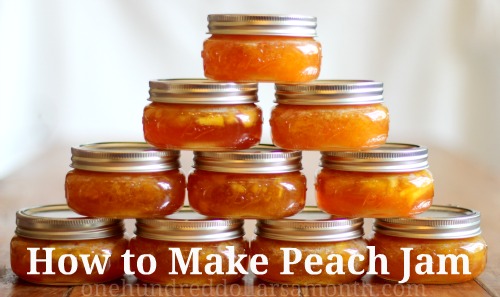
Canning 101 – How To Make Peach Jam
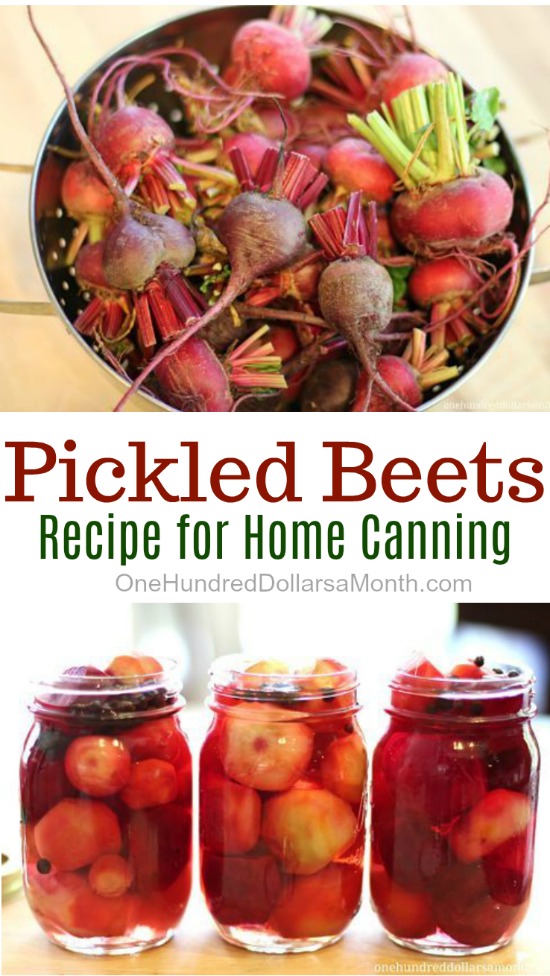
Pickled Beets Recipe
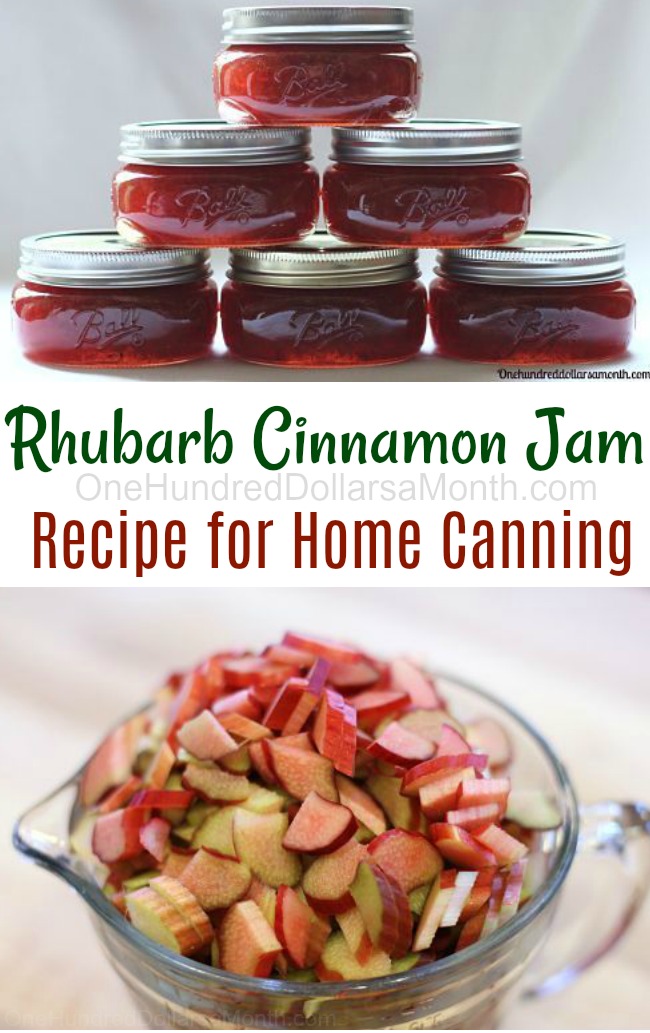
Recipe: How To Make Rhubarb Cinnamon Jam
Recipe: How to Make Low Sugar Strawberry Jam
How to Make Orange Marmalade
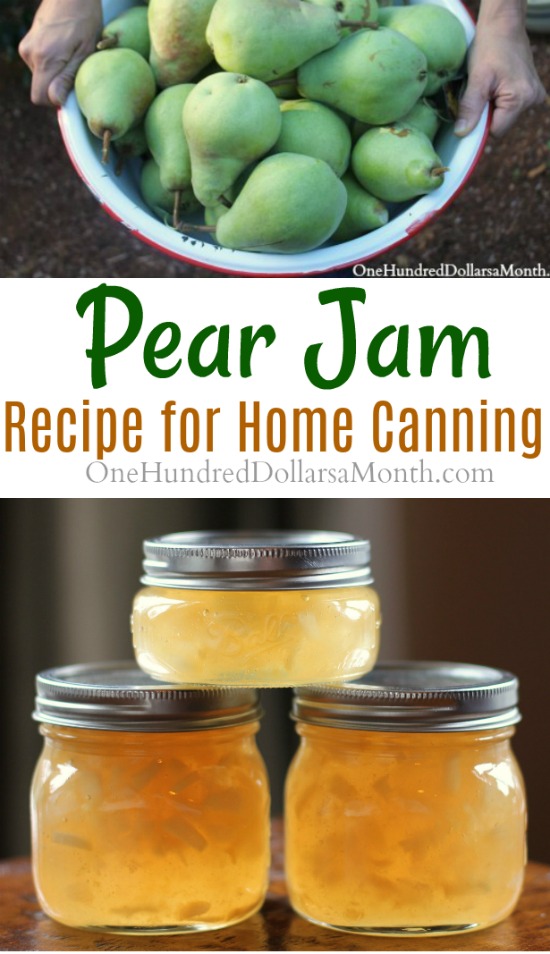
Canning 101: How to Make Pear Jam