25 Things/Reasons to be Thankful in 2016
Supermarket Business Down as Millennials Prefer Other Options
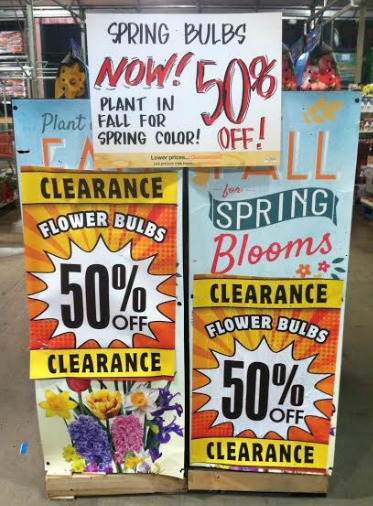
Spring Flower Bulbs 50% off at The Home Depot

Save Money with a Wood Burning Stove
Why You Shouldn’t Refrigerate Tomatoes
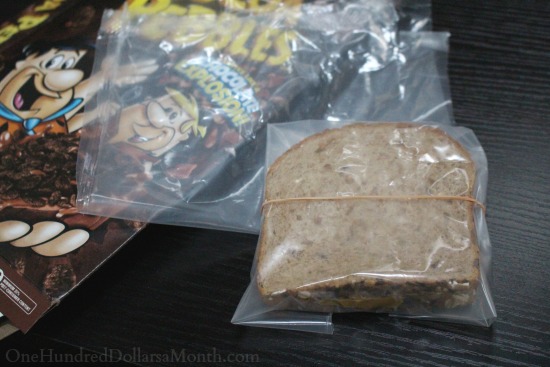
Penny Pinching Tip – Use Cereal and Cracker Wrappers Instead of Buying Plastic Wrap
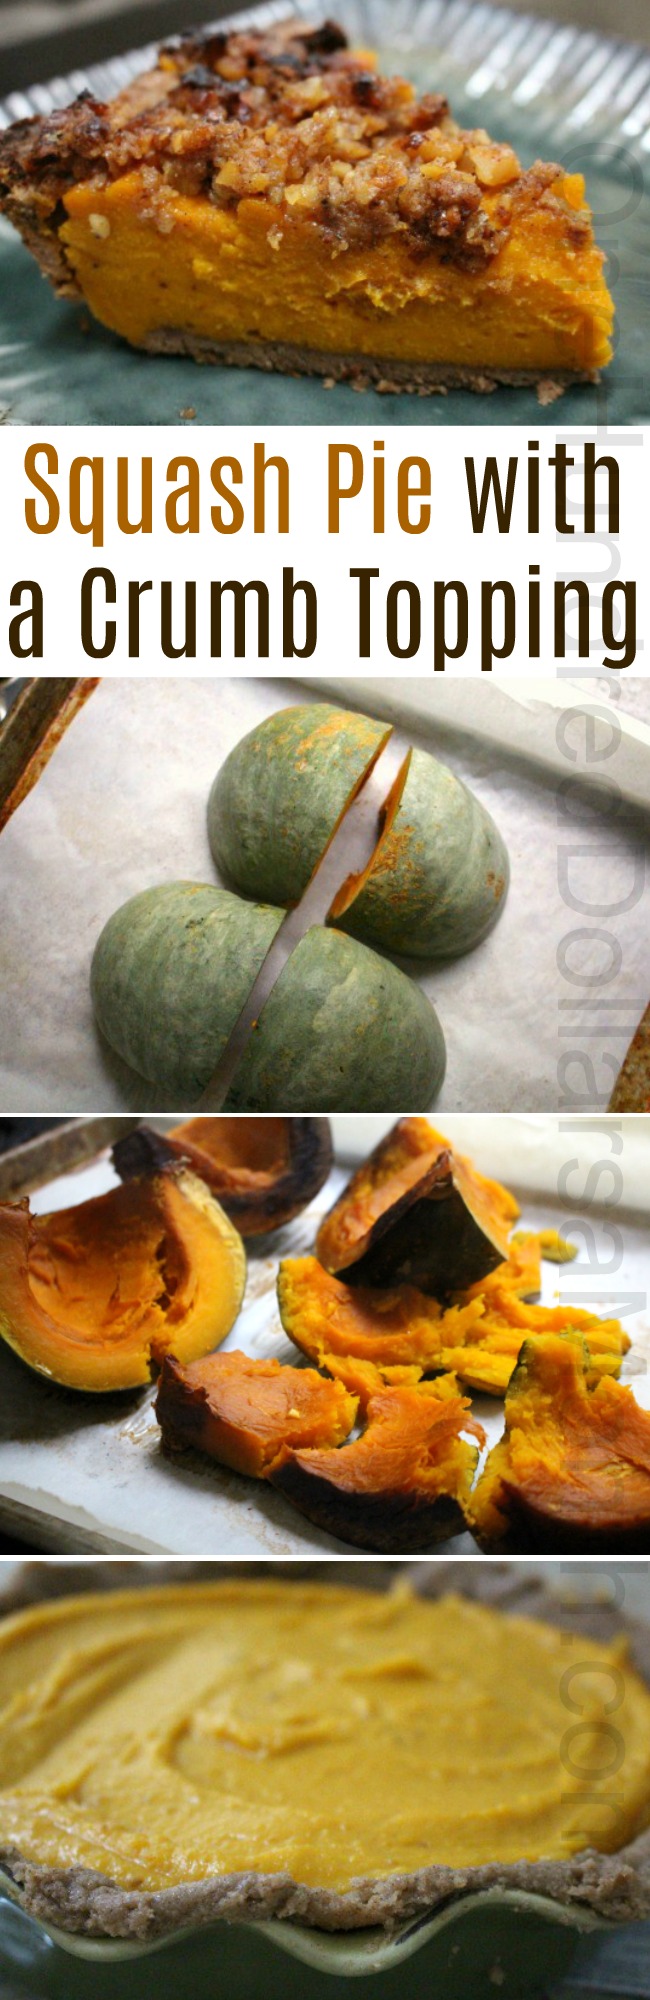
A Very Hearty Squash Pie
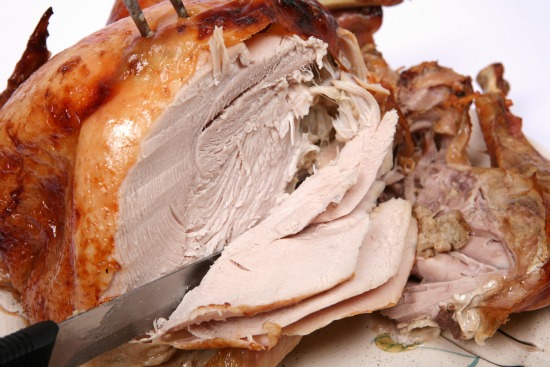
Should we be Eating Our Jack-o-Lanterns?
To Rake or Not to Rake? That is the Question…

Valley Food Storage Dried Fruits and Veggies: I Try, You Save
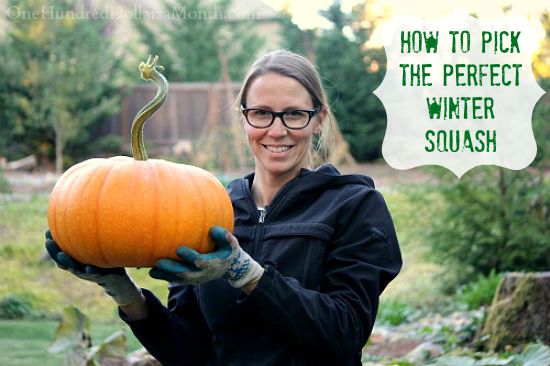
How to Pick the Perfect Winter Squash
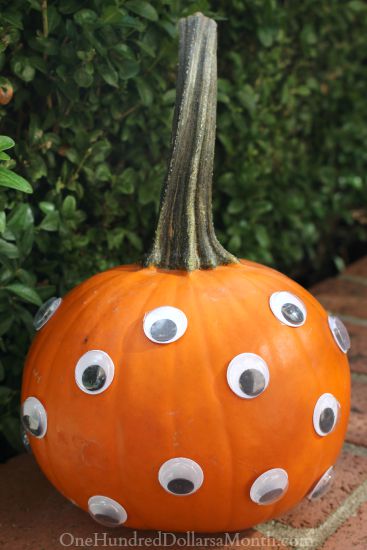
No Waste, No-Carve Pumpkin Idea – Googly-Eyed Pumpkin
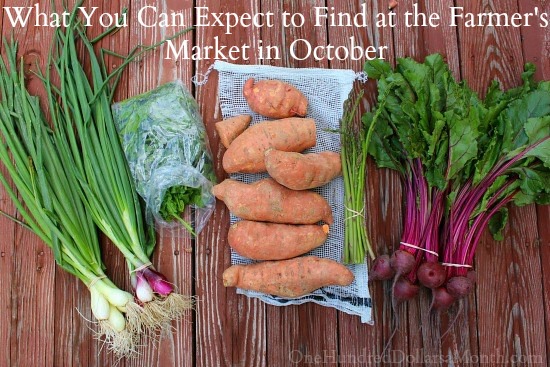
What You Can Expect to Find at the Farmer’s Market in October

Does Anyone Love Winter Squash as Much as I Do?
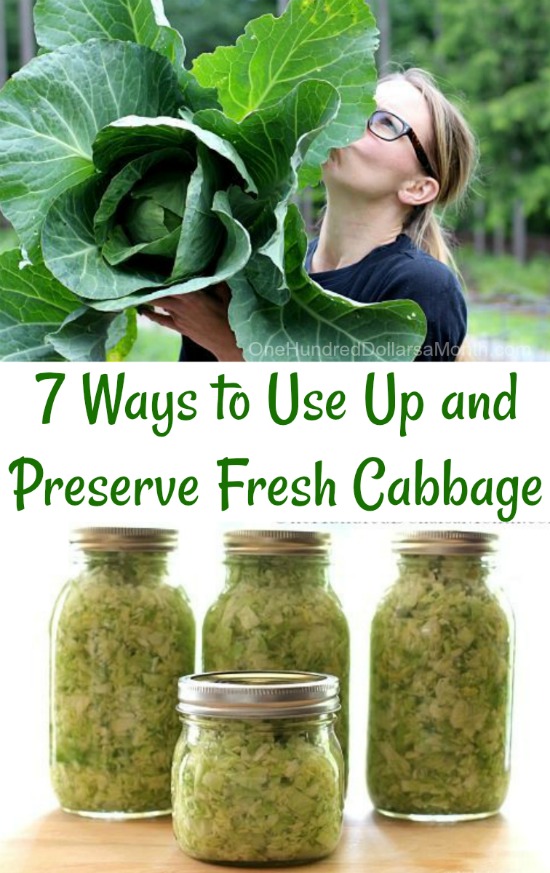
7 Ways to Use Up and Preserve Fresh Cabbage

50 FREE 4×6 Photos for Amazon Prime Members
11 Ways to Use Less Plastic in Your Home
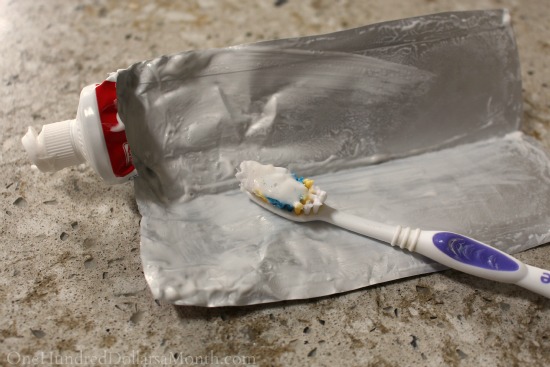
Penny Pinching Tip – Don’t Waste a Drop of Toothpaste

How Do You Know If a Groupon Deal is Really for You?
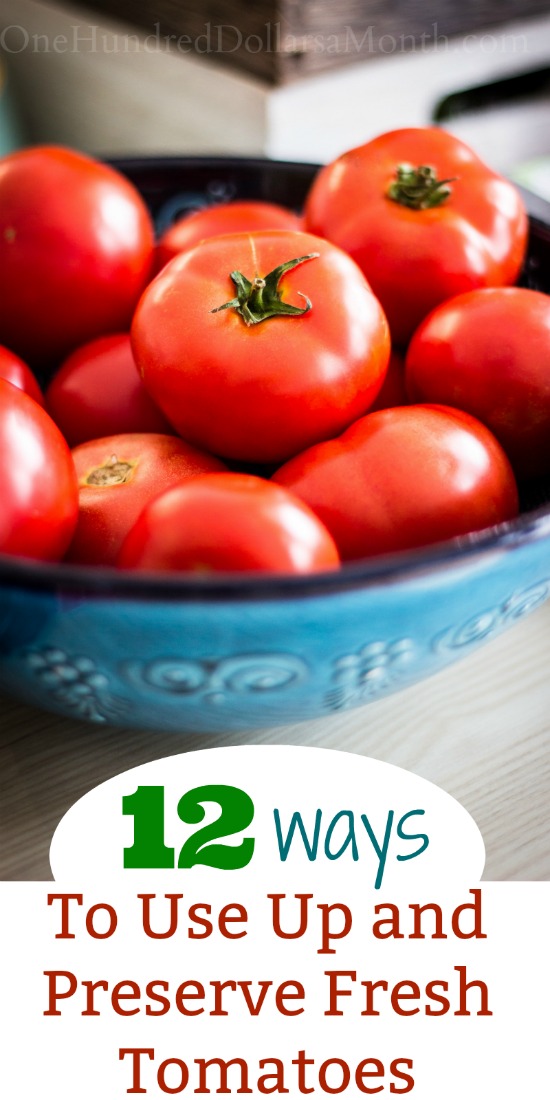
12 Ways to Use Up and Preserve Fresh Tomatoes
13 Ways to Use Up and Preserve Fresh Blackberries
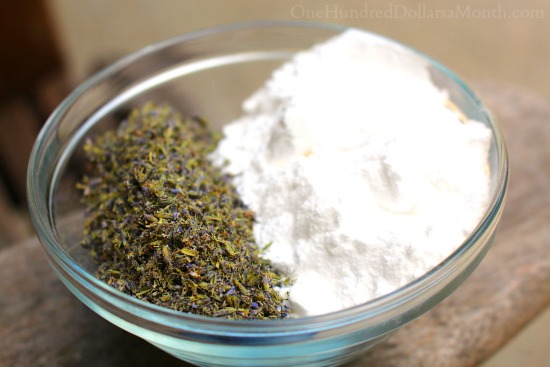
DIY Carpet Freshener
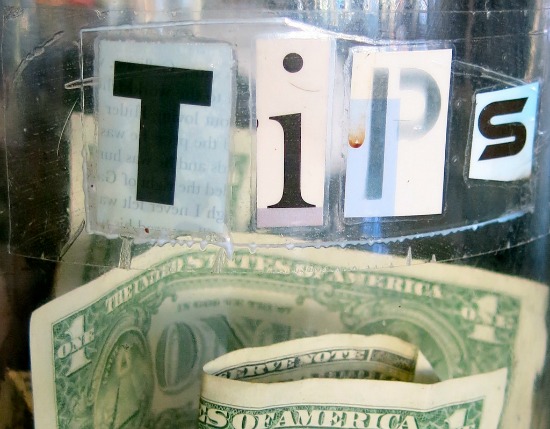
To Tip or Not to Tip?
Penny Pinching Tip | Lower the Water Heater Temp
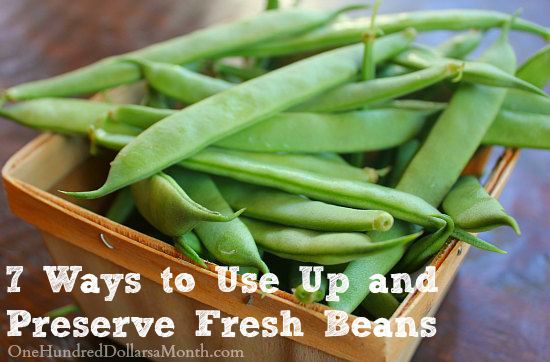
7 Ways to Use Up and Preserve Fresh Beans

How Much Do You Spend on Wedding Gifts?

Ways to Save Water at Home
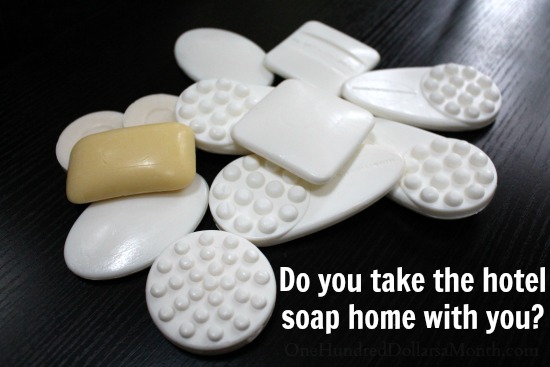
Do You Take the Hotel Soap Home With You?
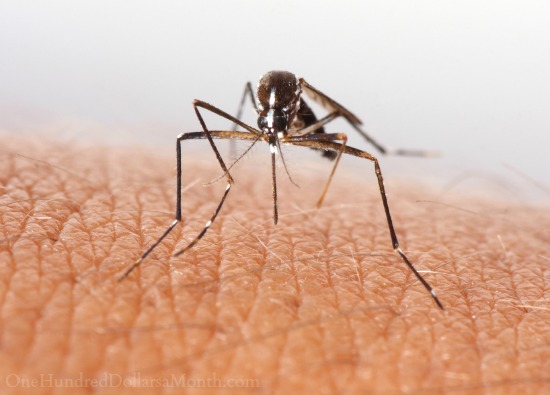
Mosquito Repellent – What Do You Use?

Will New Food Labels Help Lower Sugar Consumption?
Water Saving Tip – Use Your Dishwater to Water Your Flower Garden

5 Ways to Use Up and Preserve Fresh Peas
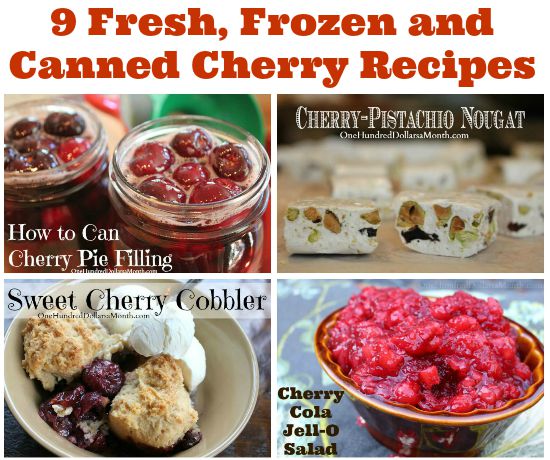
9 Fresh, Frozen and Canned Cherry Recipes
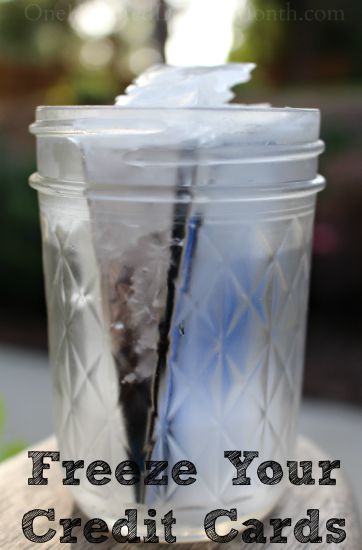
Penny Pinching Tip | Freeze Your Credit Cards
Do You Need an Ordinance to Eat Local?

Dolly Parton’s Imagination Library

How to Eat on a Budget While Travelling
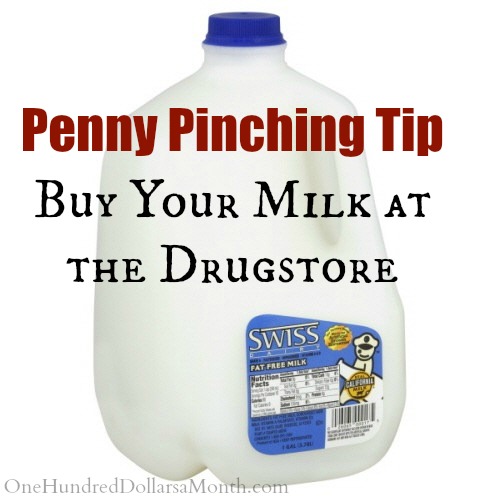
Penny Pinching Tip – Buy Your Milk at the Drugstore

Needs vs. Wants
7 Summertime Grilling Tips
Ask Mavis – Book Suggestion, Blueberries and Raspberries, Container Gardening, the HH, and More…
Take Caution! It’s Friday the 13th.
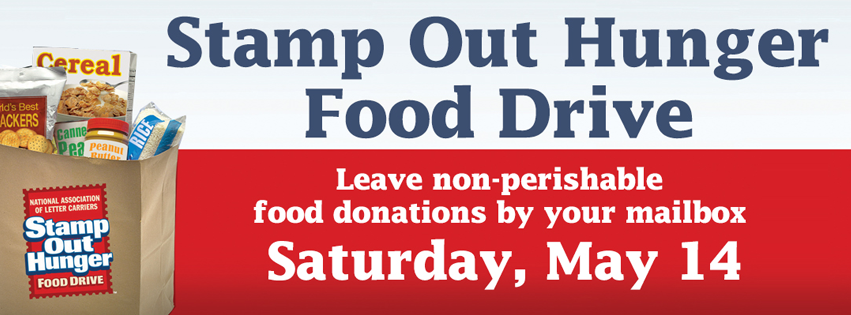
Stamp Out Hunger Food Drive May 14th
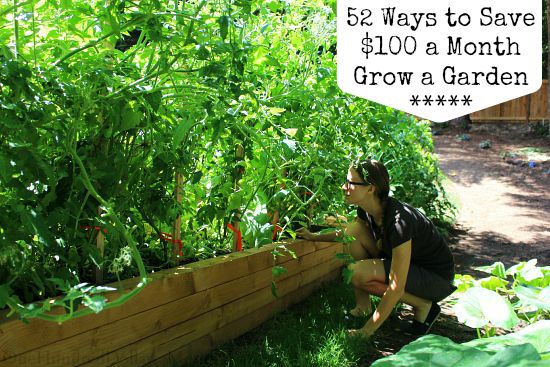
52 Ways to Save $100 a Month | Grow a Garden {Week 19 of 52}
What You Can Expect to Find in a Farmer’s Market in May

2016 Discounted Summer Movie Programs for Kids

Amazon Now Offering Month-to-Month Prime Memberships
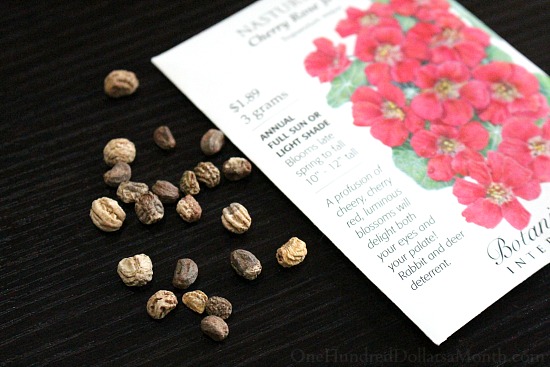
Growing Nasturtium From Seed for an Edible Landscape

9 Ways to Spruce Up Your Backyard Without Spending a Fortune
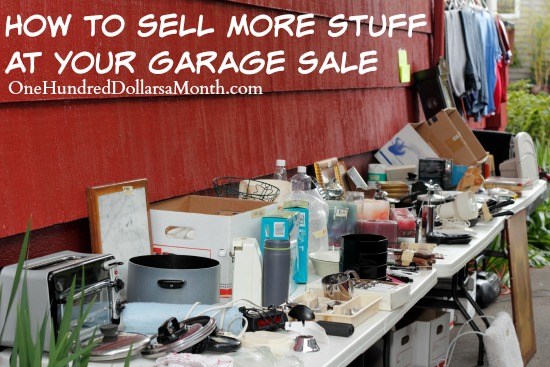
More Tips and Tricks for a Successful Garage Sale
Free Admission to Any National Park during National Park Week
Suburbia Versus City Livin’
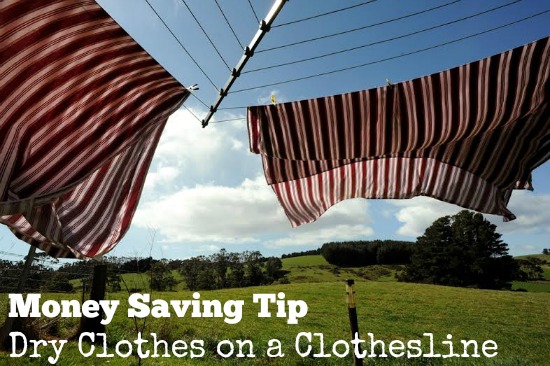
Money Saving Tip: Dry Clothes on a Clothesline

Torn Jeans, Rationing Milk, Growing Sprouts and Continuing on My Almost Zero Waste Journey
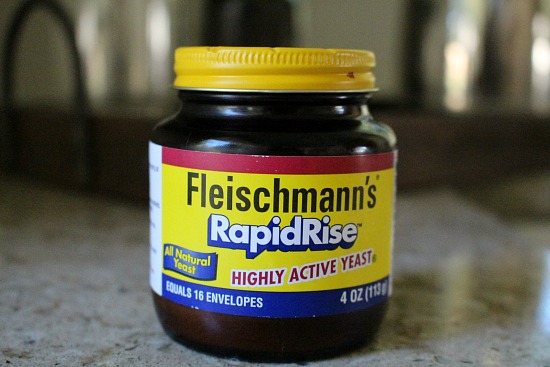
The Difference Between Rapid Rise Yeast and Dry Active Yeast
Choosing the Best Produce at the Farmers Market

Penny Pinching Tip | Use Melamine Foam Instead of Magic Erasers
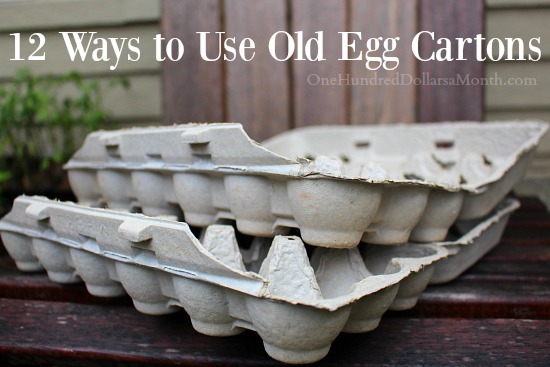
12 Ways to Use Old Egg Cartons
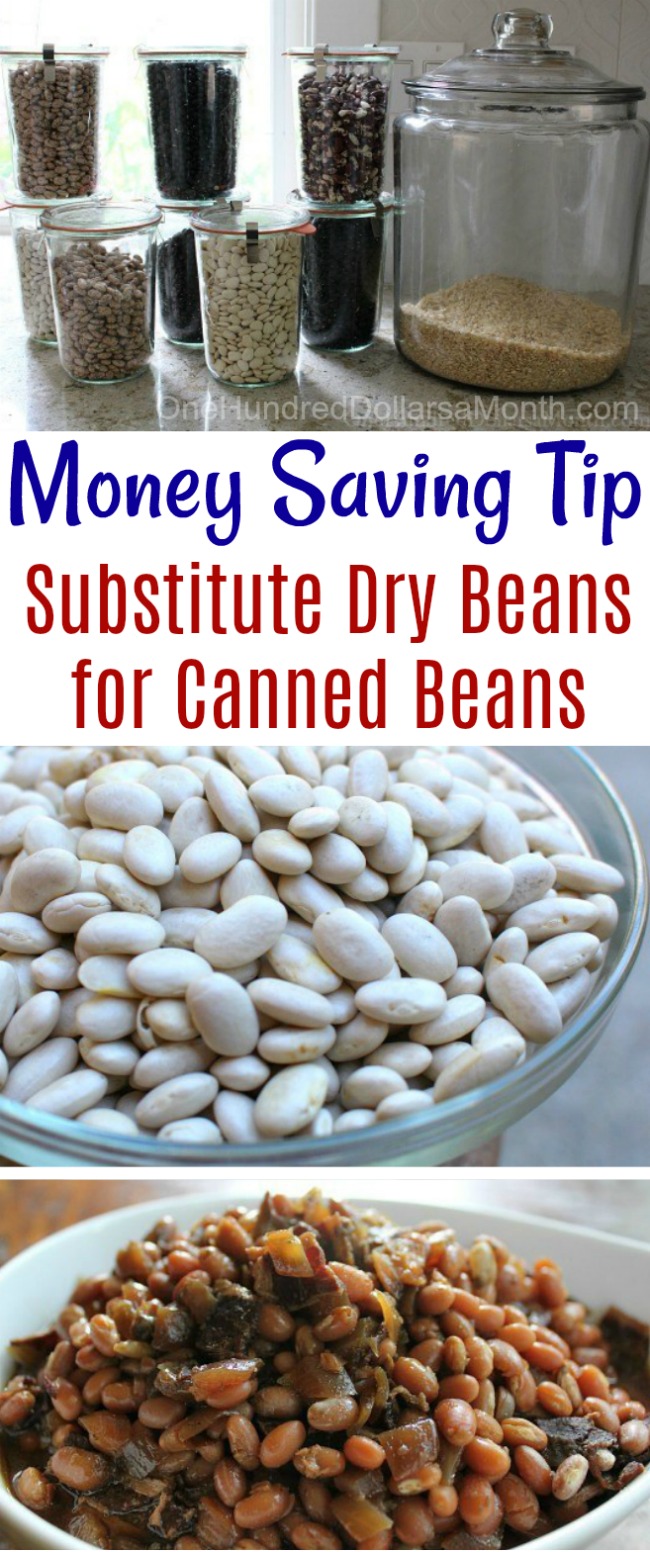
Money Saving Tip – Substitute Dry Beans for Canned Beans in Slow Cooker

Turning Your Hobby Into Cash
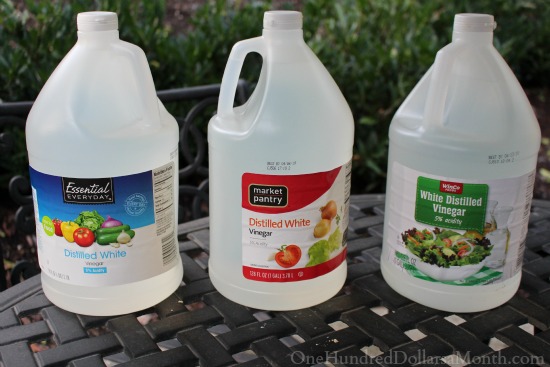
You Might Be a Tightwad If…You Return 2 Bottles of Vinegar Because You Found a Better Price
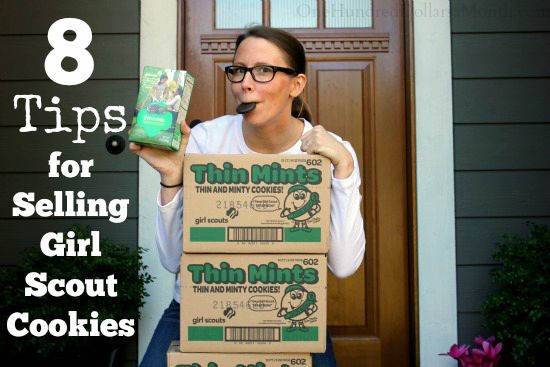
8 Tips for Selling Girl Scout Cookies
How STUFF is Impacting our Lives
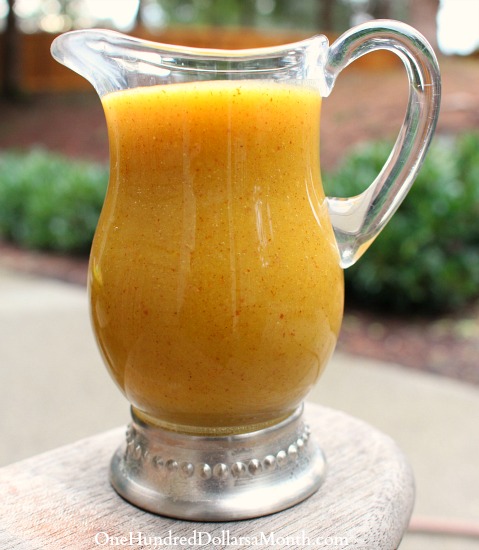
Delicious and Quick Honey-Mustard Dressing
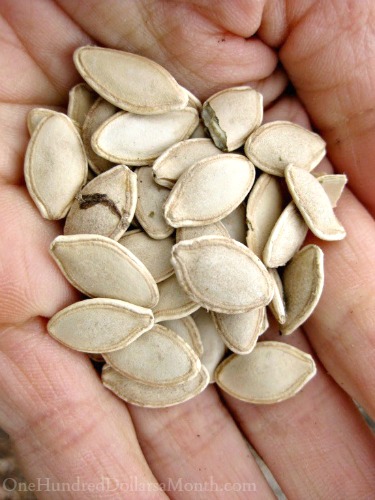
800 Year Seed Storage
Hilarious Video About Bulk Bins

Main and Vine Gig Harbor Grand Opening
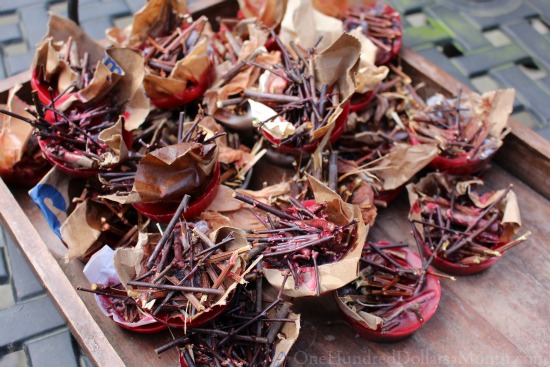
Making the Most of My Neighbors Pruning
You Might Be a Tightwad If You Don’t Buy Garbage Bags
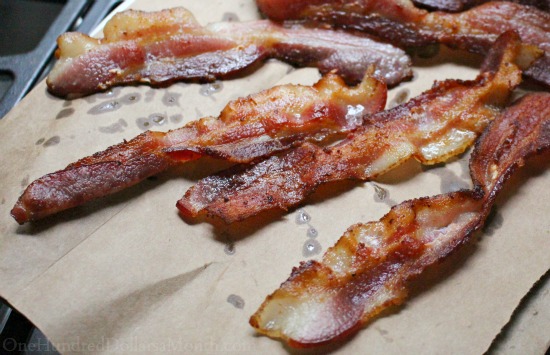
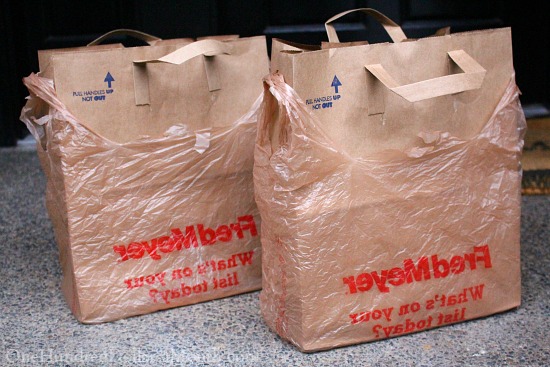
You Might Be a Tightwad If You Use Recycled Paper Bags Instead of Paper Towels

ACT FAST: Amazon Prime on Sale for $73 THIS WEEKEND ONLY!
- « Previous Page
- 1
- 2
- 3
- 4
- 5
- …
- 15
- Next Page »

