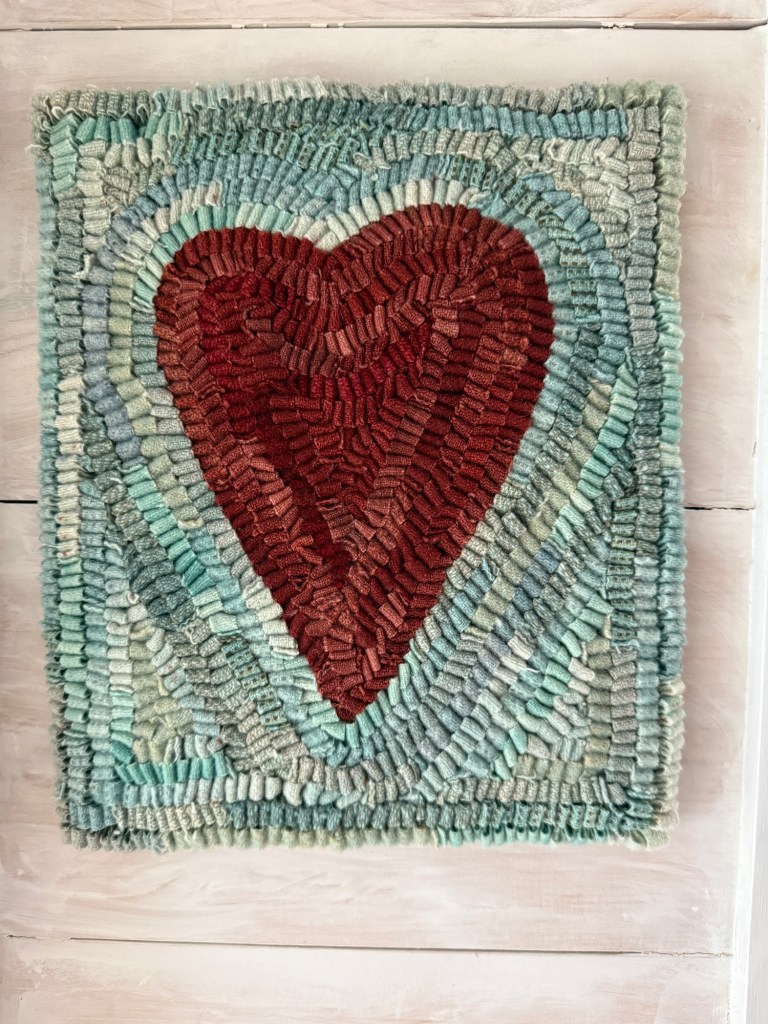
Well, I did it again. I made another rug hooking tutorial and video. This time around I’m showing you how to bind a hooked rug the {SUPER} easy way.
And like my last video, rug hooking for beginners, I’m sharing a video version AND a picture tutorial as well.
I’ve been finishing my rugs this way ever since I taught myself how to hook nearly 30 years ago.
My sewing skills are limited to just one stitch… It’s called forward. 😉 I also know how to put a knot at the end of my thread. But that’s pretty much it.
So trust me, if I can do this, you can too.
No binding tape, no whipped yarn edges, just a little cutting and a basic stitch. That’s it. No need to overthink it.
The way I see it, if the Pilgrims didn’t use binding tape or their precious sock yarn to whip the edges, I don’t need to either.
That’s my story and I’m sticking to it.
Also, in an effort to get caught up and show you all the rug hooking and other crafty things I make that you’ve been asking me about, I’ve made a little deal with myself.
Basically, it goes like this:
I don’t get to step inside a pastry shop and have another baked good unless I share a weekly tutorial with you.
Yep, you heard me.
For every tutorial I share on the blog from now until the end of the year, I get to go to a pastry shop and load up on treats.
No tutorial? No pastry. We all have things that motivate us and well, you know how much I love my sweets.
So if there is something I make {or have made} that you want to see in tutorial form, now’s your chance.
There are 32 weeks left in 2025. I am now taking requests! 😉
~Mavis
How To Bind A Hooked Rug
Supplies I Used
- Hooked Rug
- Scissors
- Quilting Square {Tape measure/ruler works fine too!}
- Pin Cushion and Pins
- DMC Floss
- Iron
- Washcloth
Before binding a rug I always steam it first. If you’ve never done that before you can watch me steam a rug in this video HERE. It might be easier for you to watch someone do it rather than read about it.
But basically, you set your rug on an ironing board, wet a towel {the size depends on the rug} ring it out {but make sure it’s still pretty moist} and then lay it on top of your rug.
With your iron, press the rug {I typically hold the iron in one spot for about 7-8 seconds before moving on to the next section}.
Once the rug is pressed, I’ll usually let it sit for a few hours to dry.
Once the rug is dry, I trim away all but 1 ½” of excess linen backing.
I then clip about 3/4″ off the corners at an angle.

Now that I have a serger, I run the serger around all the edges.
This step is not necessary, it’s just something I’ve begun to do in the past few years since purchasing a serger for pattern making.
Next, turn the rug over and one at a time, fold the corners inward.
Pinning in place as you go.
Once you have to corners pinned it’s time to do the sides.
Now it’s time to pin the corners!
You’re going for a “mitered” look.
I always like to think of the back of a picture frame and how the corners come together as I’m pining my corners in place.
Did I mention I have very limited sewing skills? 😉
Basically, using 2 strands of DMC floss, I start stitching the corners together and then work my way around the edges of the entire rug.
This is what the backside of the rug looked like when I was done stitching.
Here’s a look at the front.
And those are my ridiculously simple directions on how to bind a hooked rug {the easy way!}.
The End. 🙂
More rug hooking tutorials can be found HERE.


Christa H. says
This is fabulous! Can’t believe I missed the other tutorial post. Thank you for taking the time to show us how.
Since you mentioned requests- I would also like a tutorial on how to make the red clay ornaments and what type of mini kiln to get. I think that would deserve a tall London fog to go along with your 10 pastries from Standard Baking Co.
Thank you so much!!
maureen detmer says
i would love to see a tutorial on wool dying. i know it looks pretty straight forward but it always nice to actually see it being done. also places to purchase the wool and what type or color i should say. i know in posts awhile ago you mentioned a few places. thank-you for all your help.
Sherry says
Thank you for the videos!!!!!! They are so helpful. I would like to see how you organize your craft room. Thank you, and enjoy your pasteries.
Sue S. says
Great tutorial and videos Mavis! Thank you. I tend to take the (much) longer version which includes binding but I will rethink this step, particularly for wall hangings that will not go on the floor. Love the simple heart pattern too. How about a tutorial on putting the backing on pillows?
Christa H. says
Thought of another- I’d like tutorials on starting up your own Etsy shop/small business. Things like tips you’ve learned, ways to make the process fit into your lifestyle, organization, how you keep up with inventory, how you prep through the year for taxes, etc.