Canning Season Has Begun!
Carrot Cake Jam Recipe

Tigidou Jam Factory
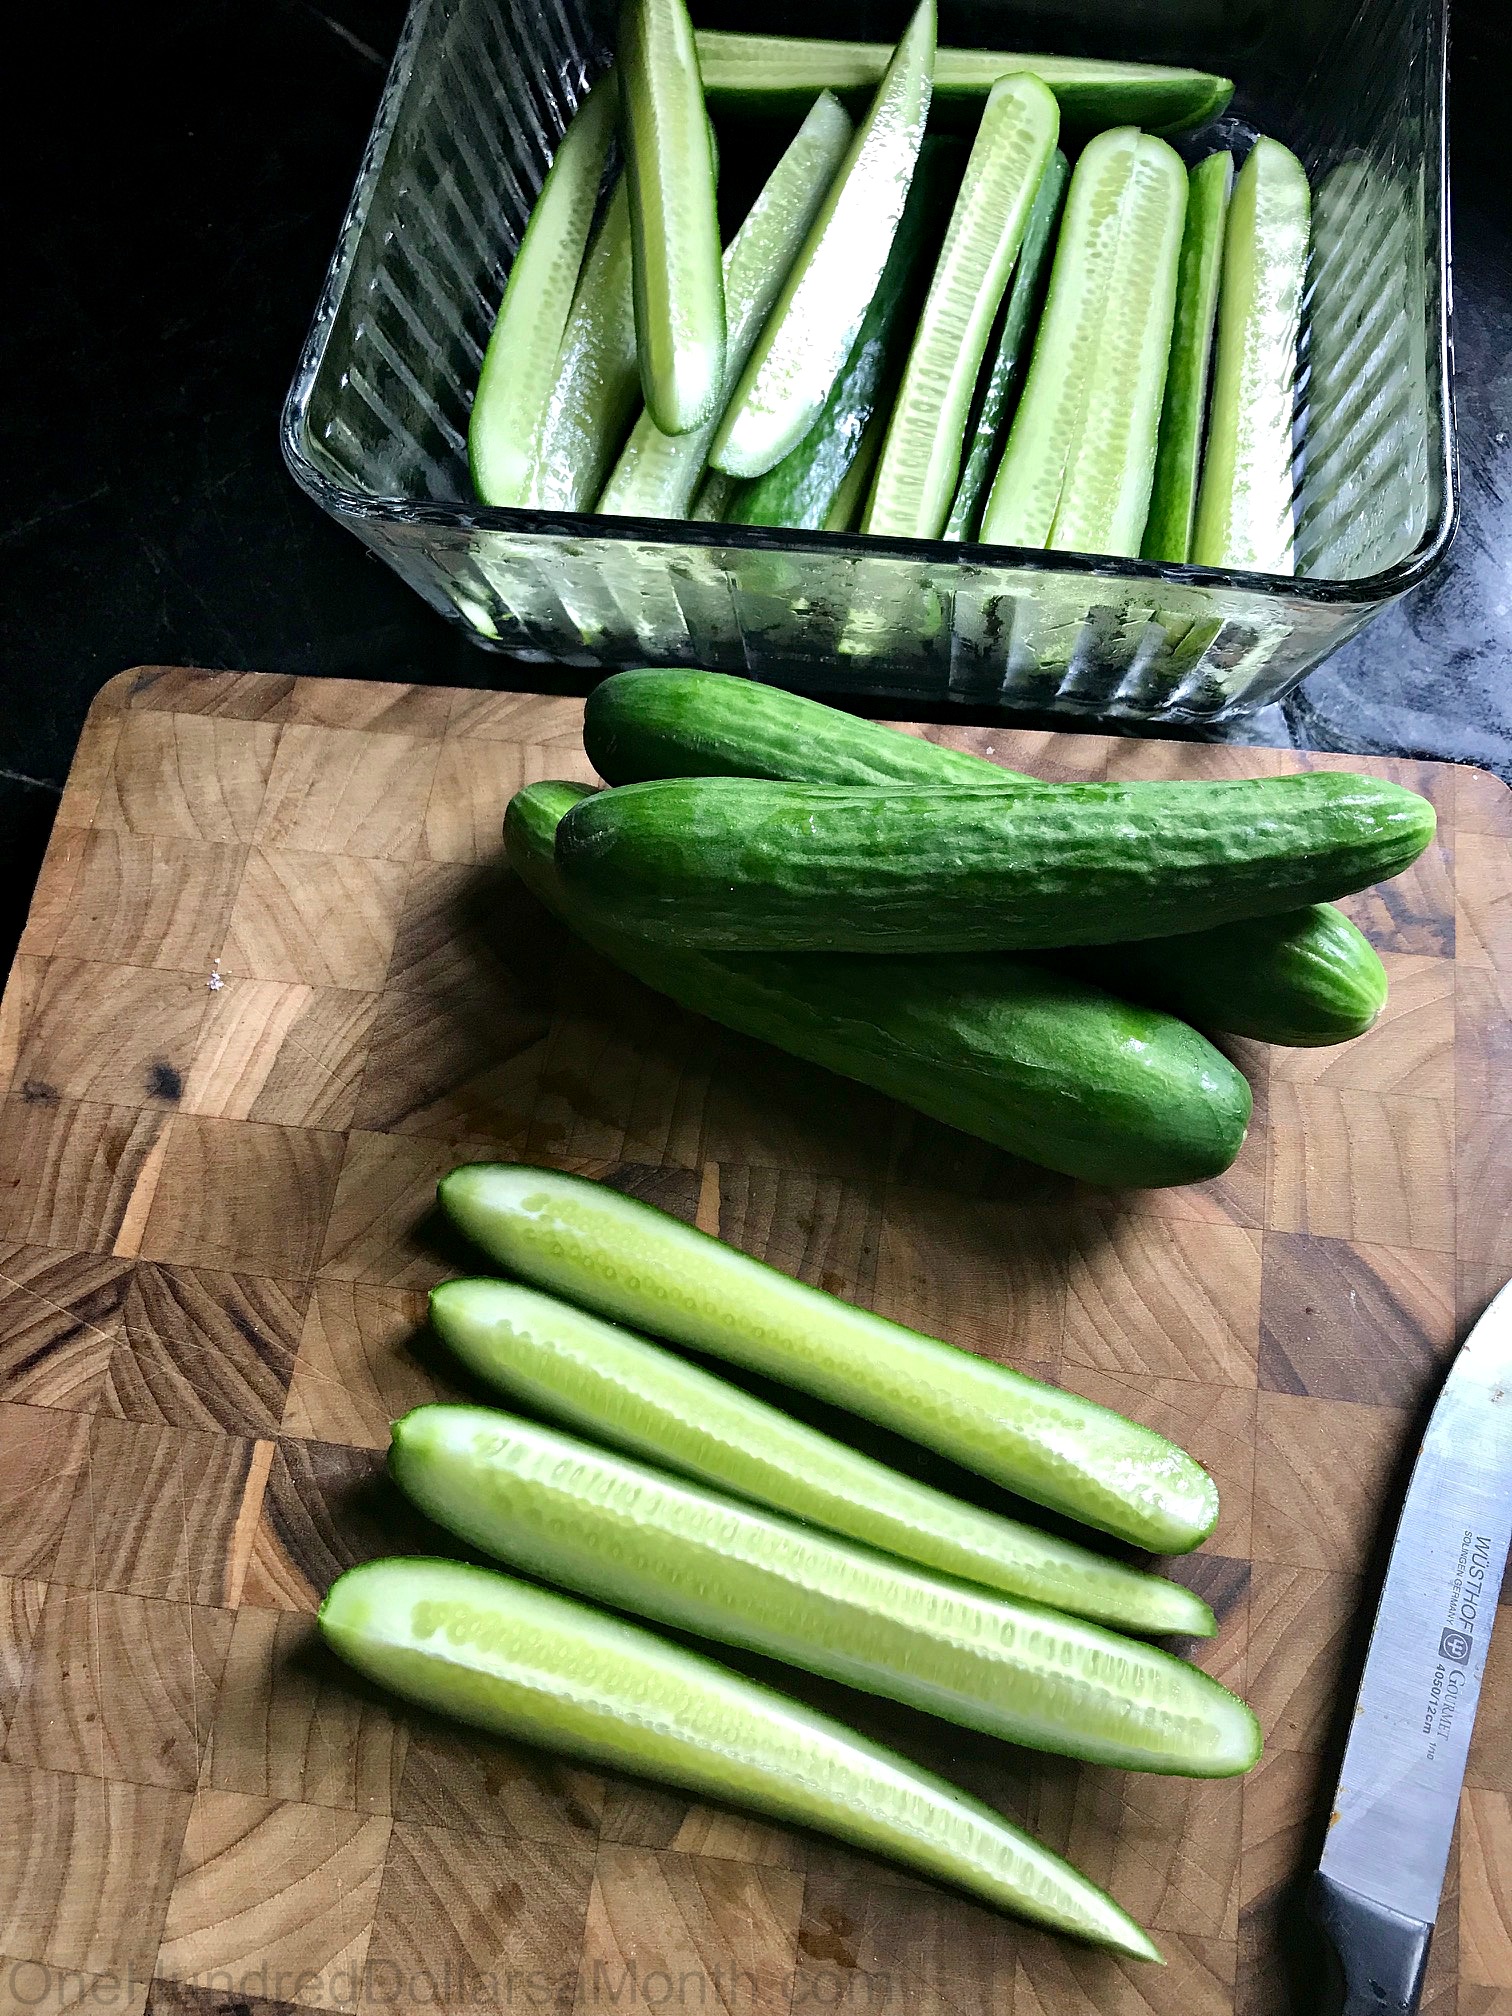
Simple Refrigerator Dill Pickles Recipe
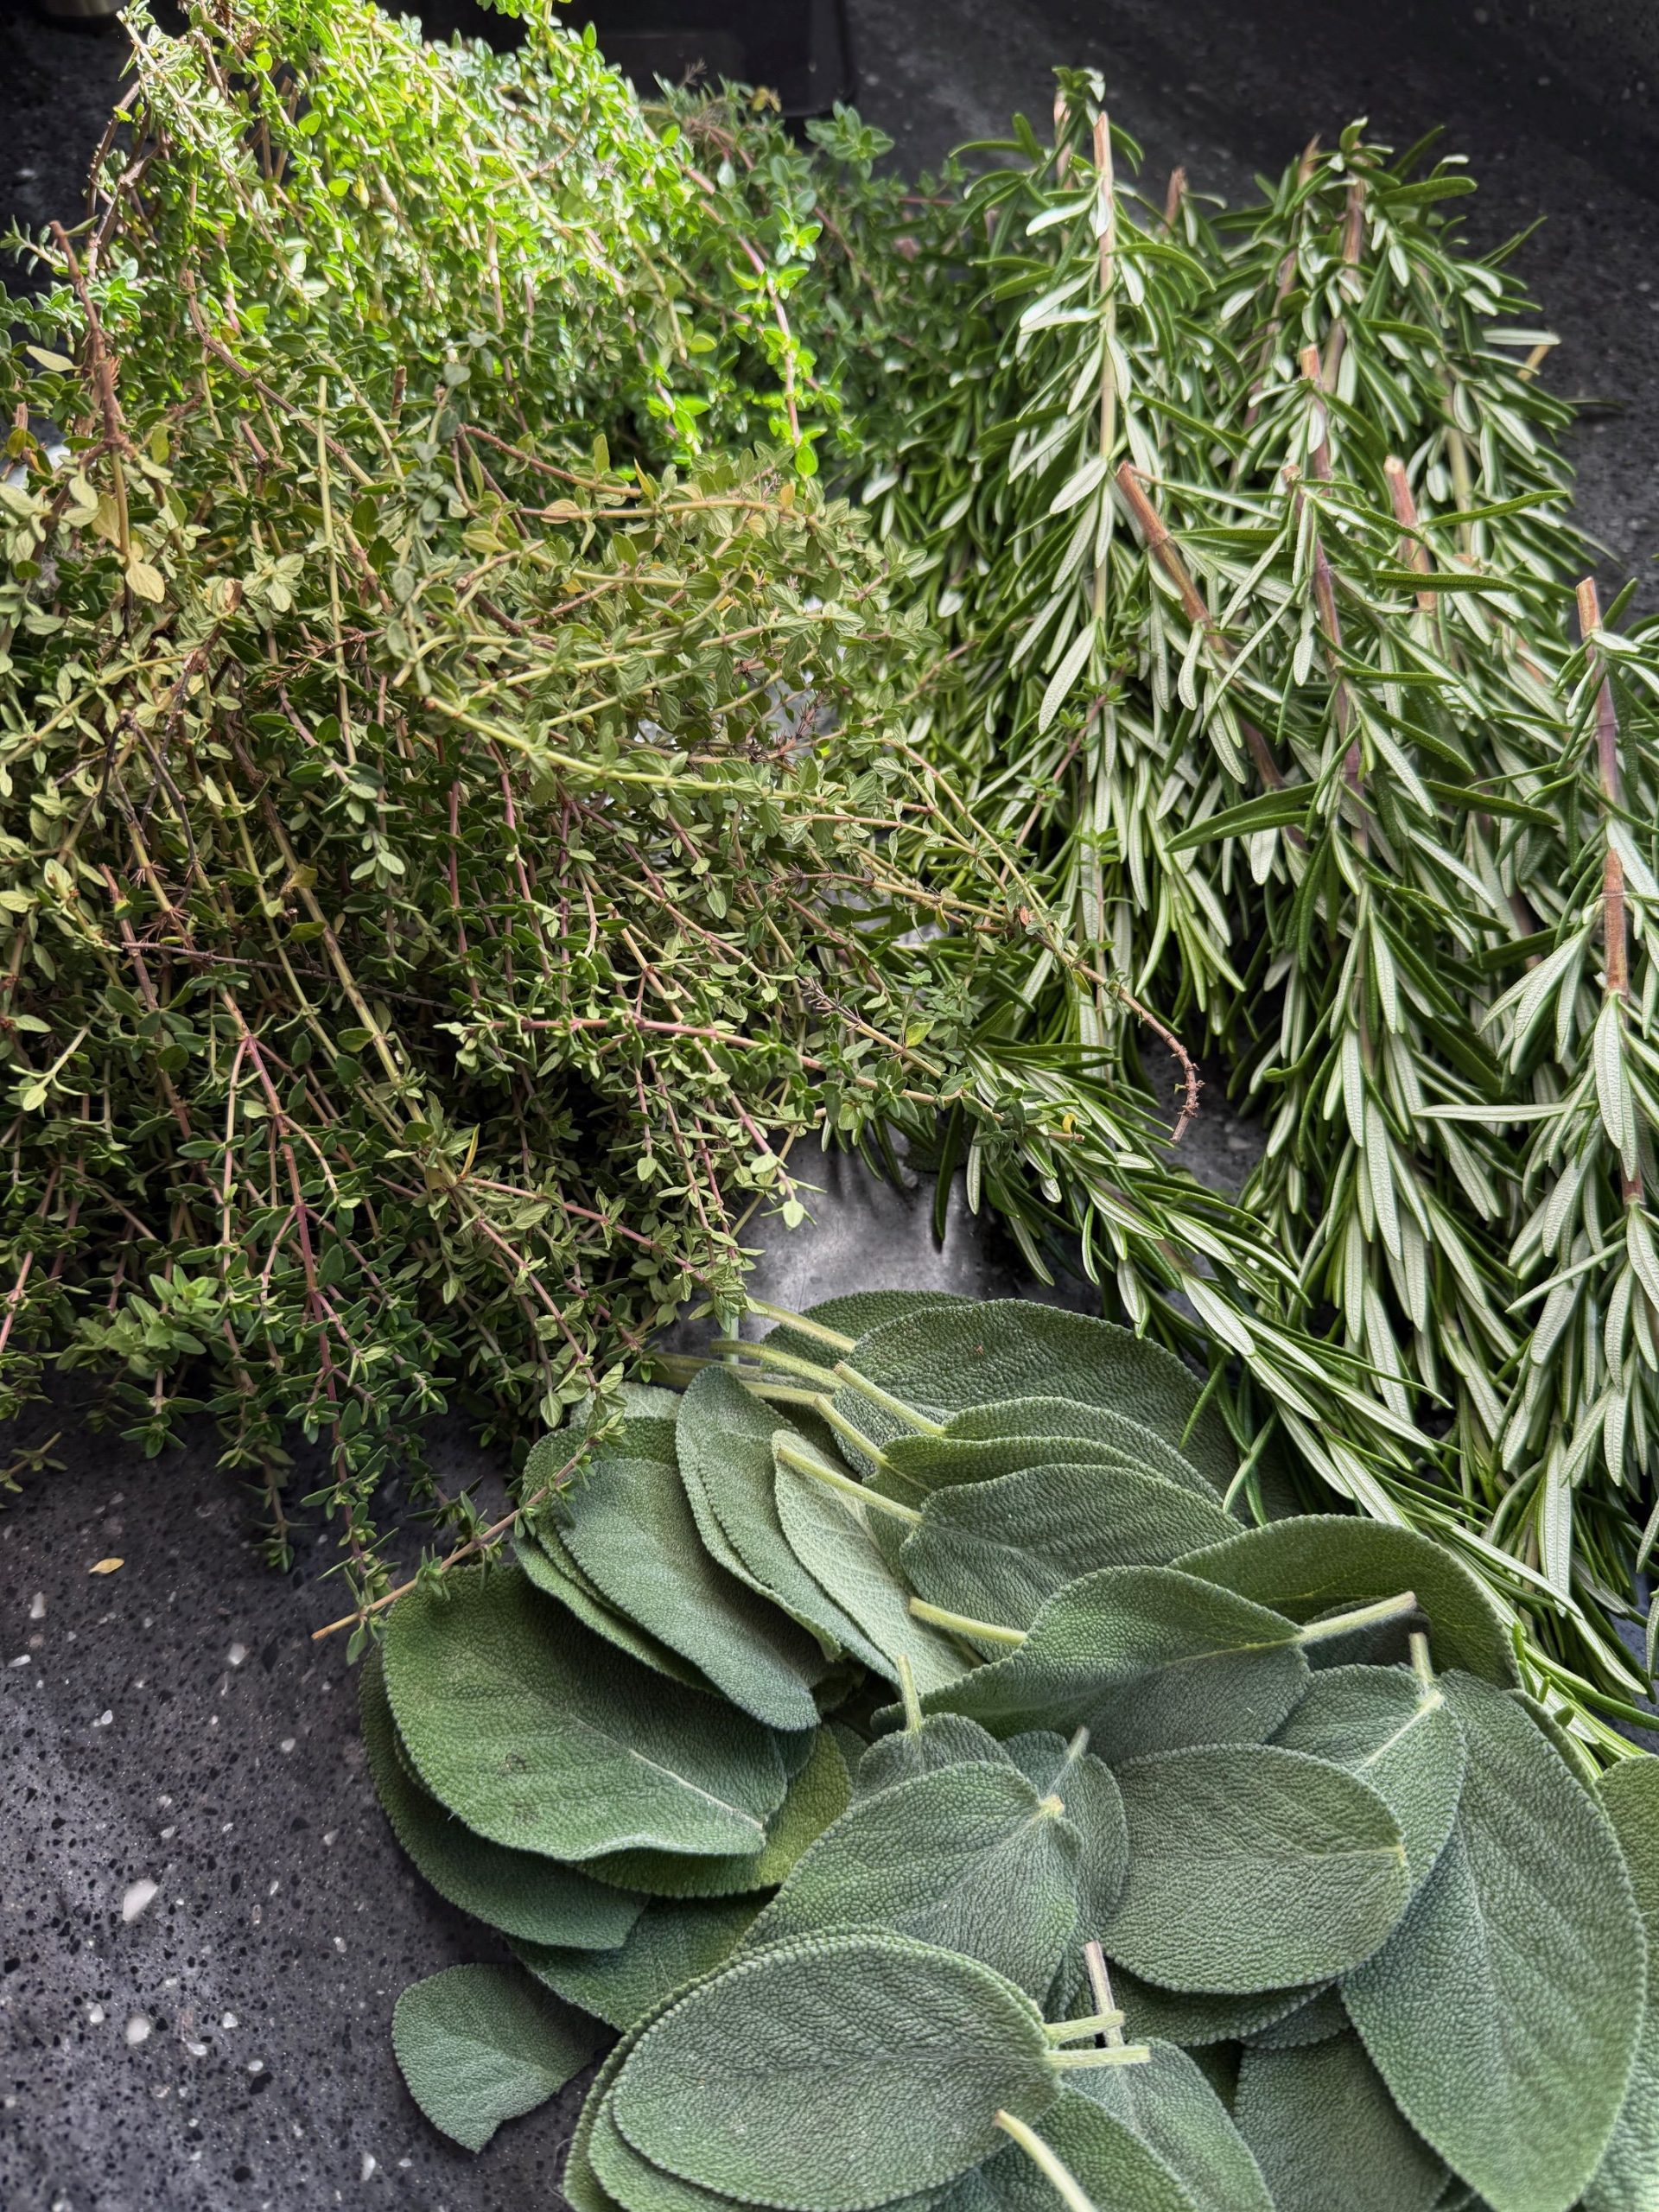
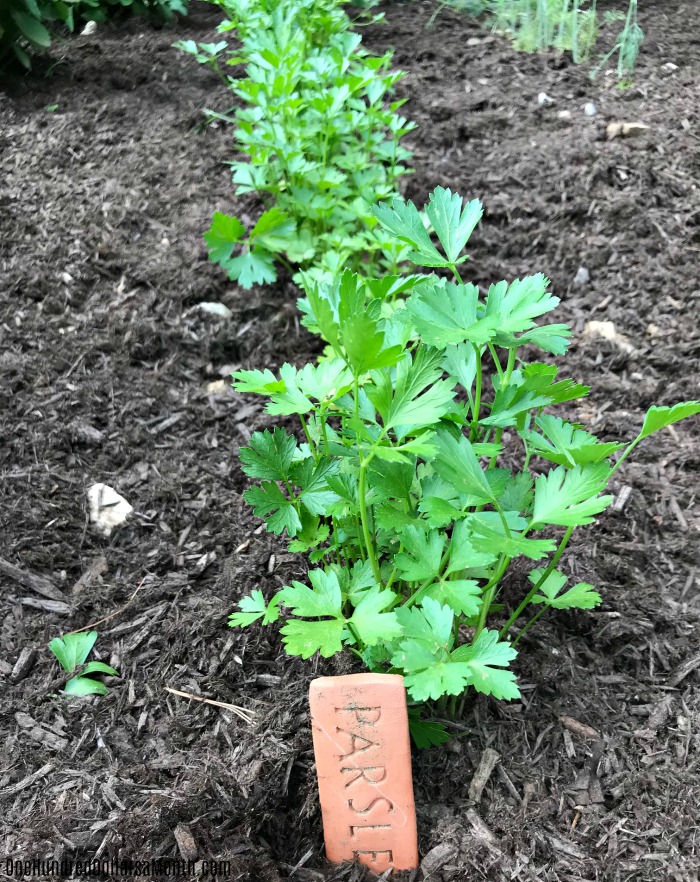
Free Herbs? Yes Please!
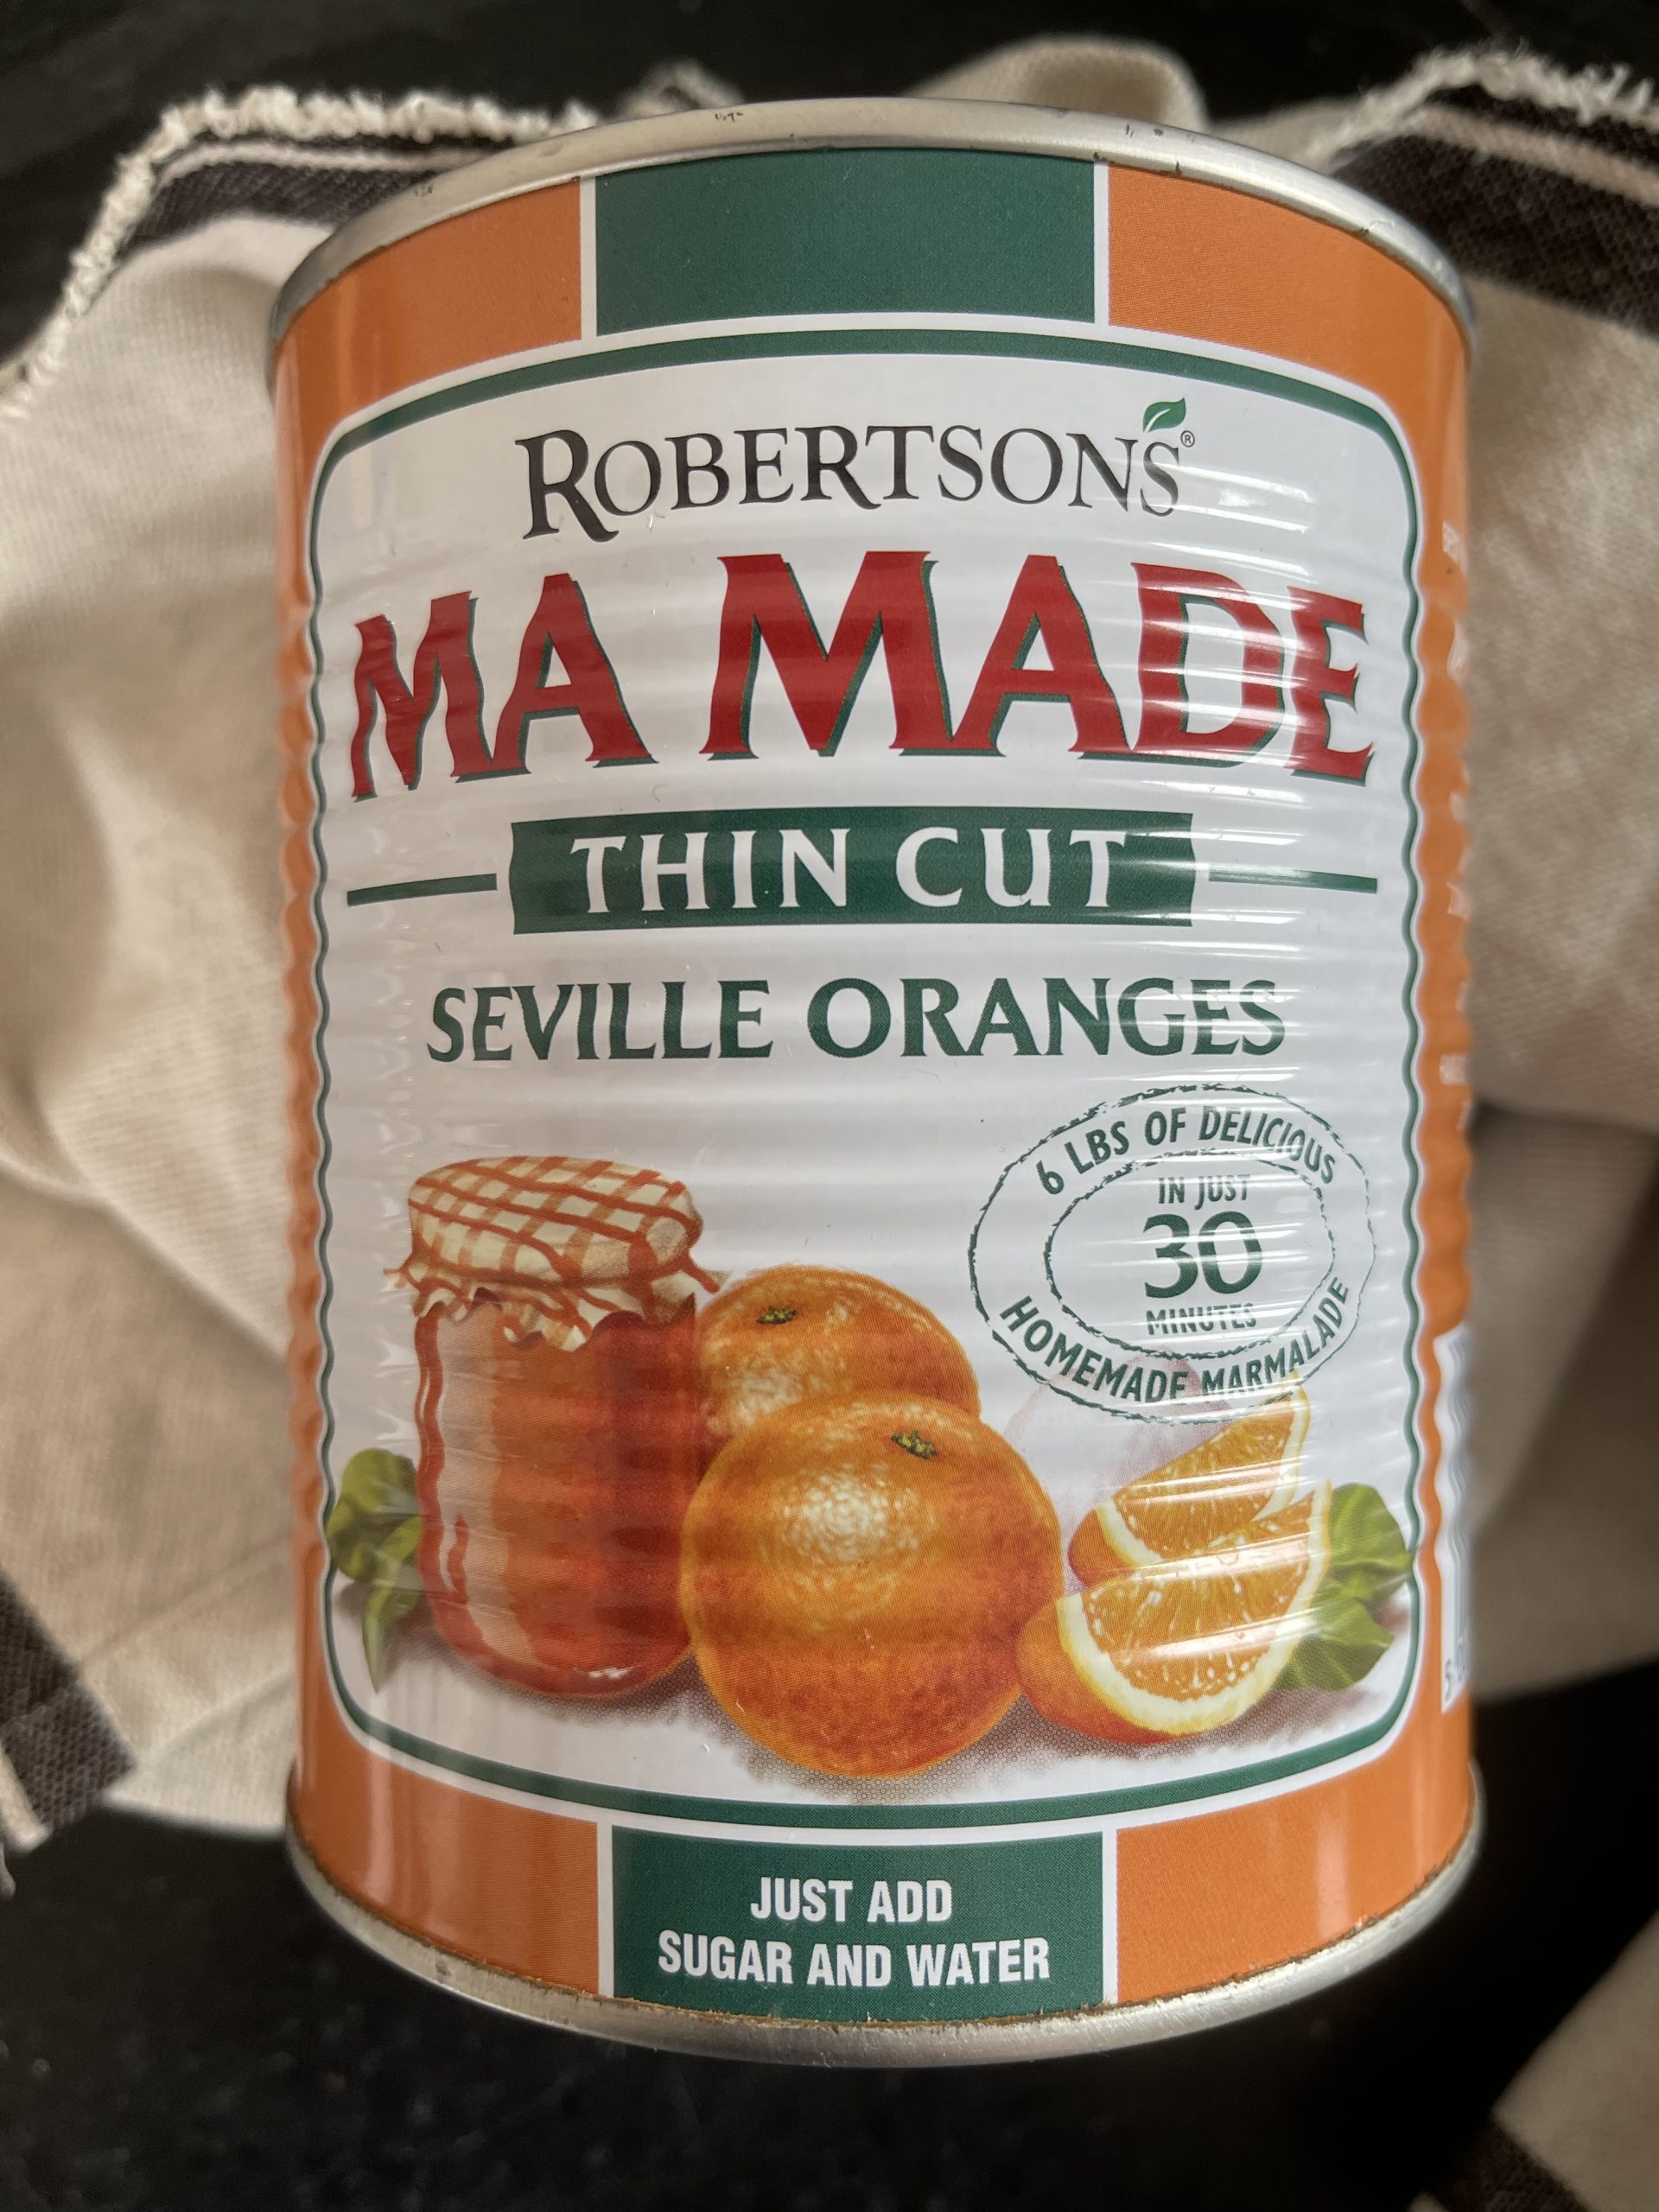
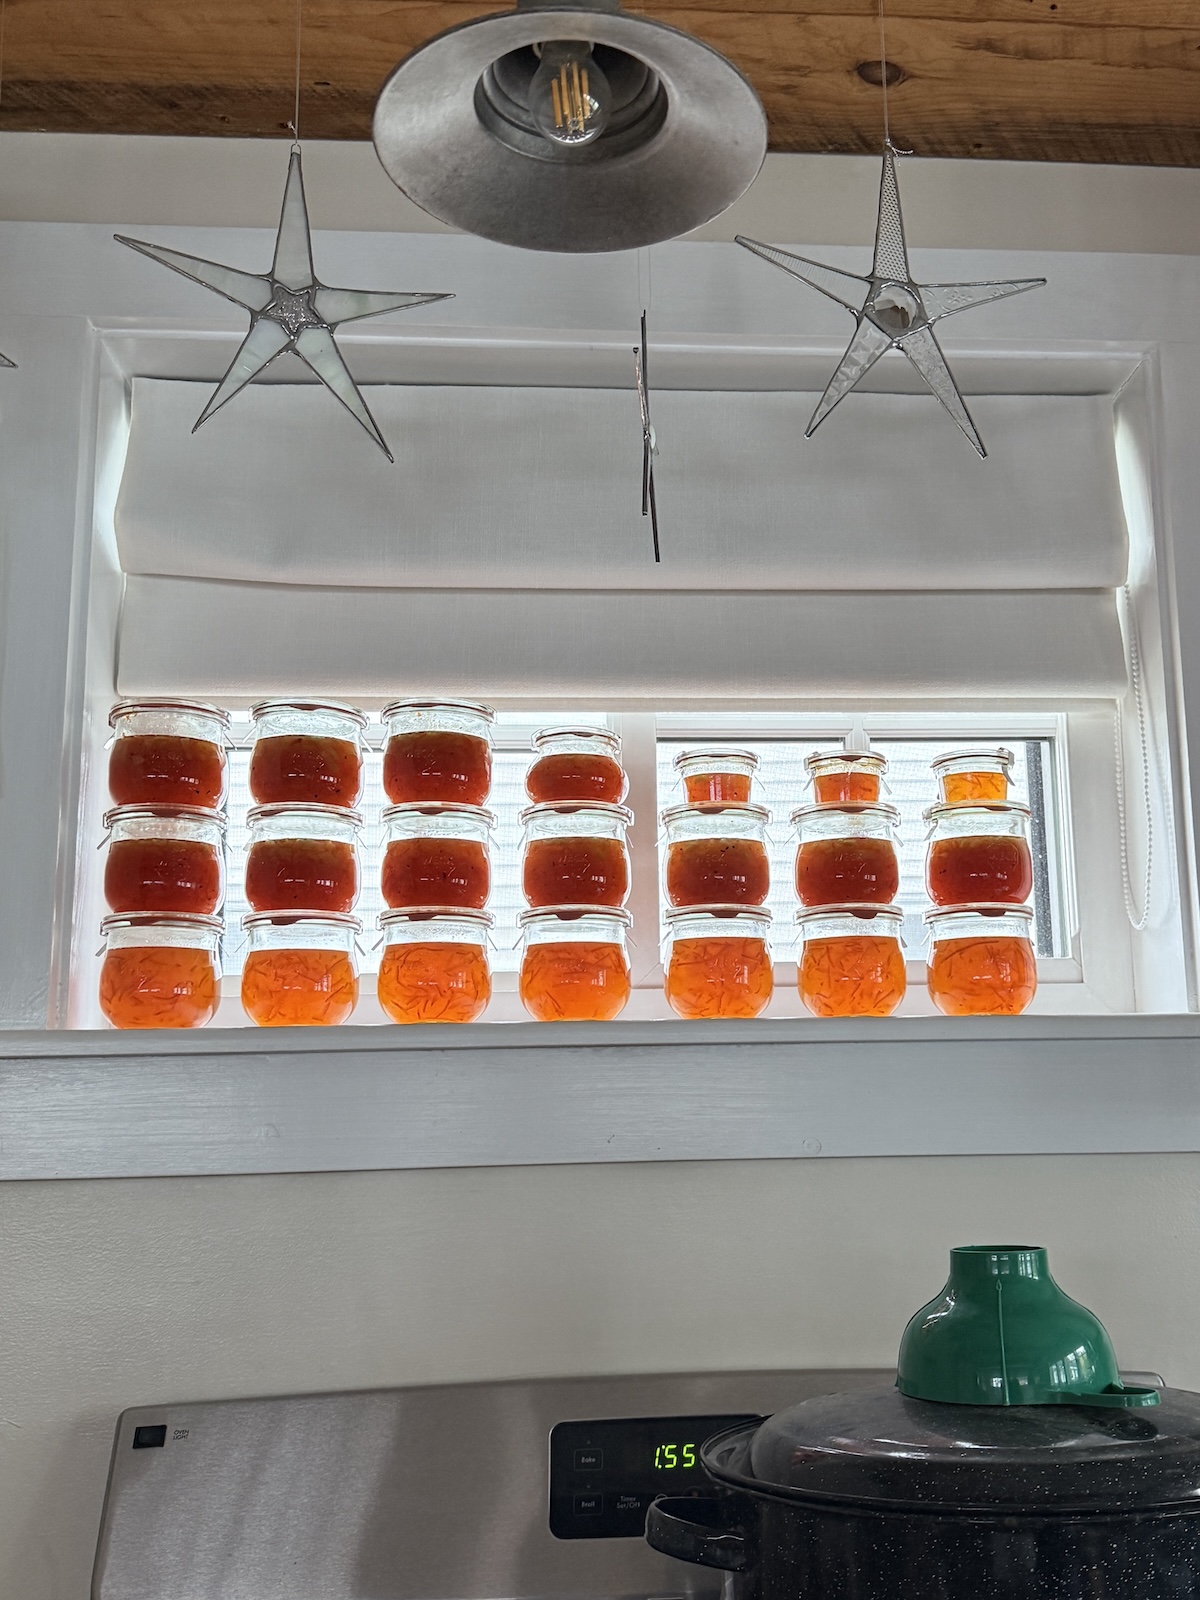
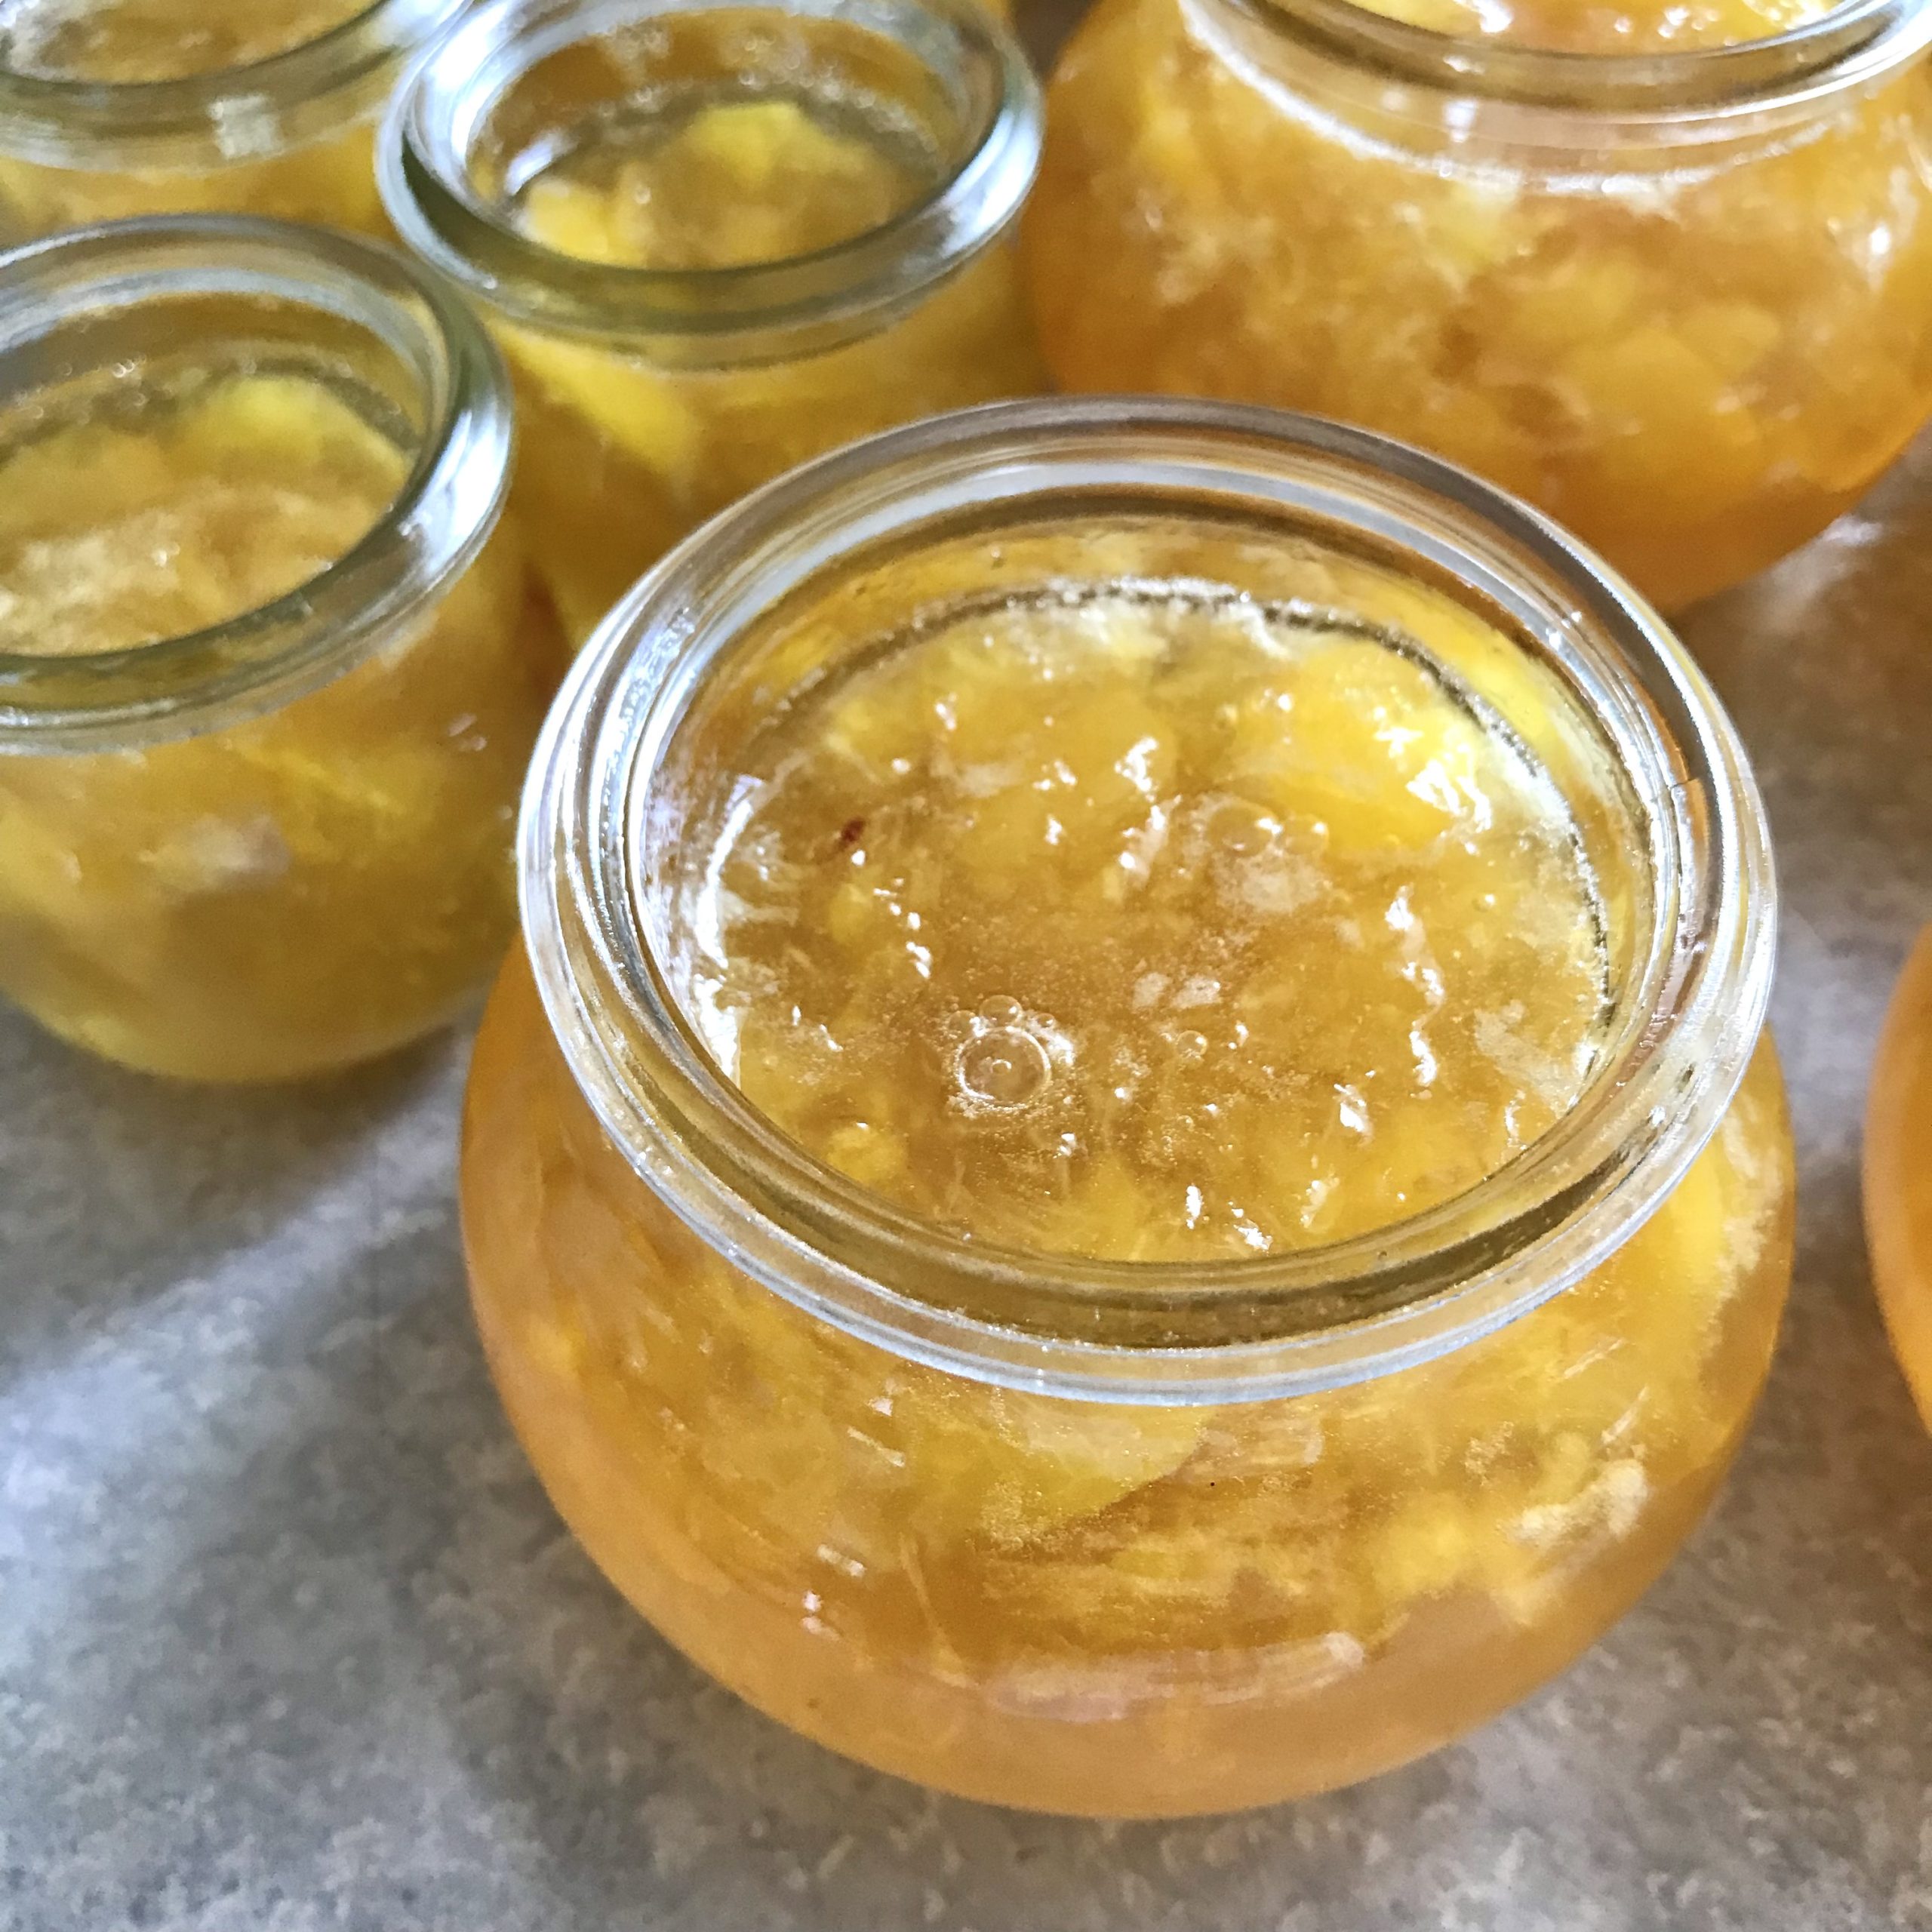
Robertson’s Mamade Orange Marmalade Recipe
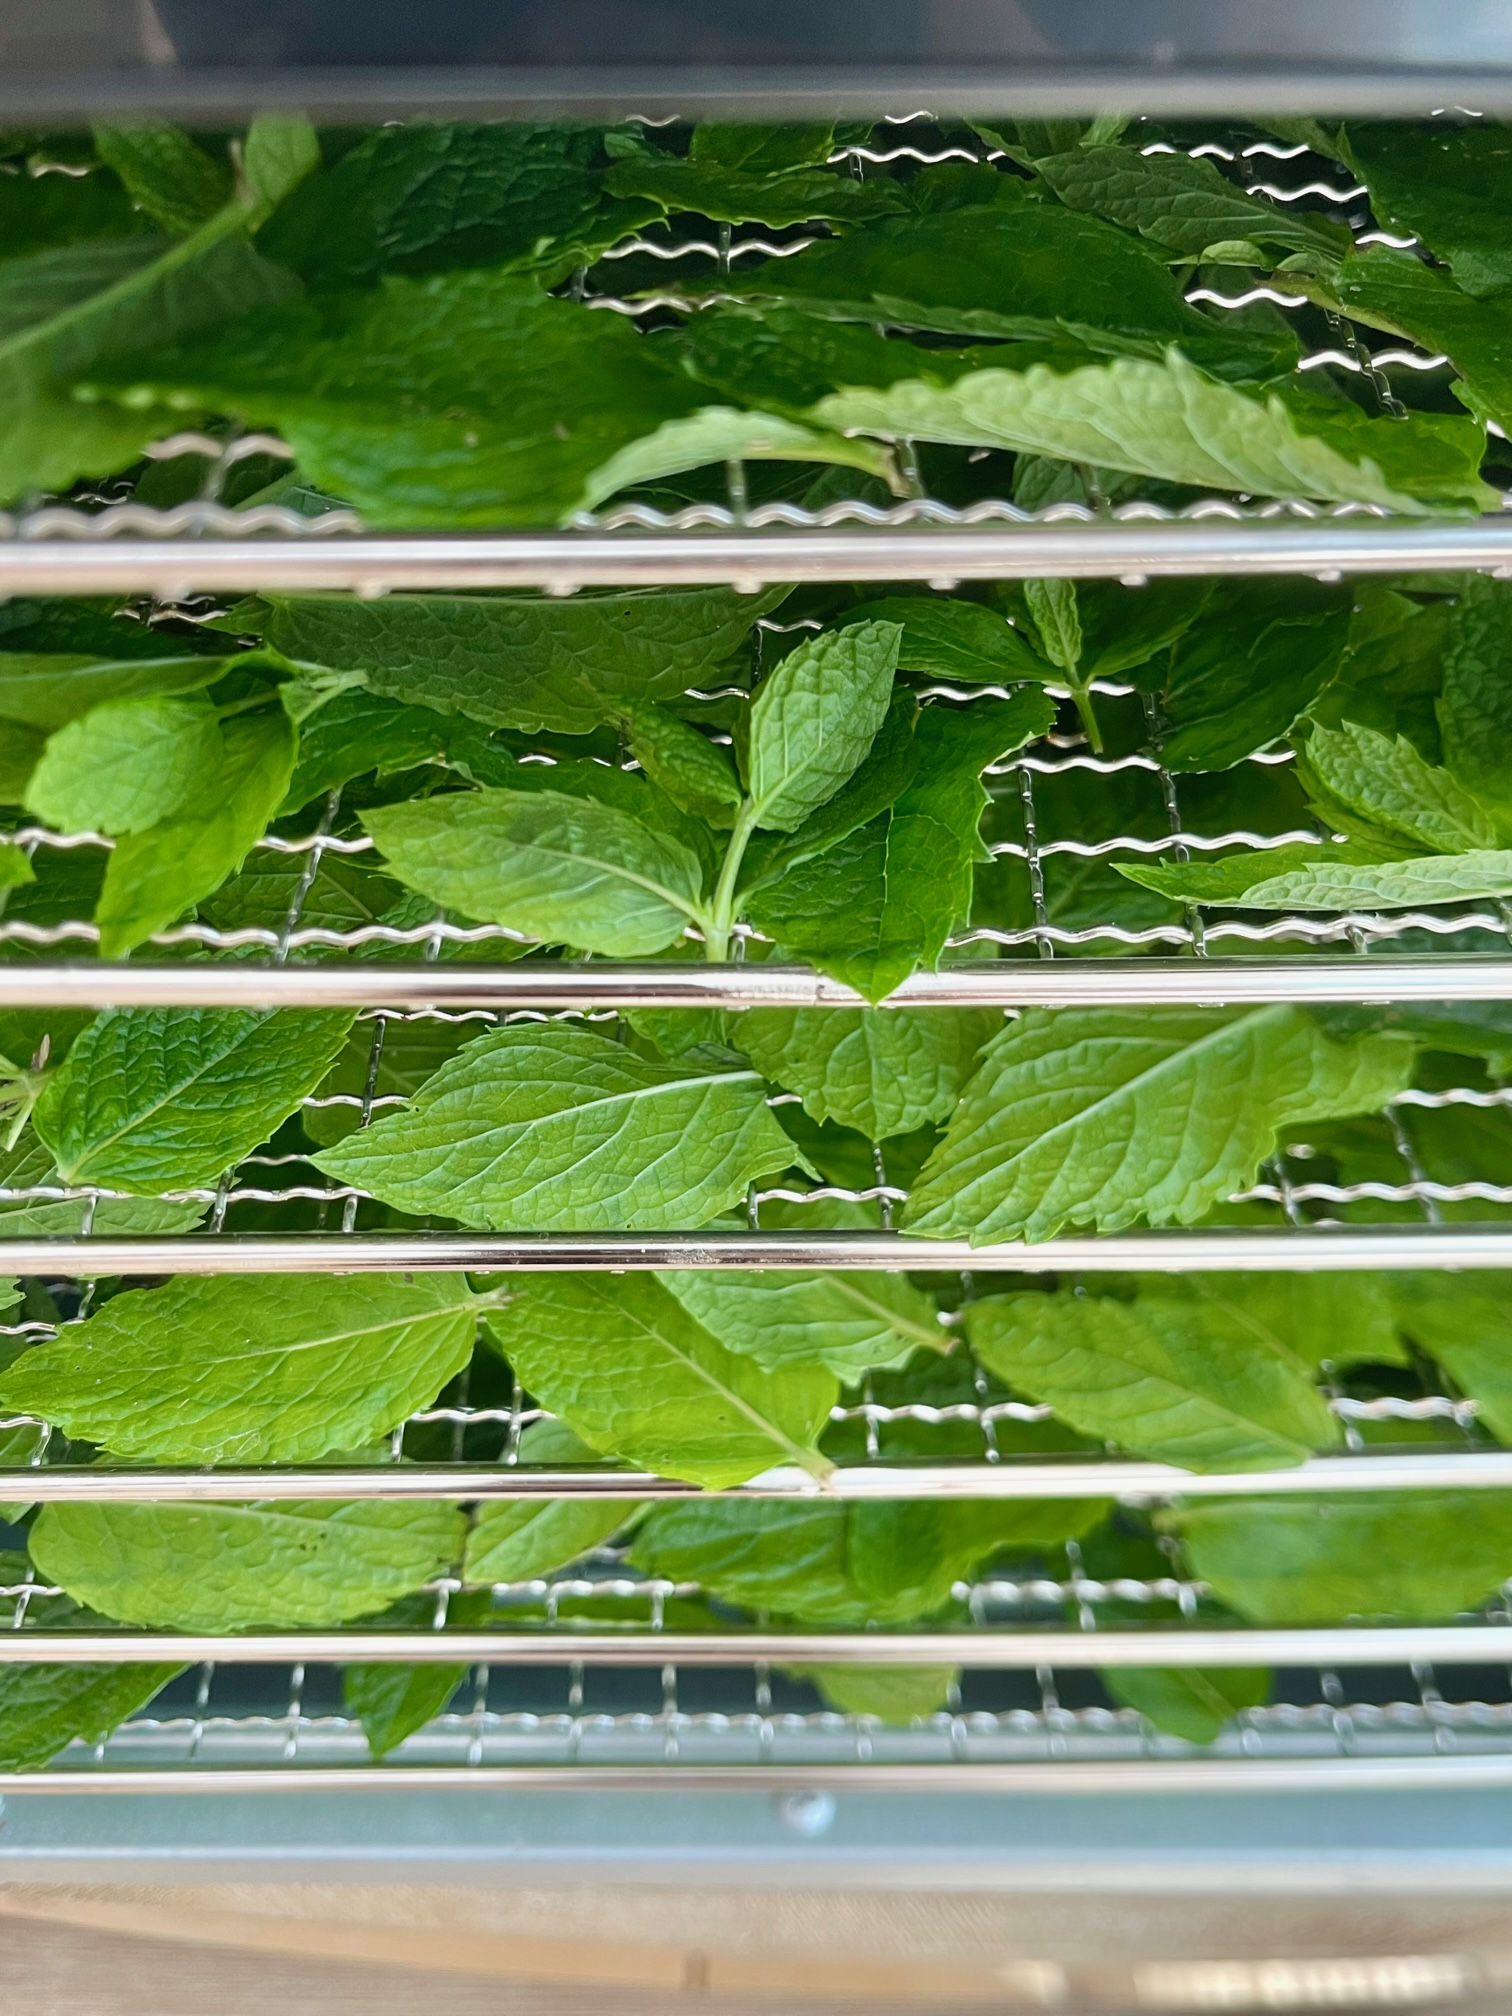
Drying Mint Leaves In A Dehydrator
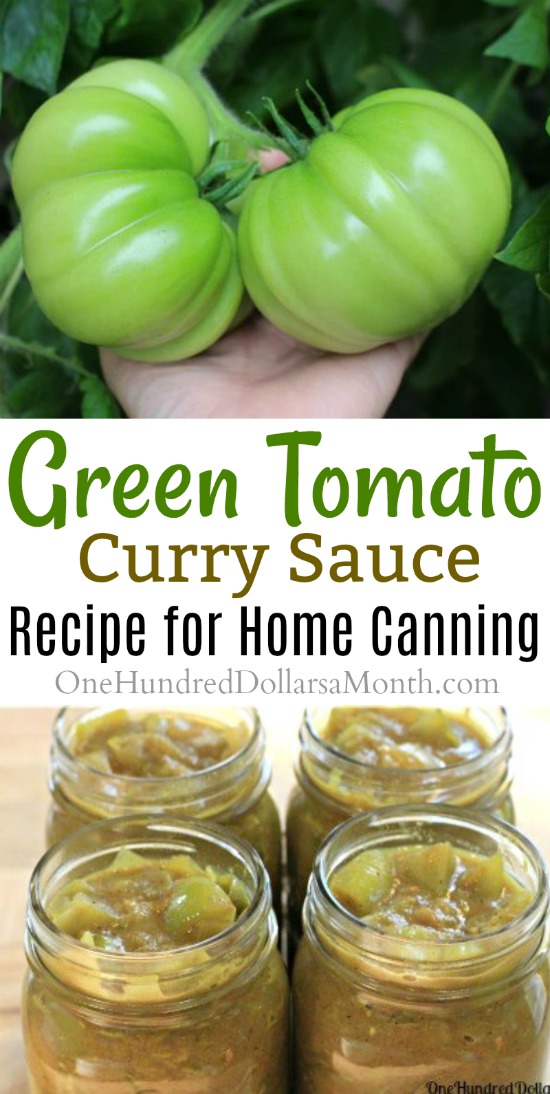
Green Tomato Curry Sauce Canning Recipe
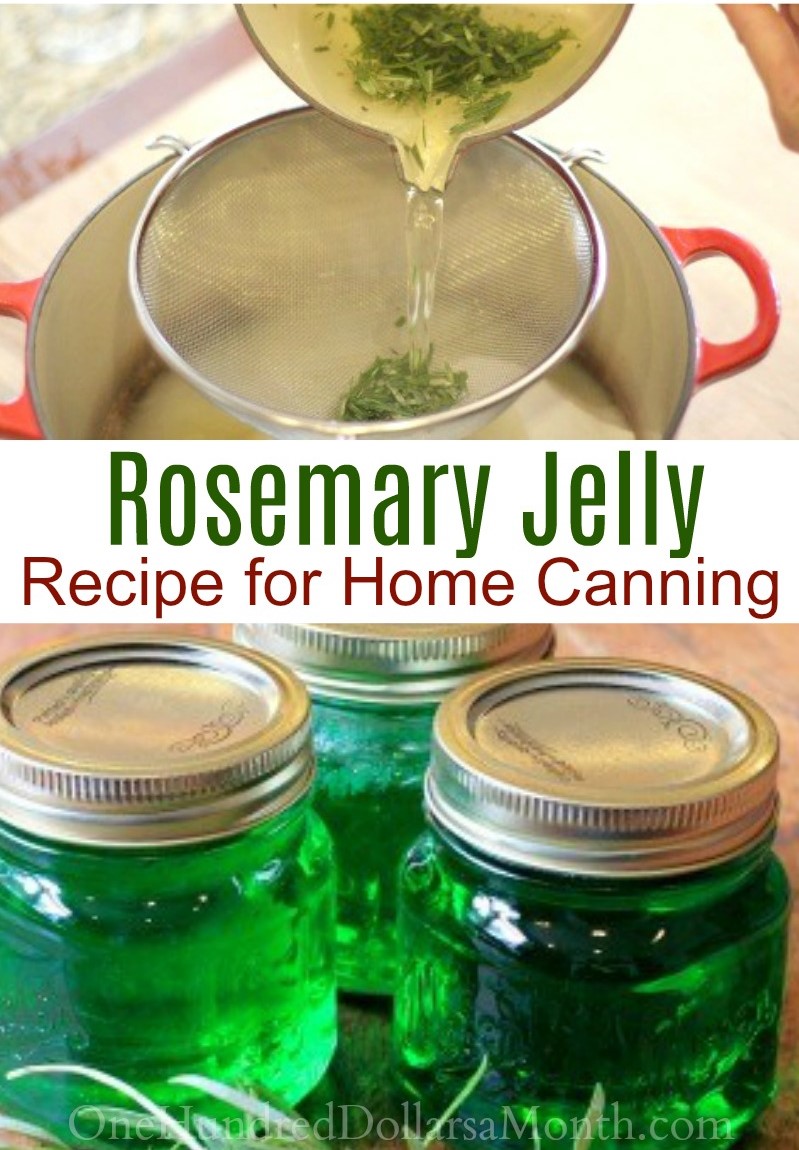
Rosemary Jelly
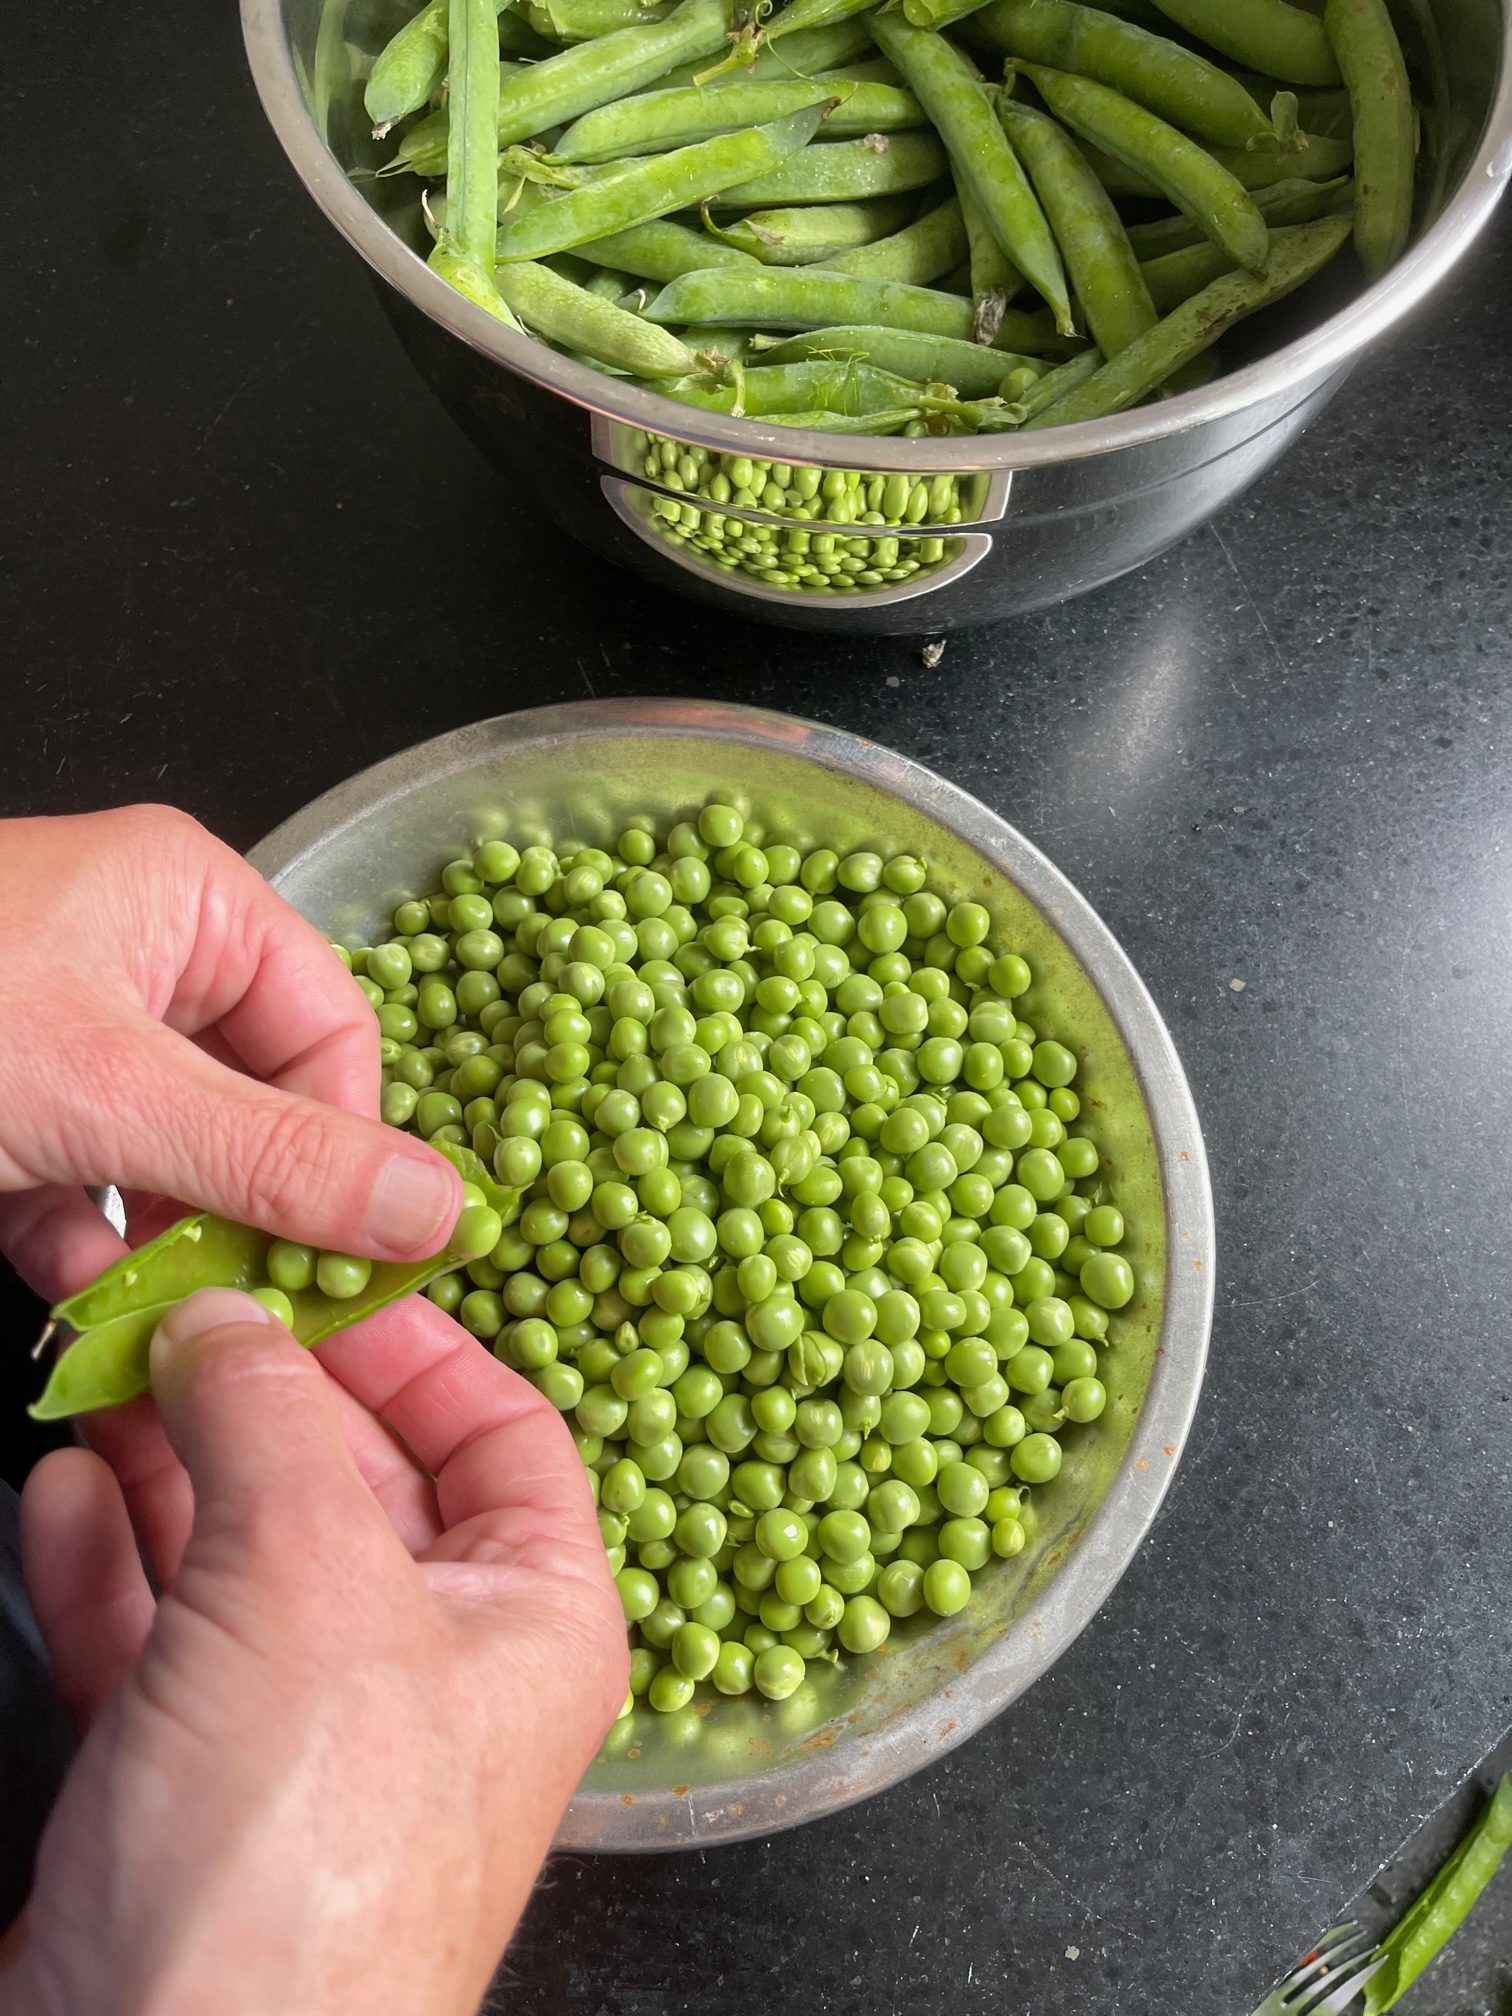
How To Freeze Peas
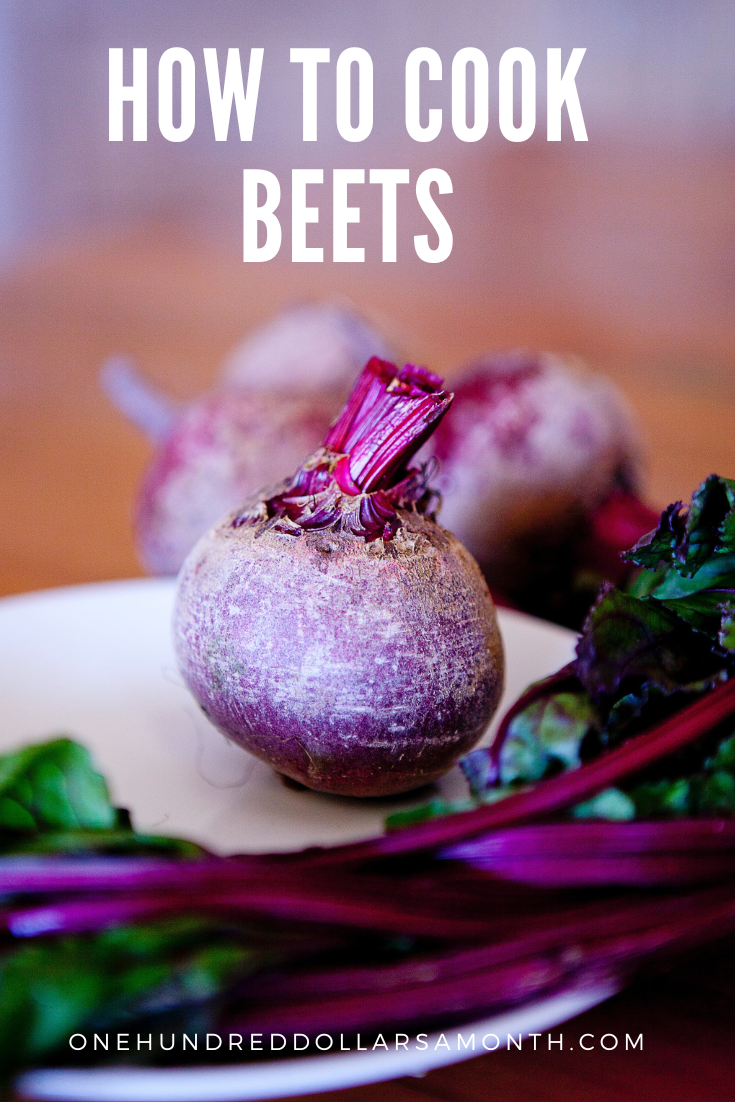
How to Cook Beets
How to Dry Herbs
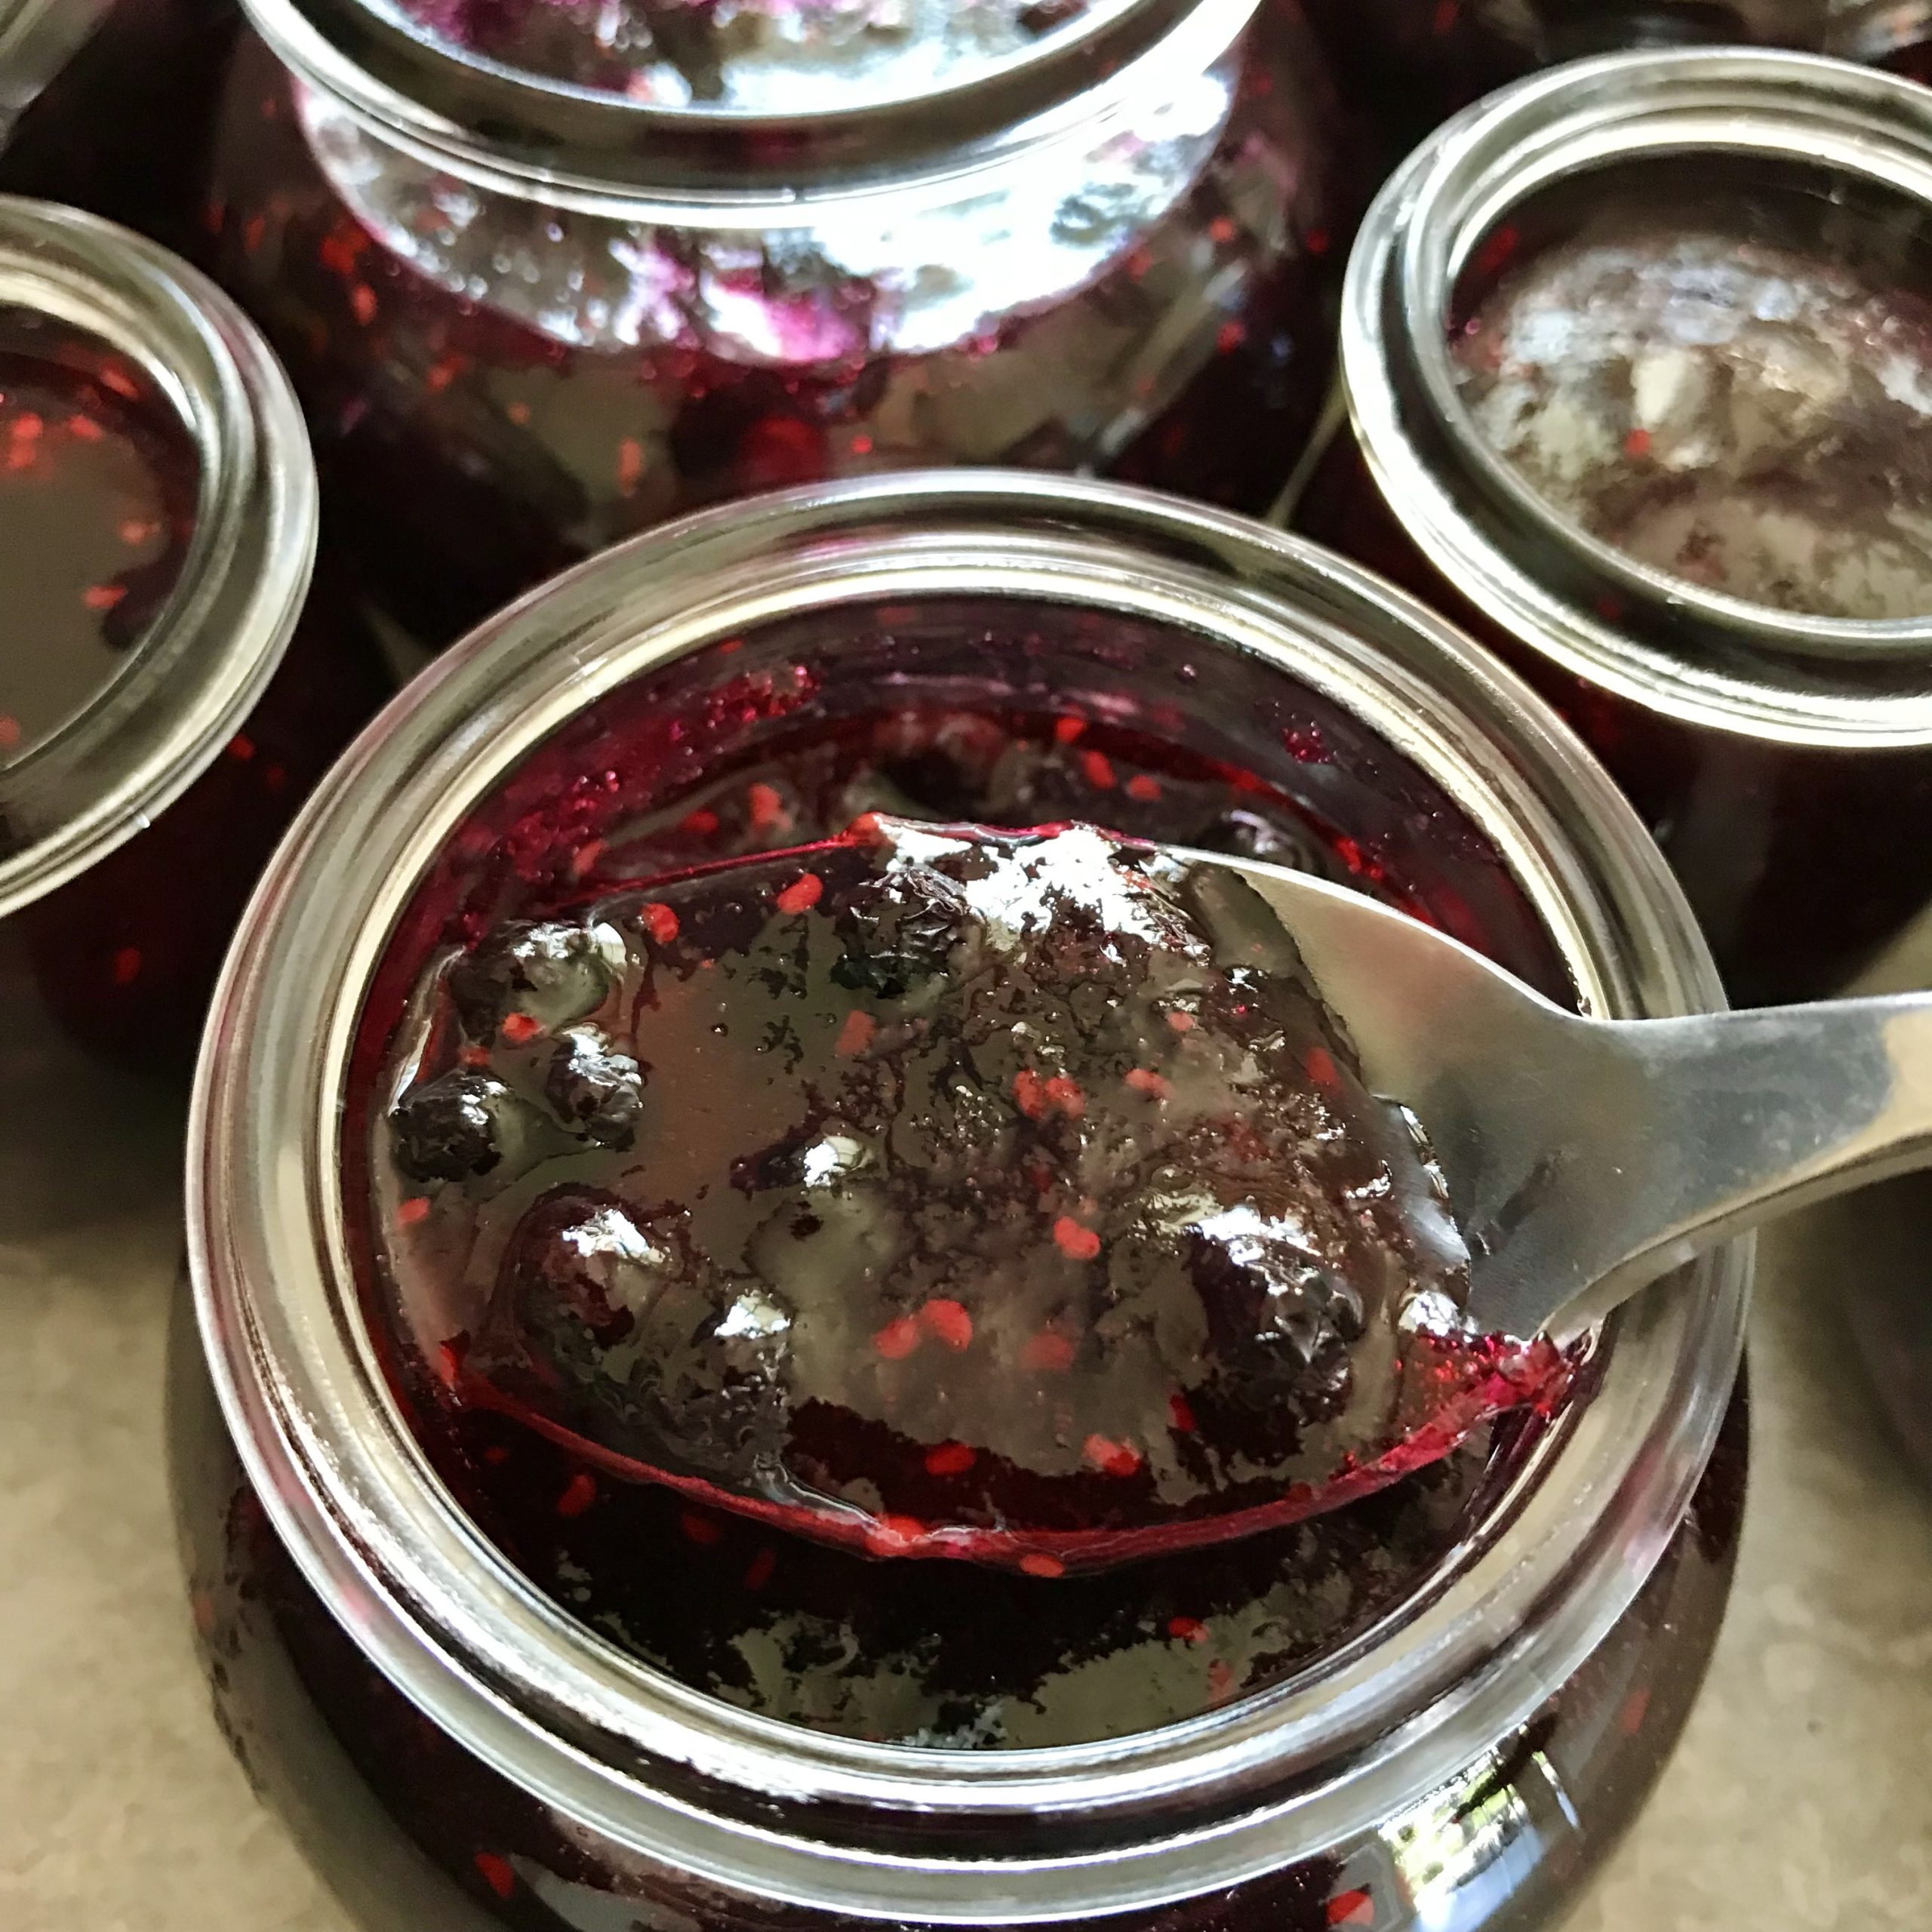
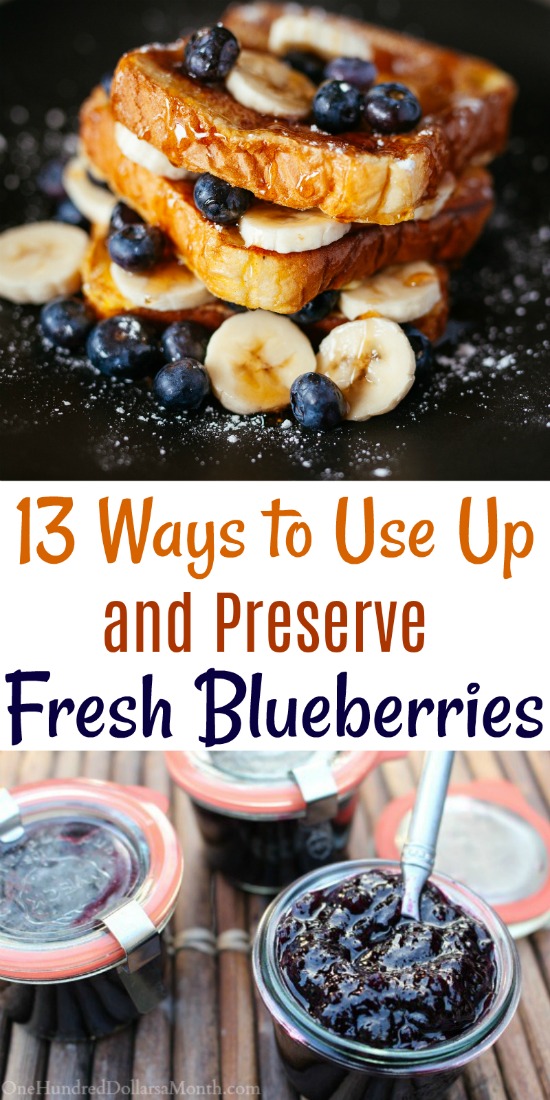
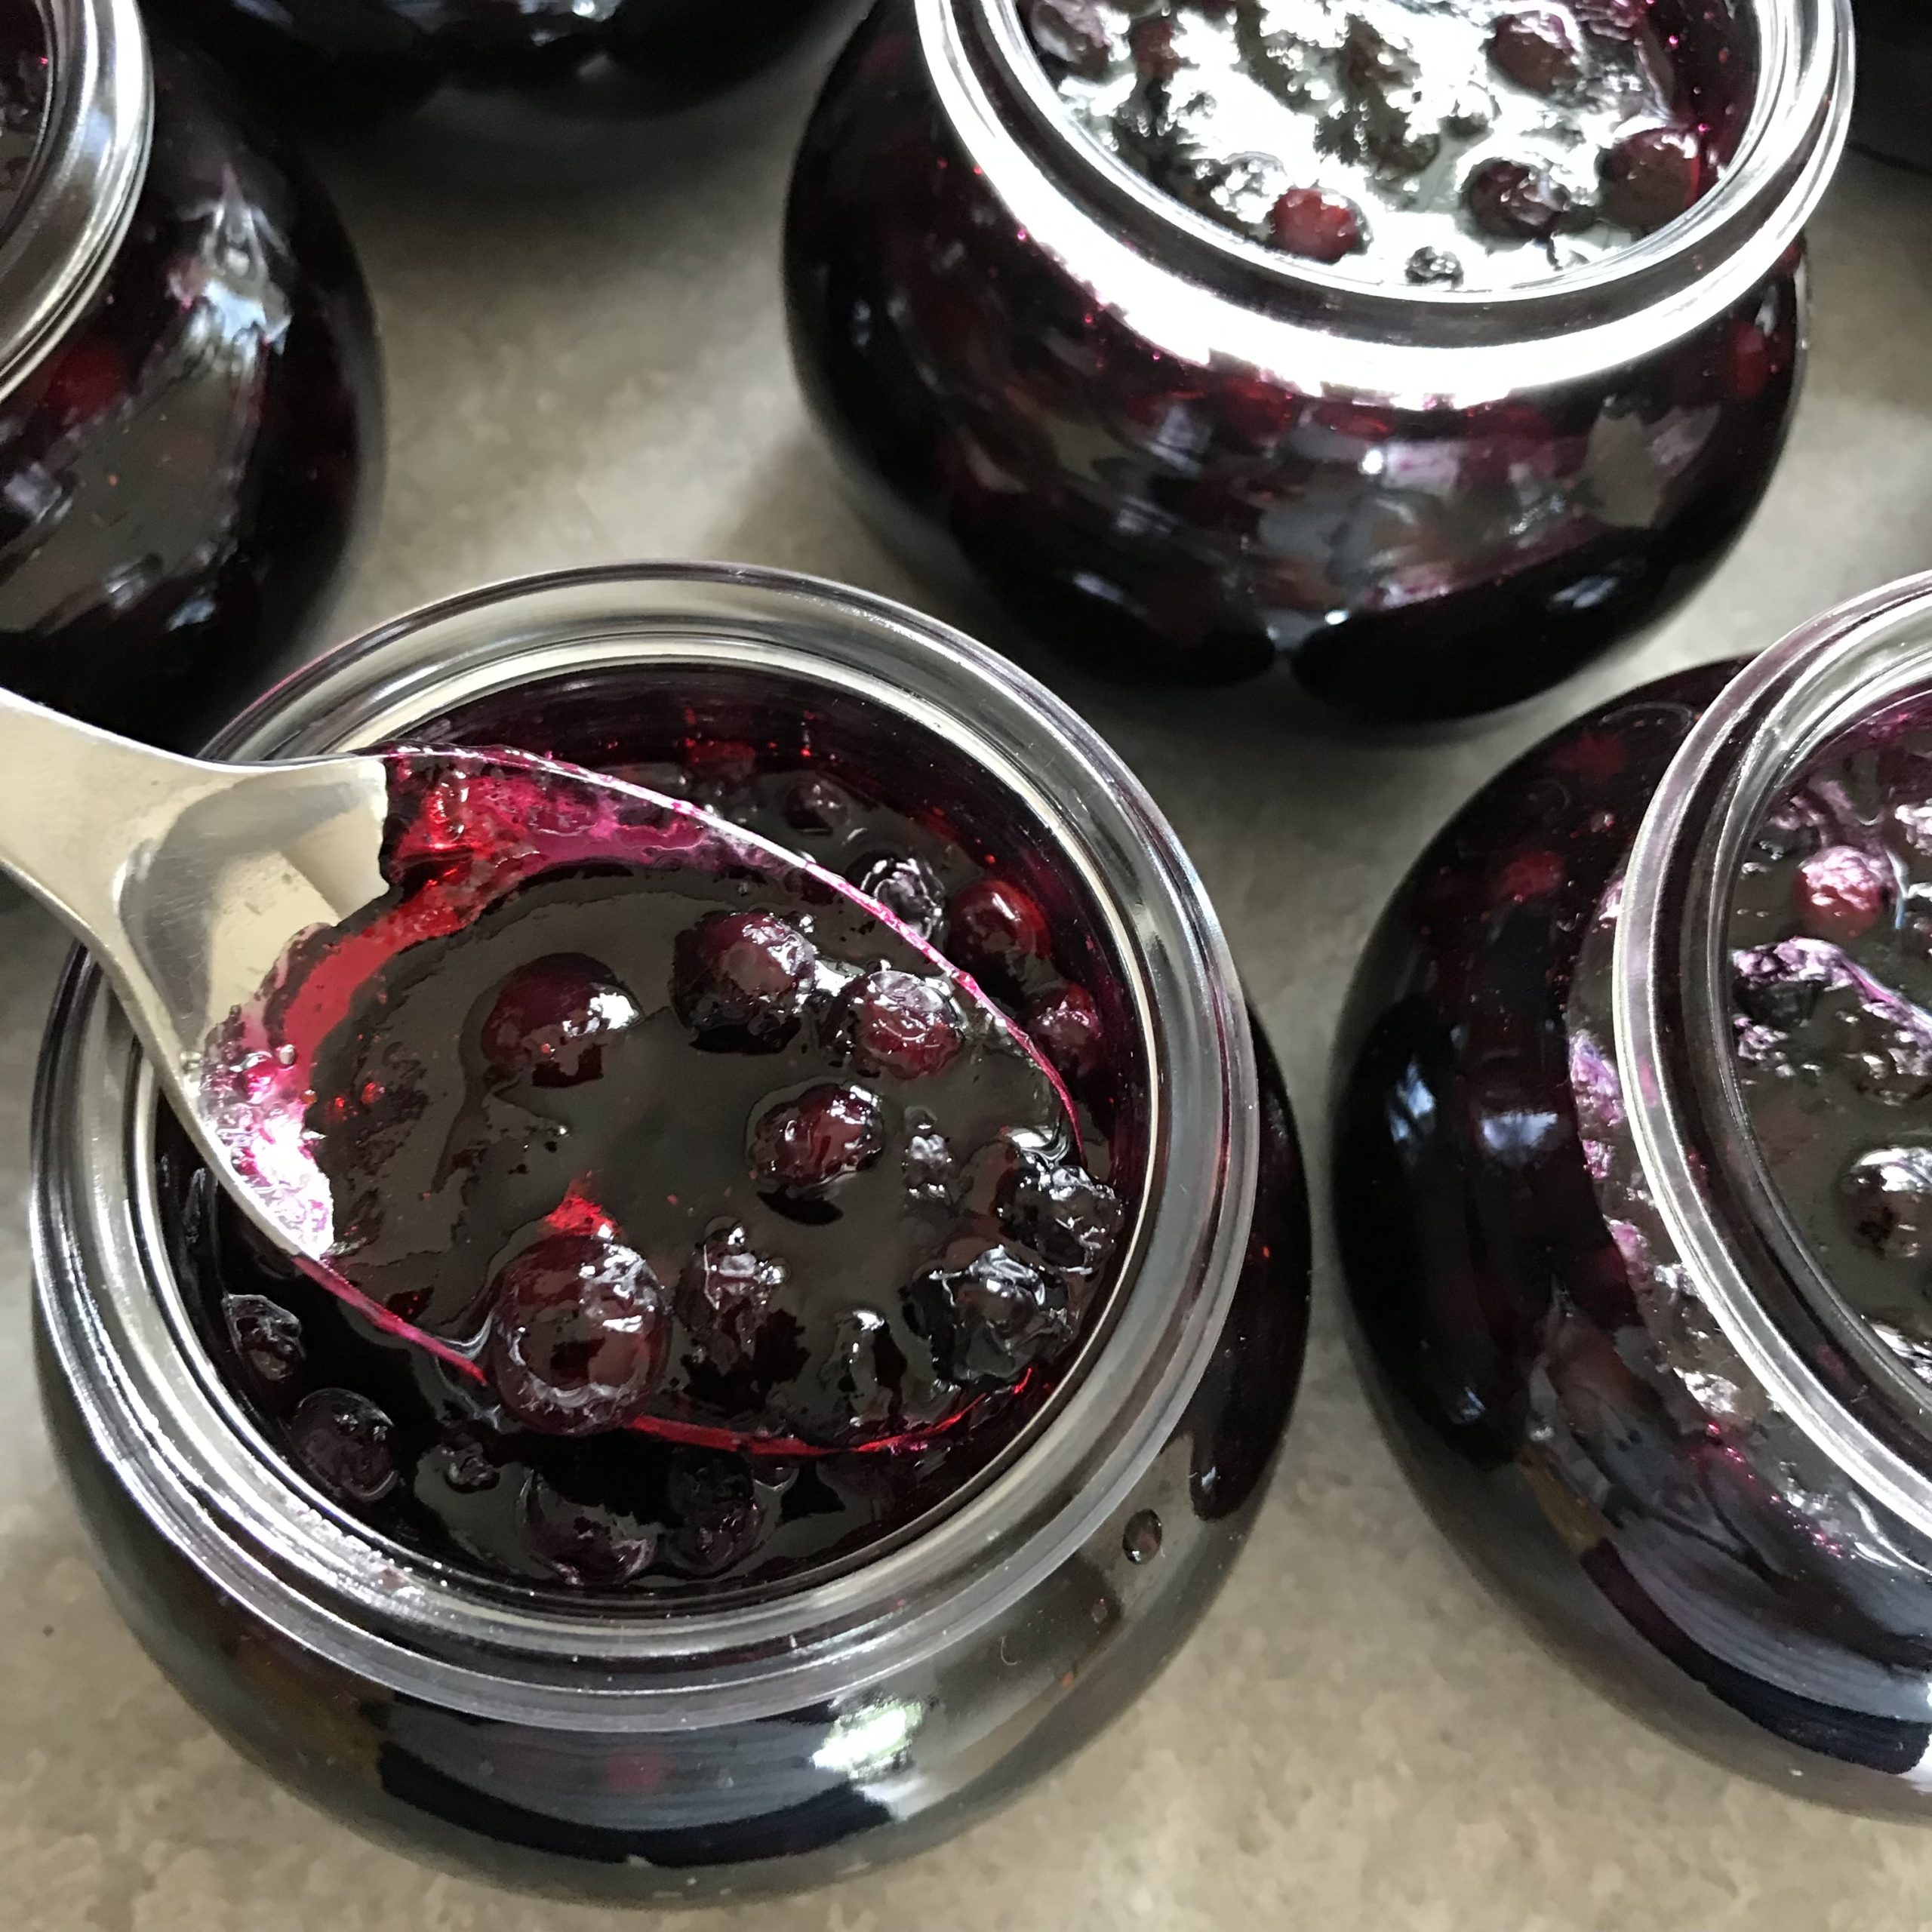
Blueberry Jam Recipes
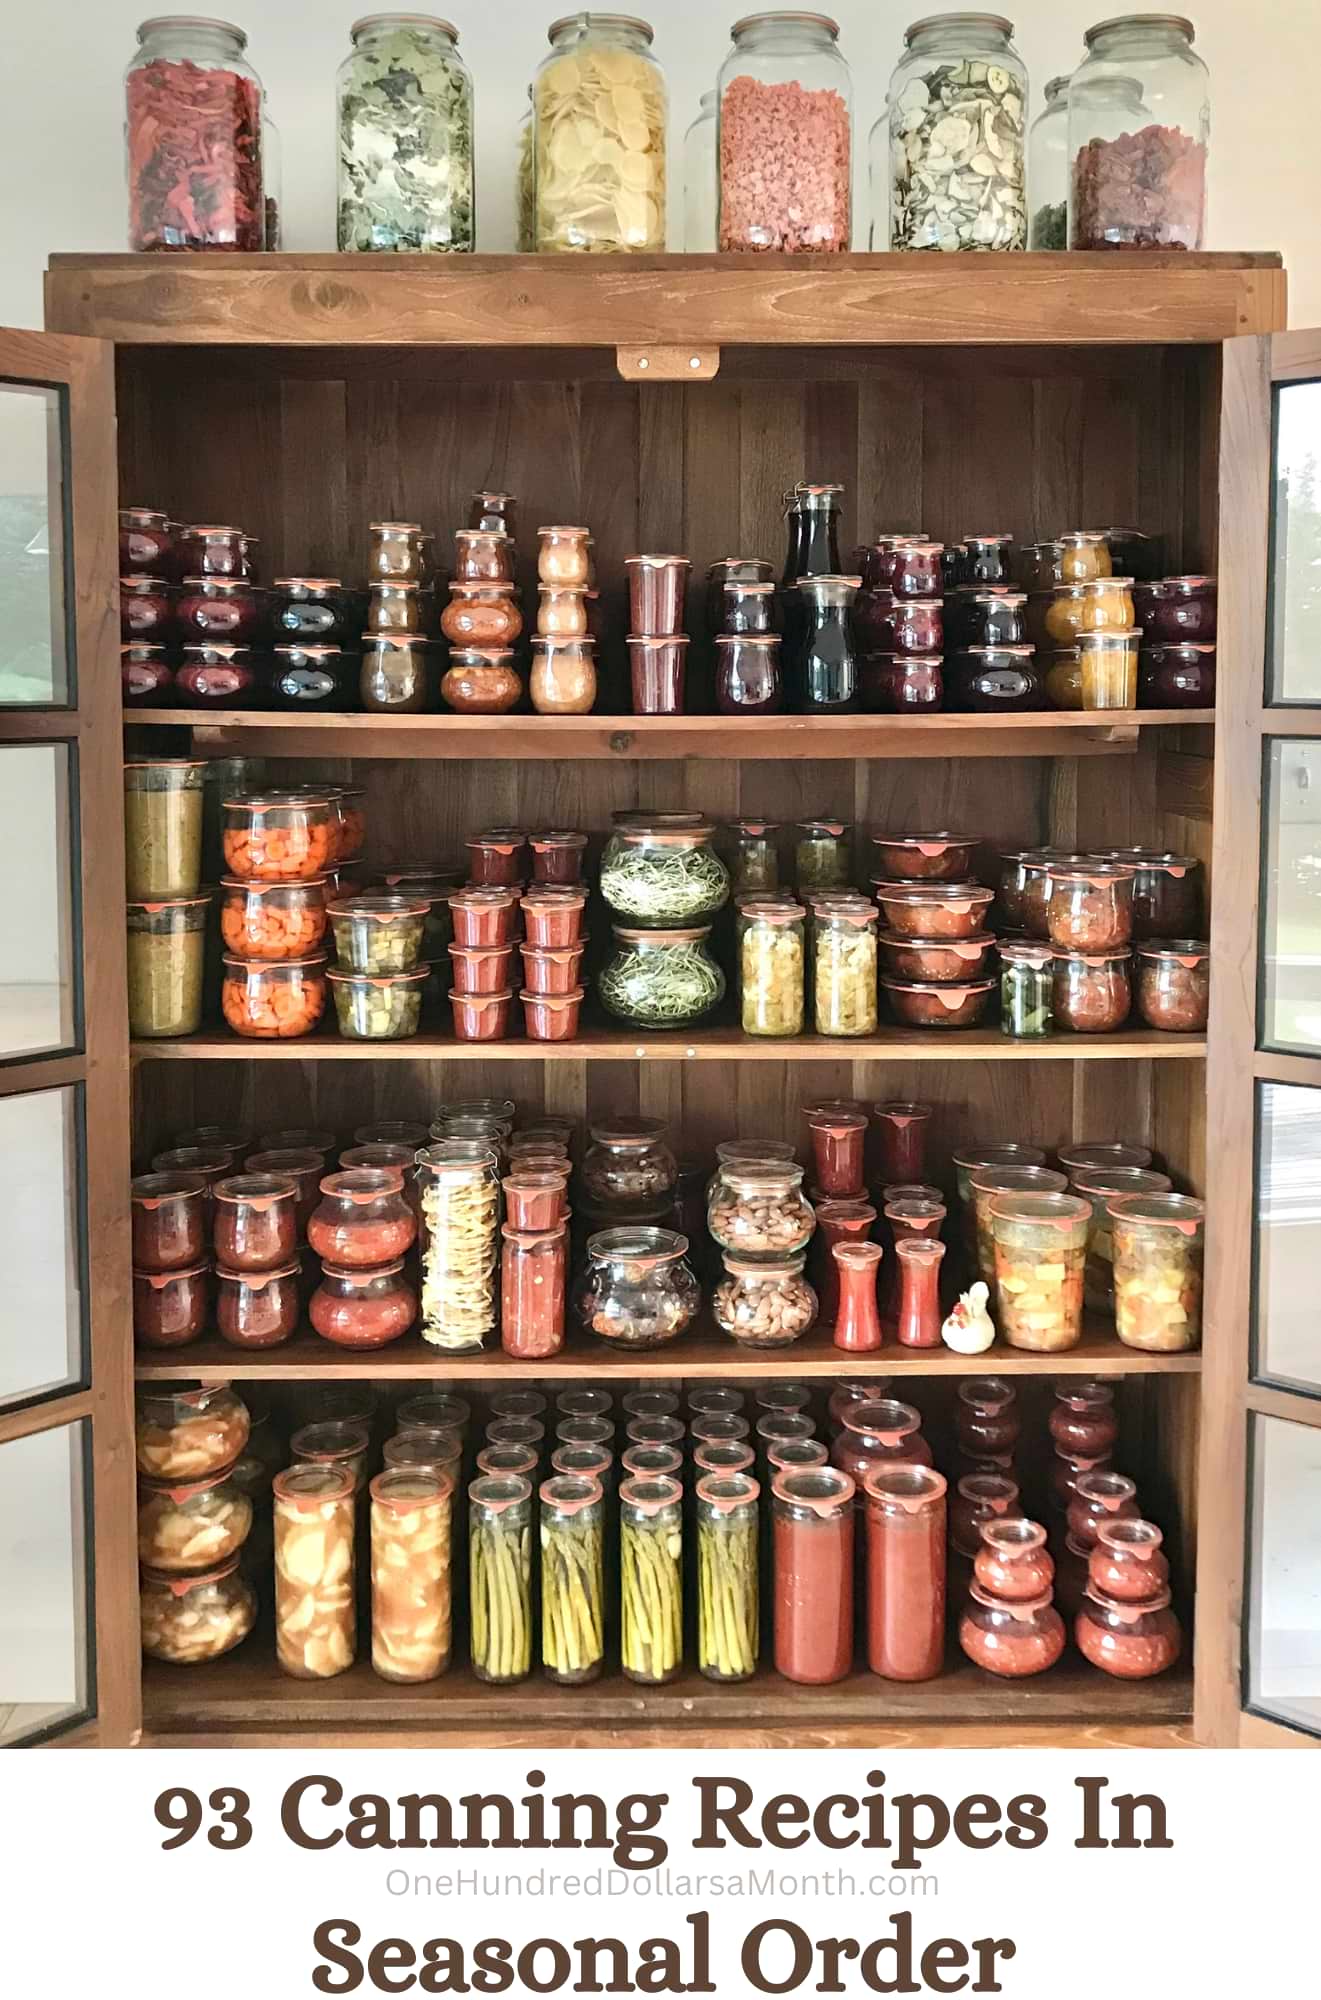
93 Canning Recipes In Seasonal Order
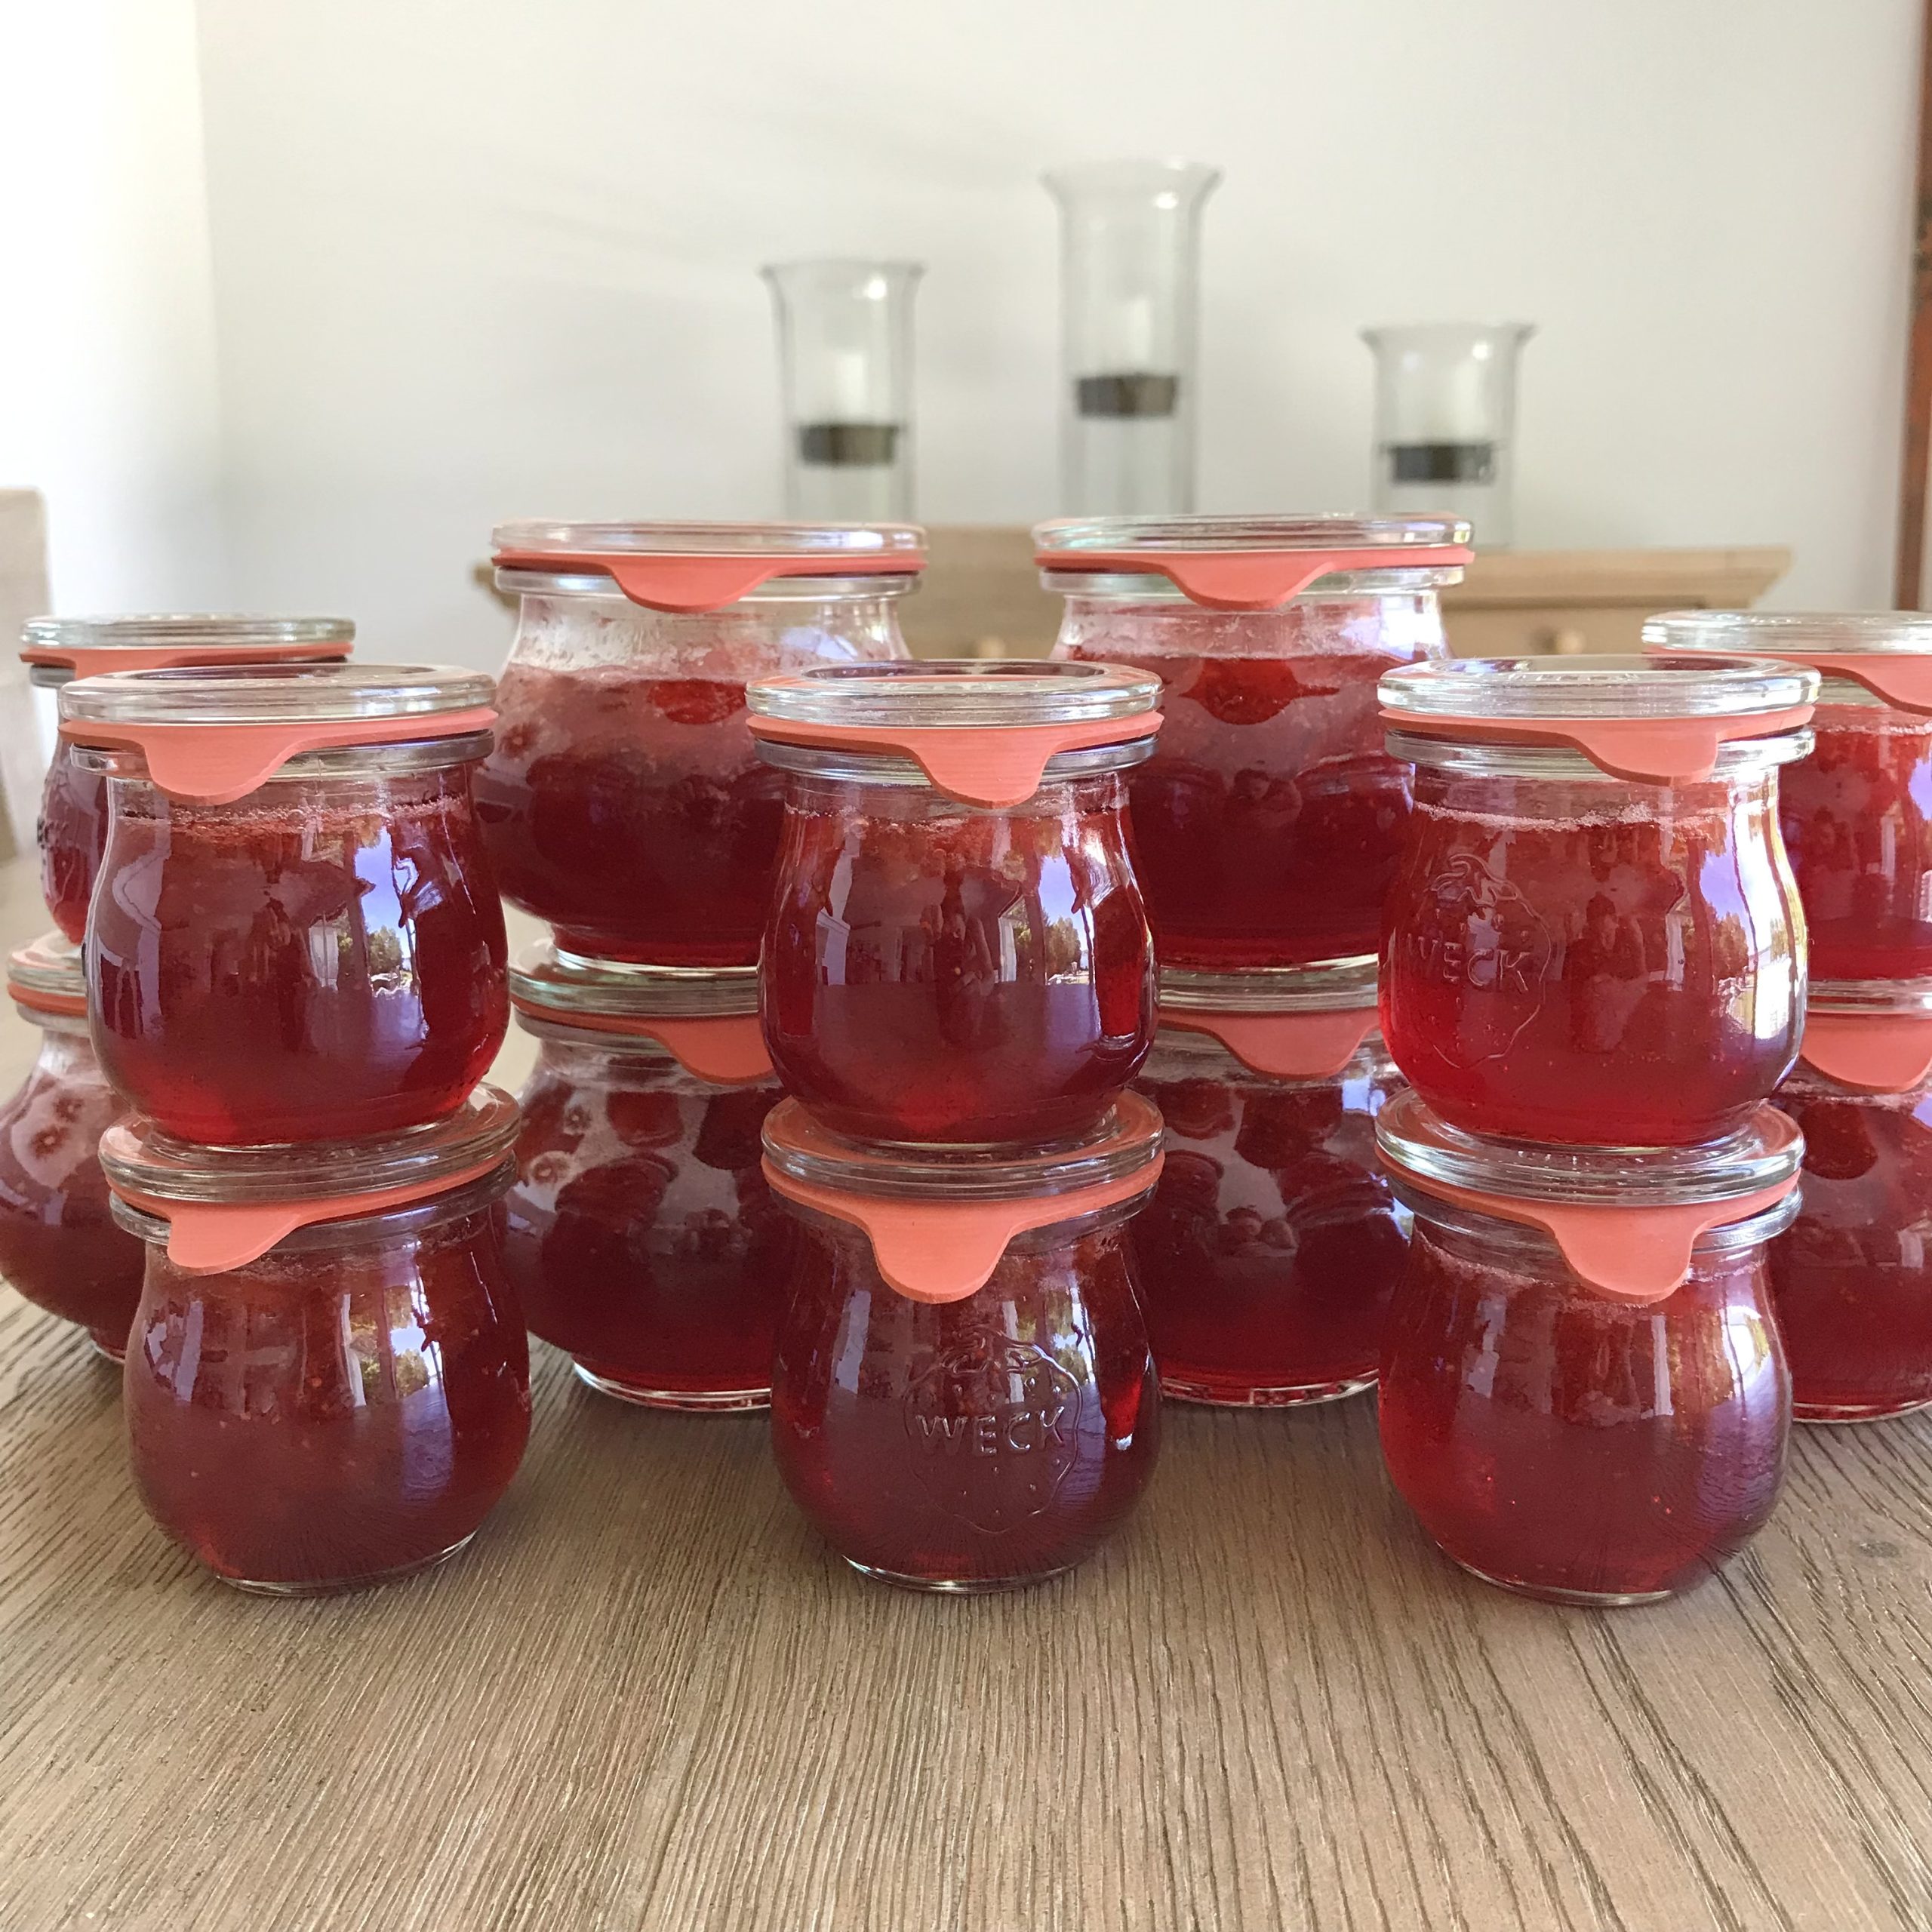
Cranberry Sauce Recipe for Home Canning
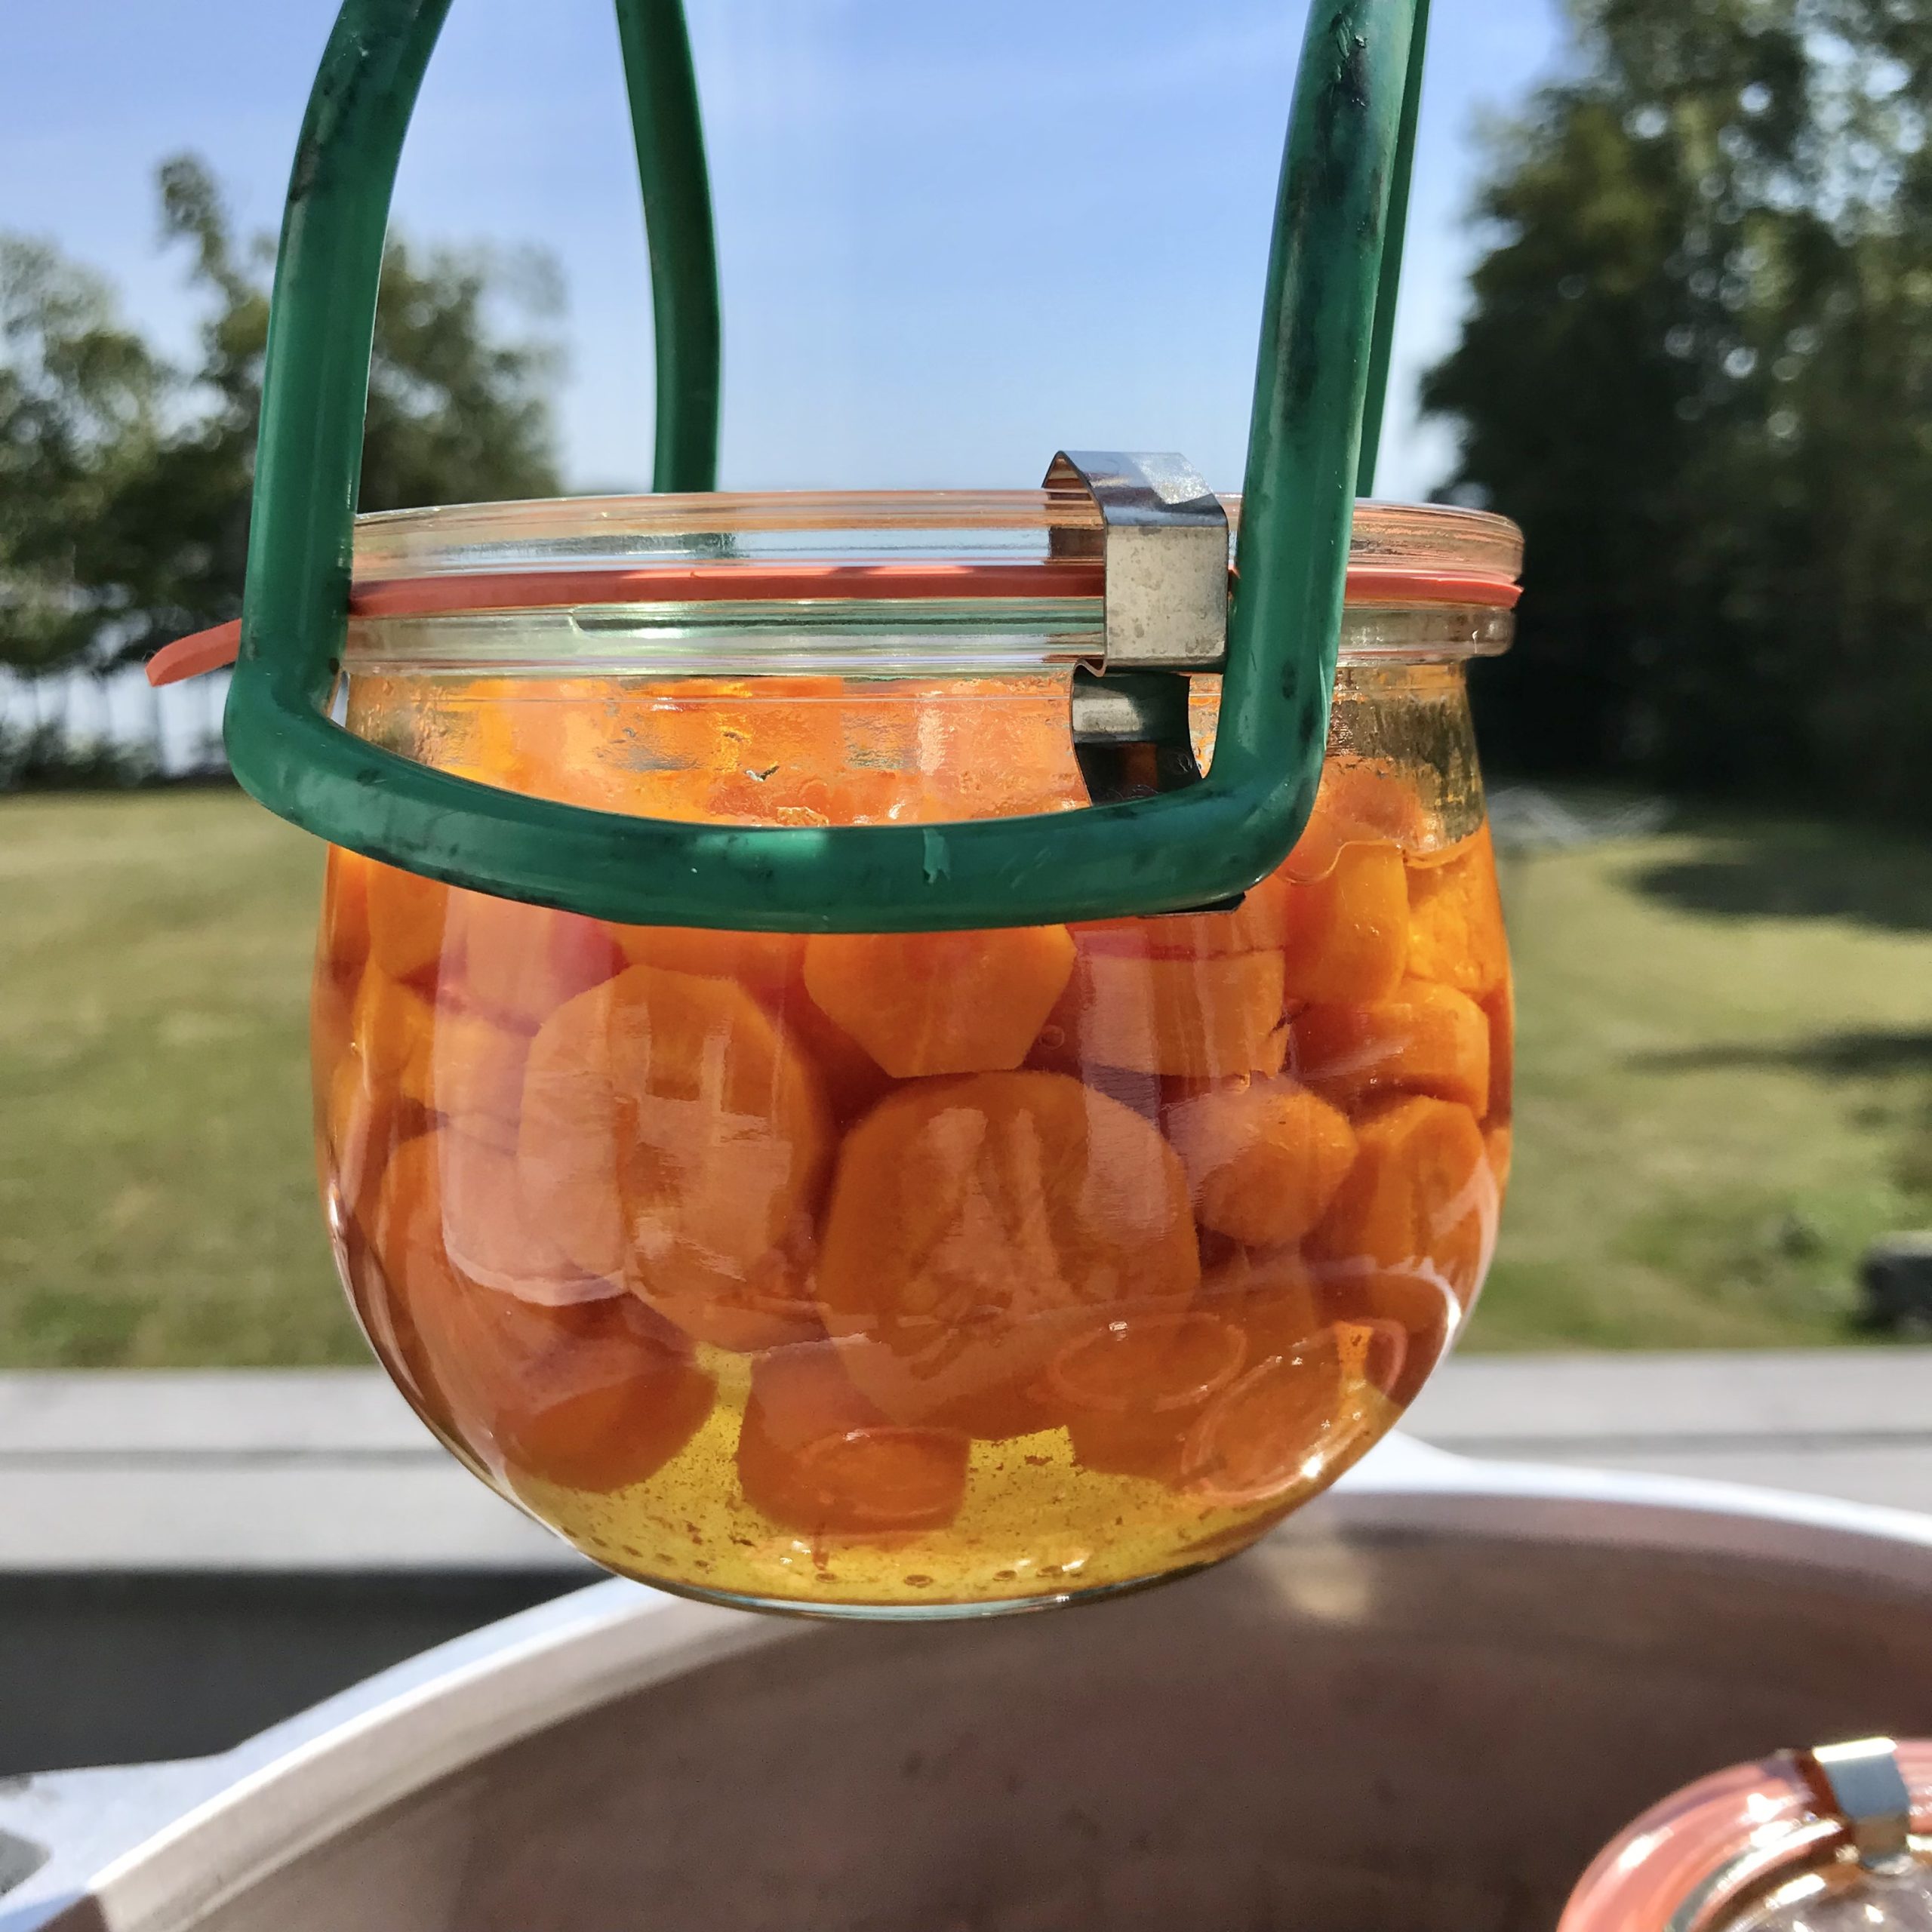
How to Can Carrots
Apple Pie Filling Recipe For Home Canning
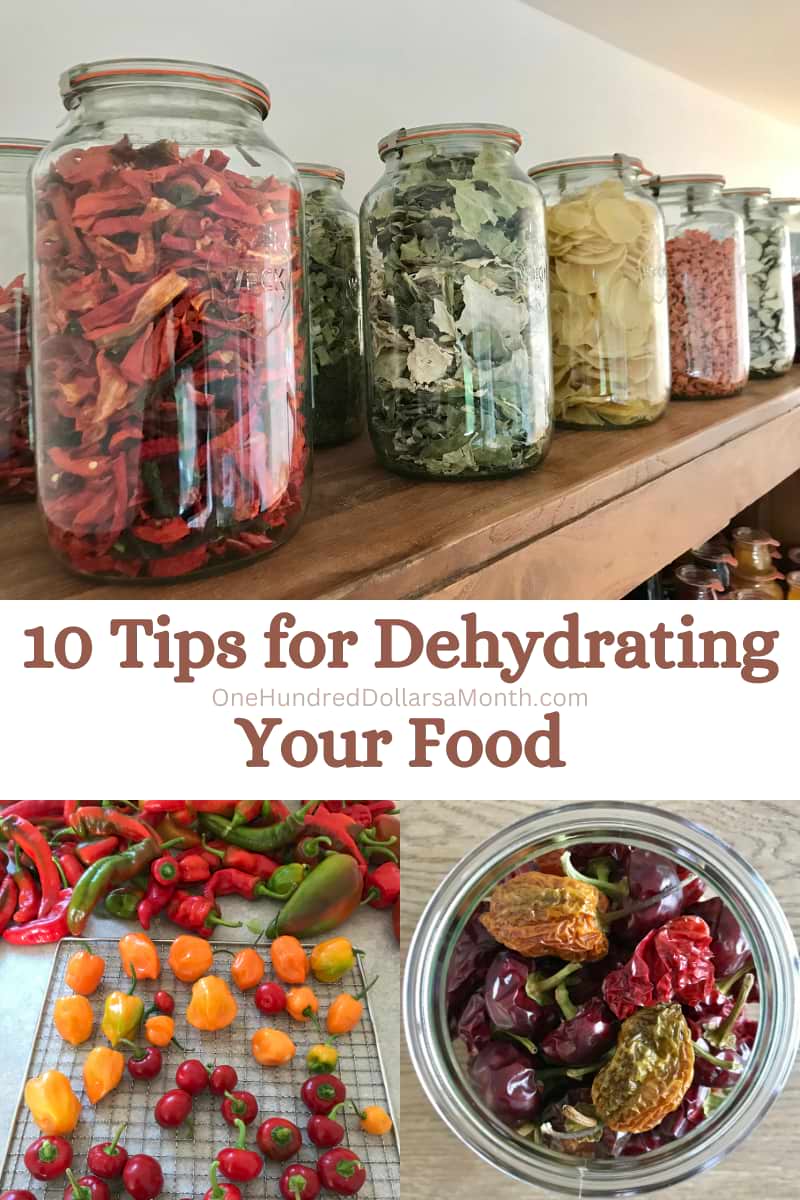
10 Tips for Dehydrating Your Food
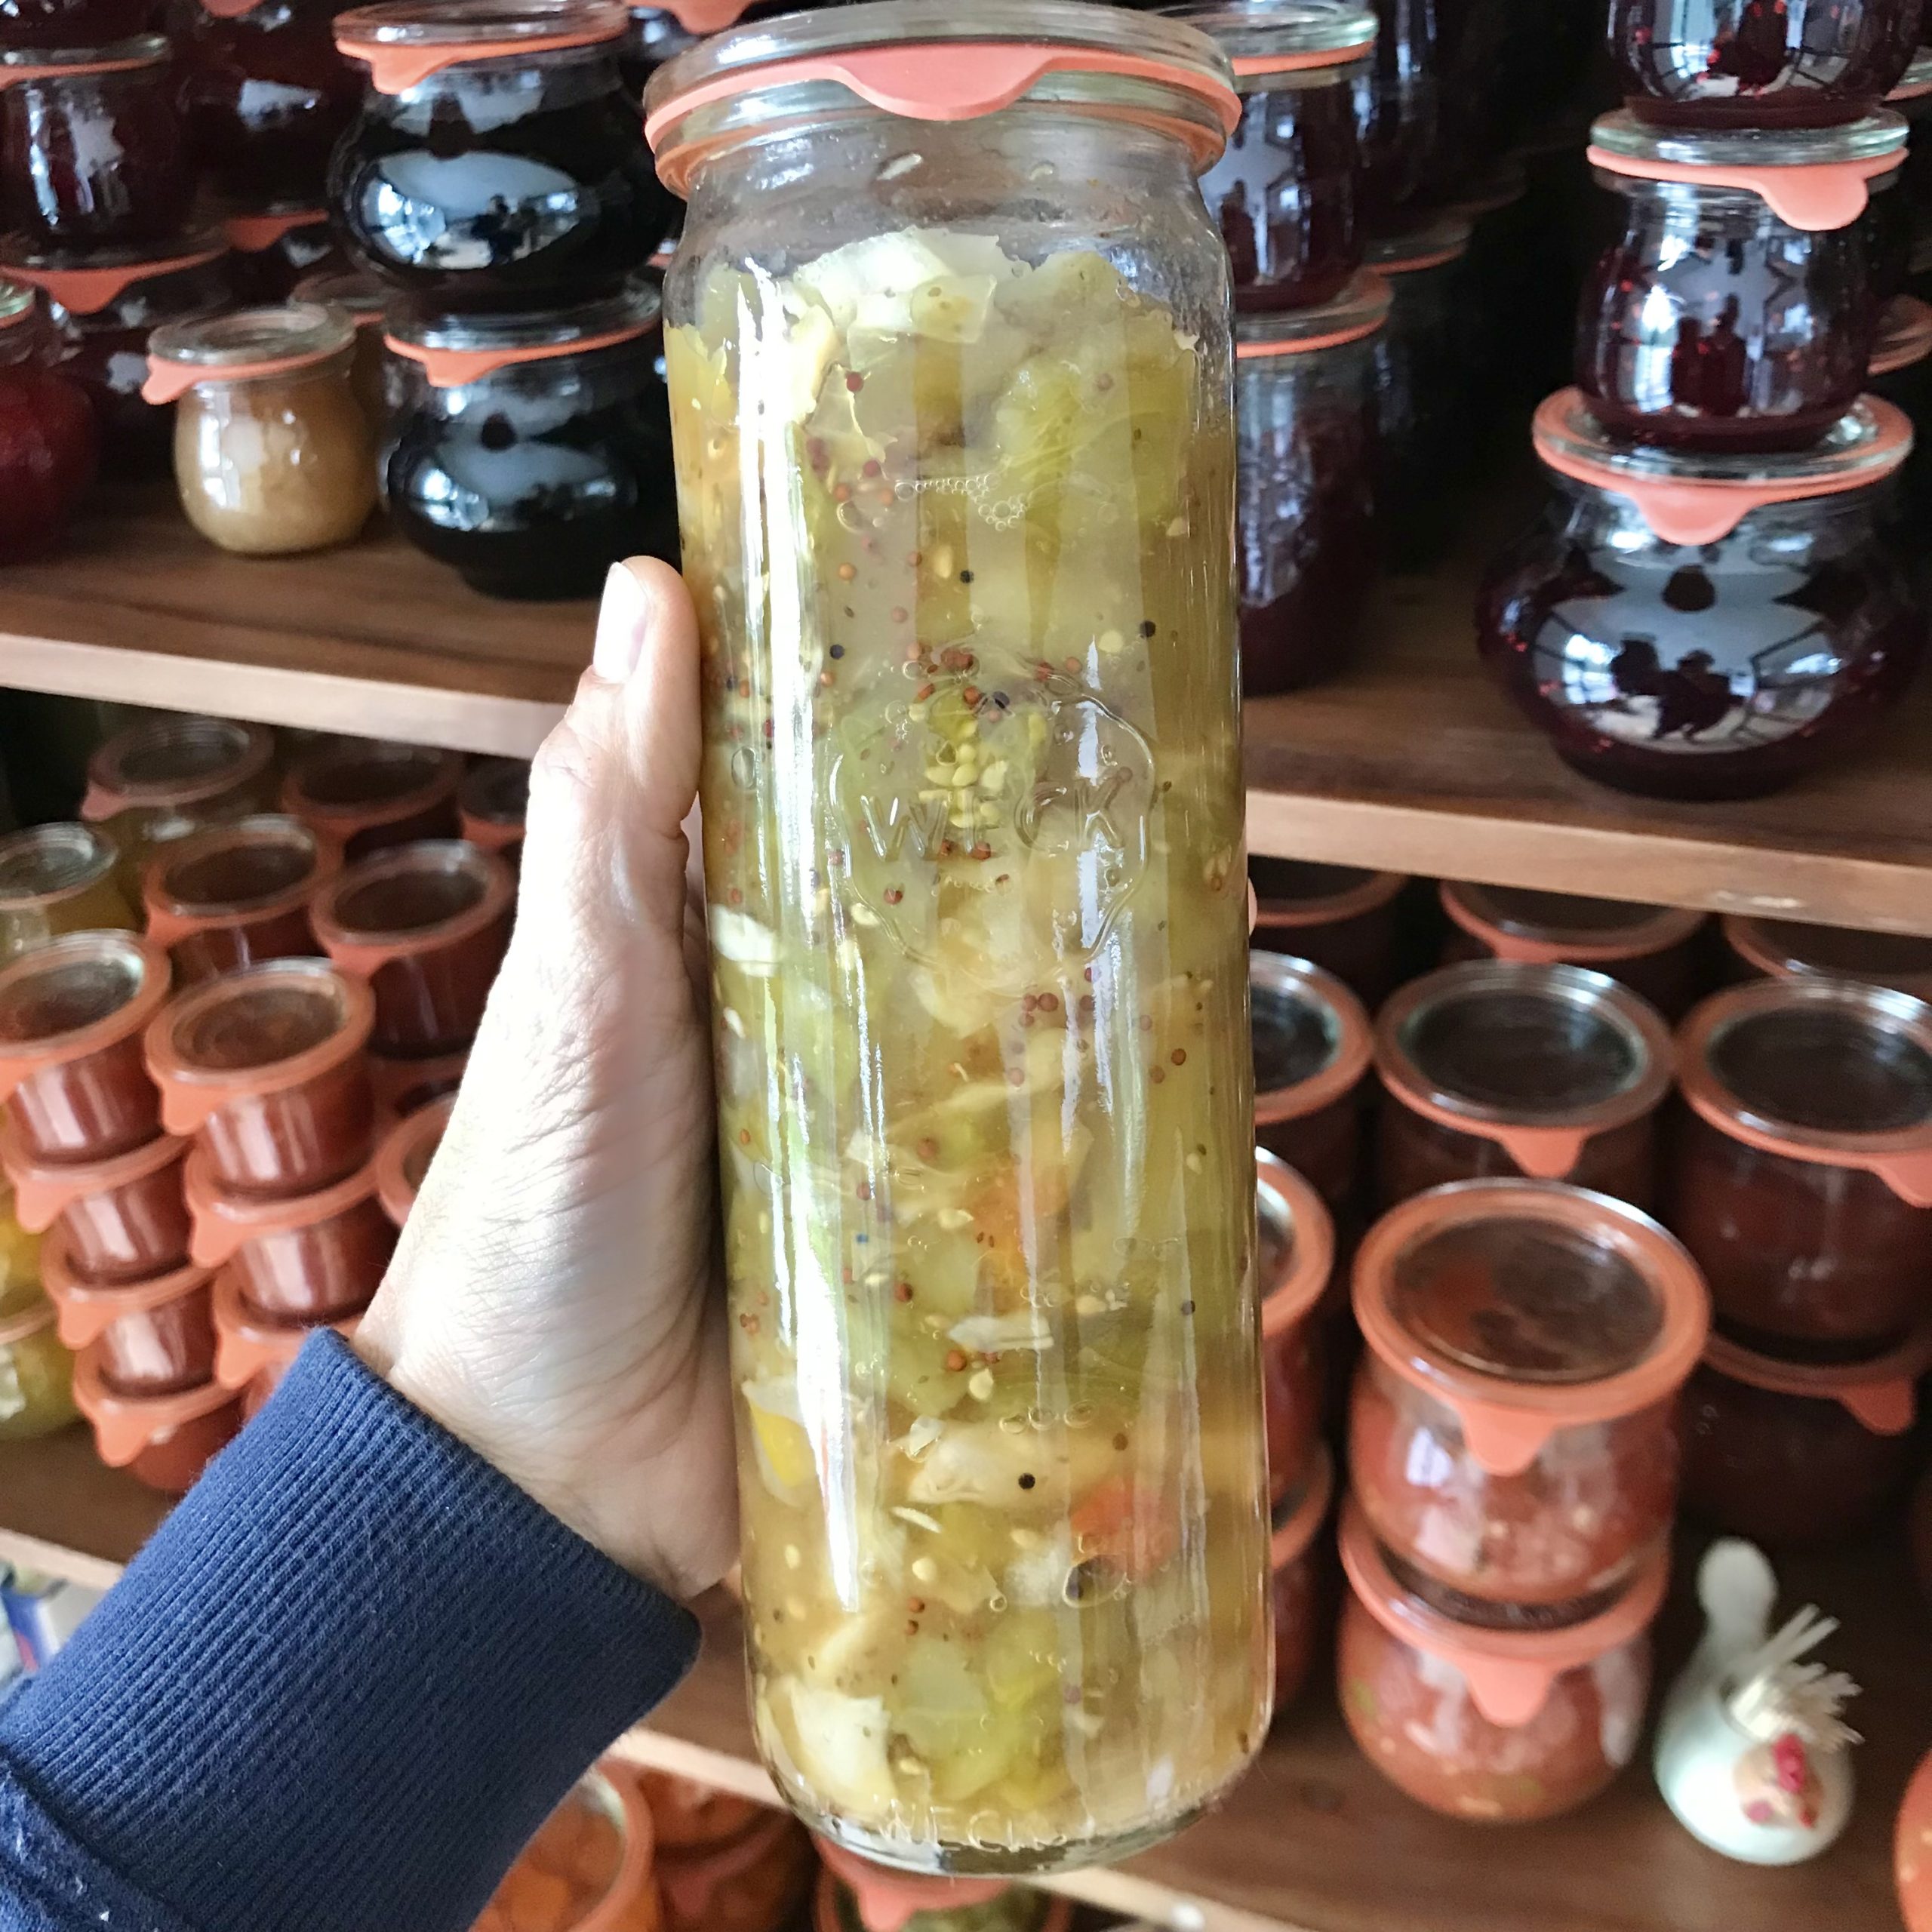
Green Tomato Piccalilli
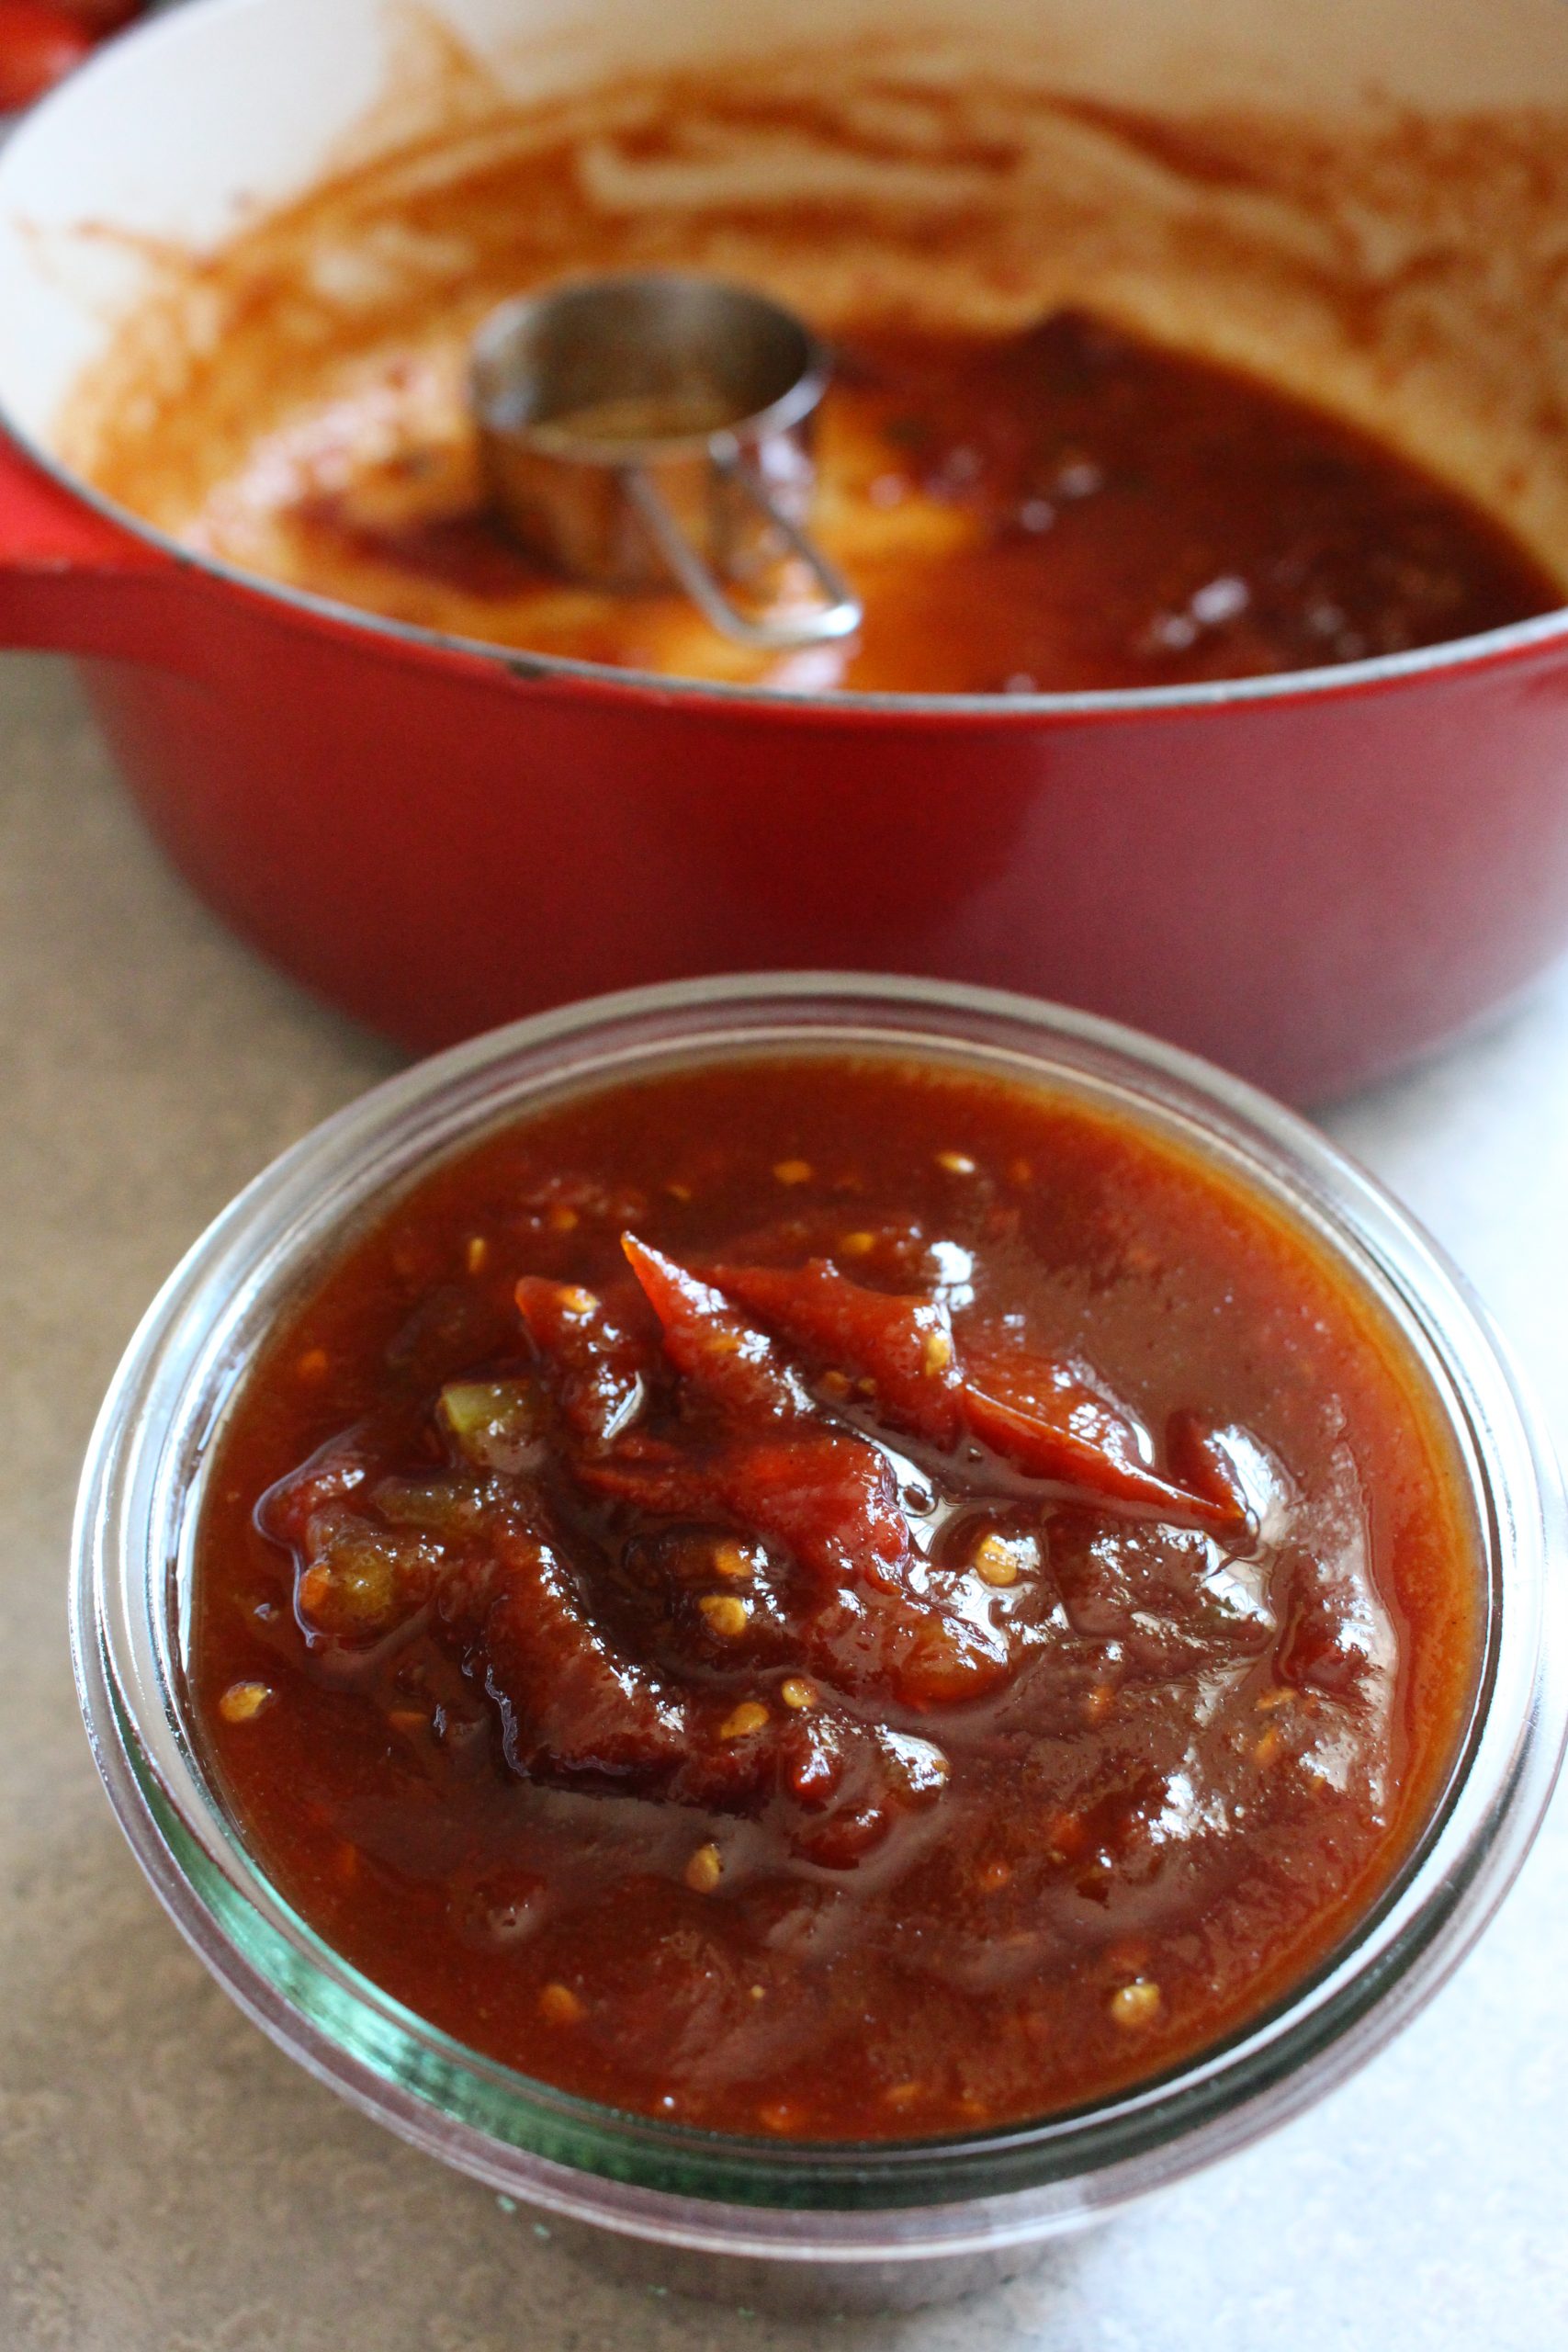
Sweet And Spicy Hot Sauce Canning Recipe
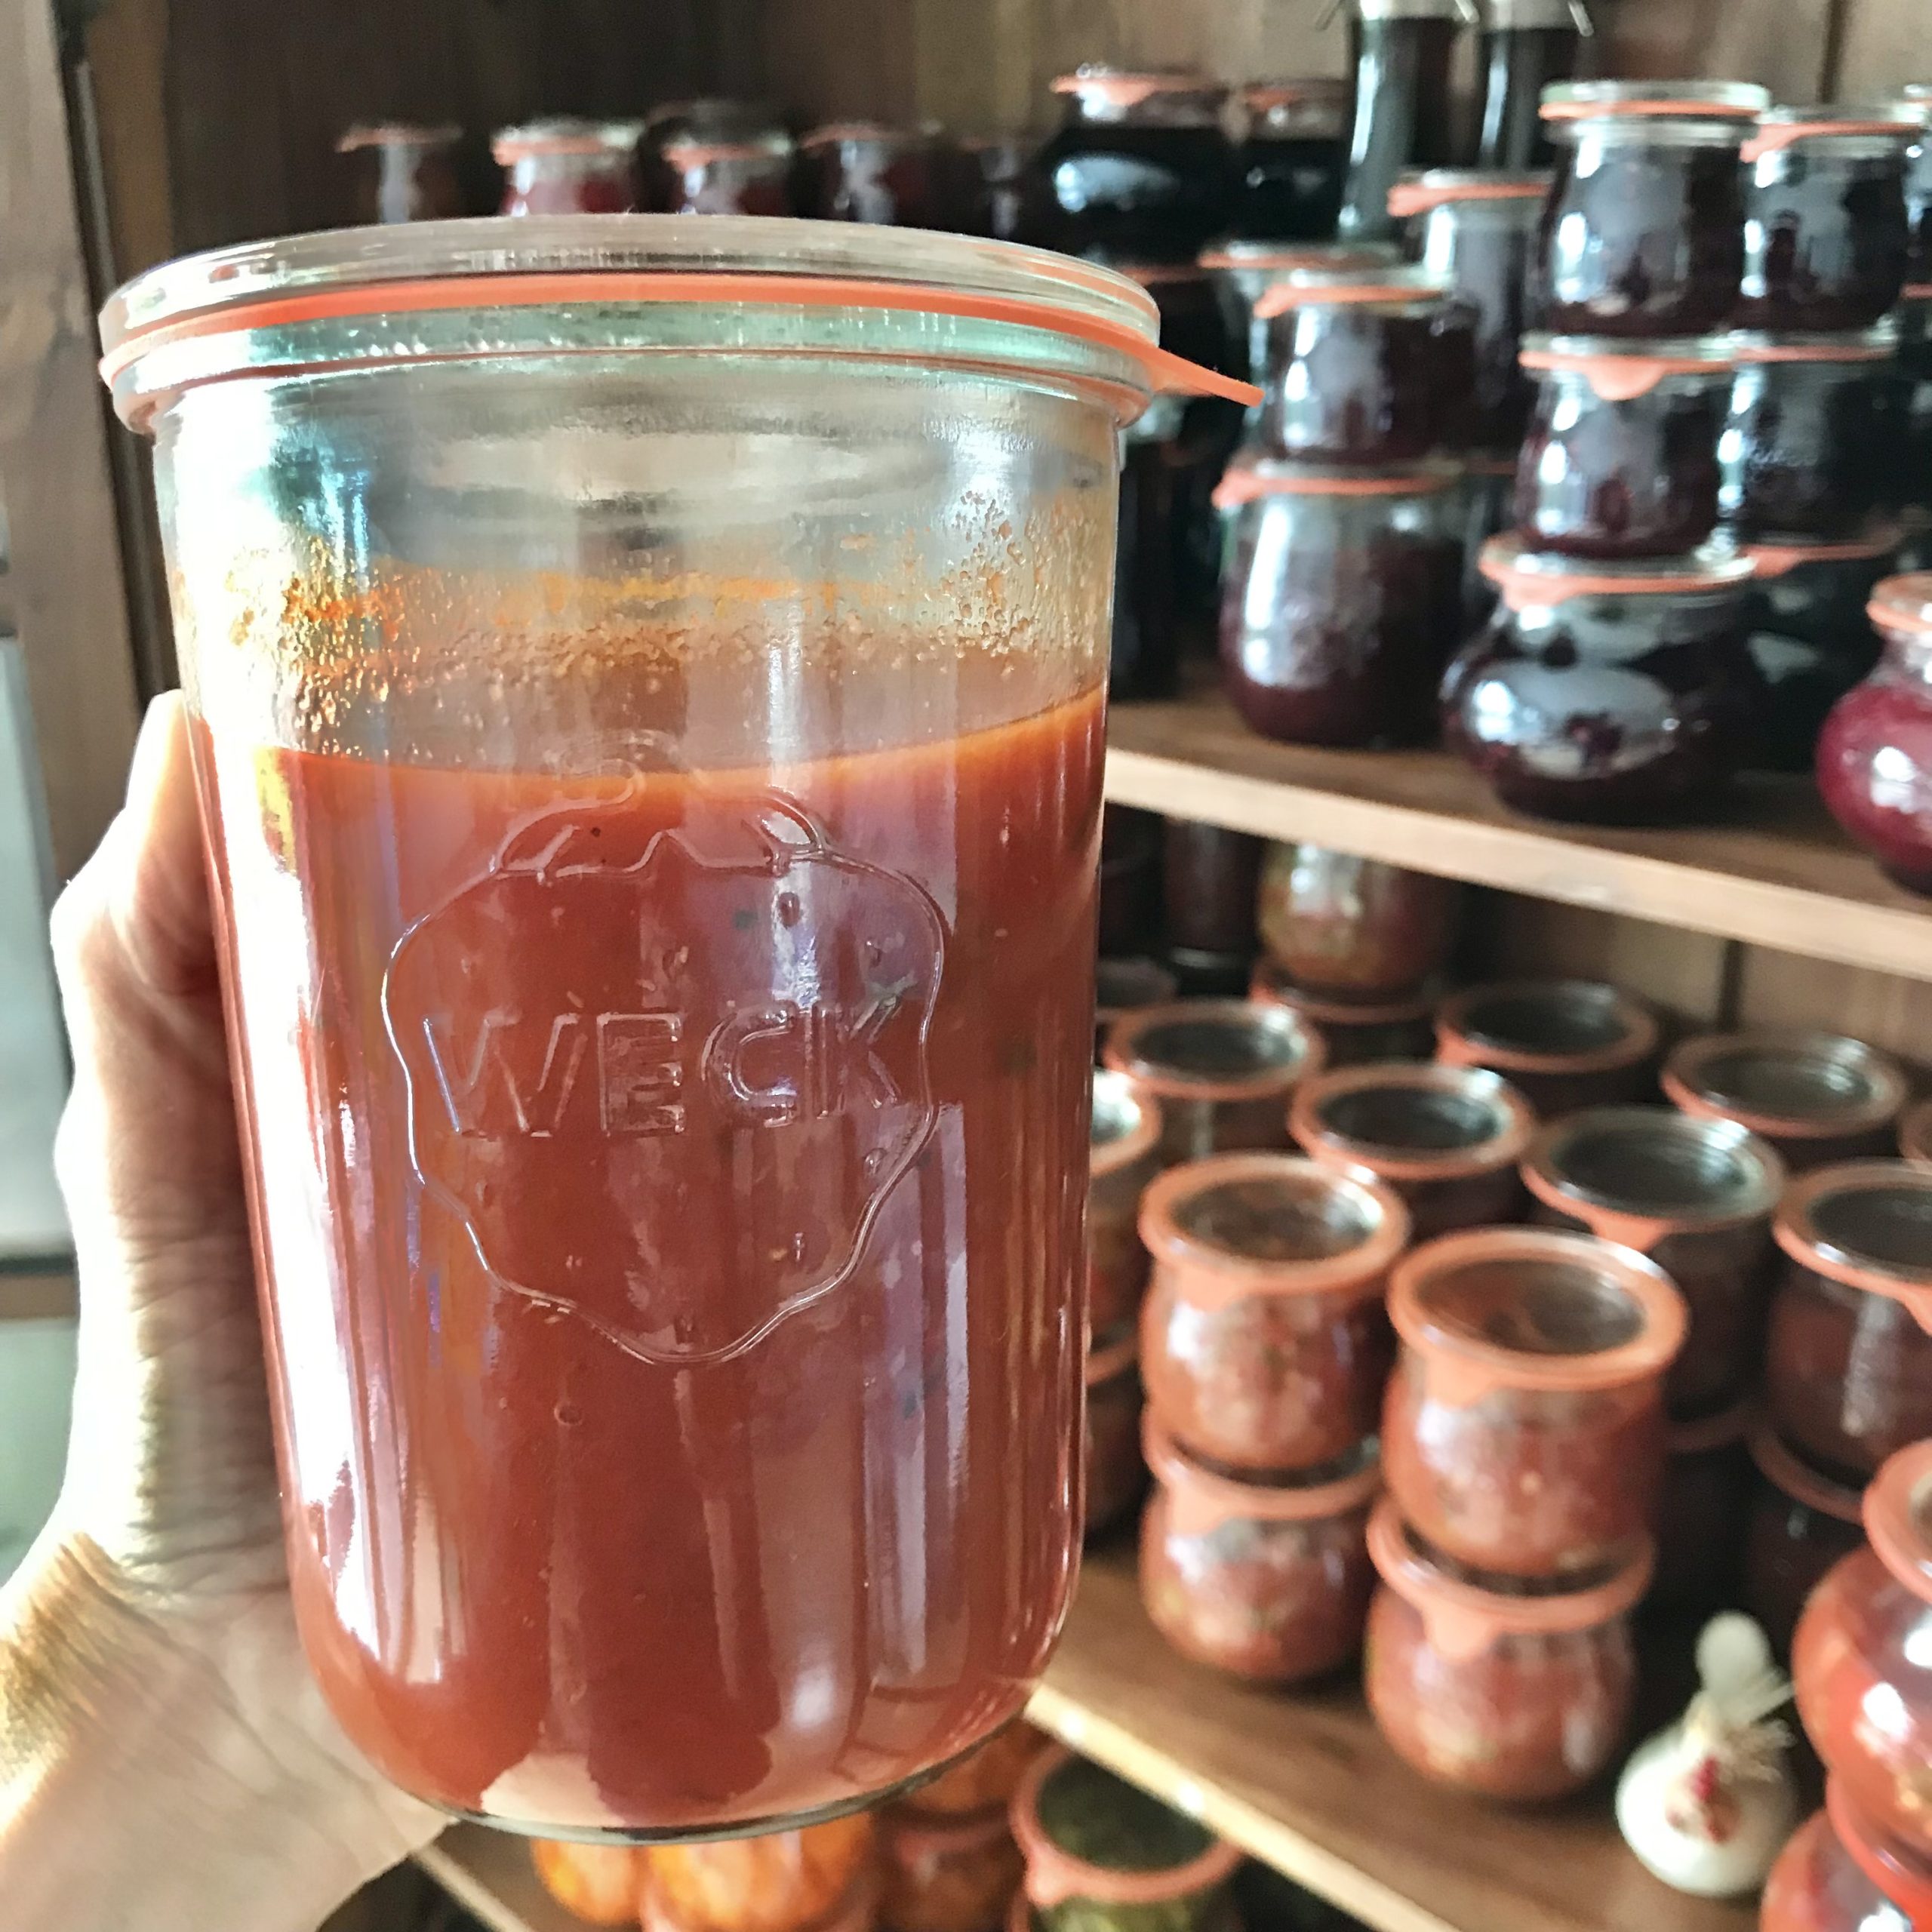
Basil and Garlic Tomato Sauce Recipe for Canning
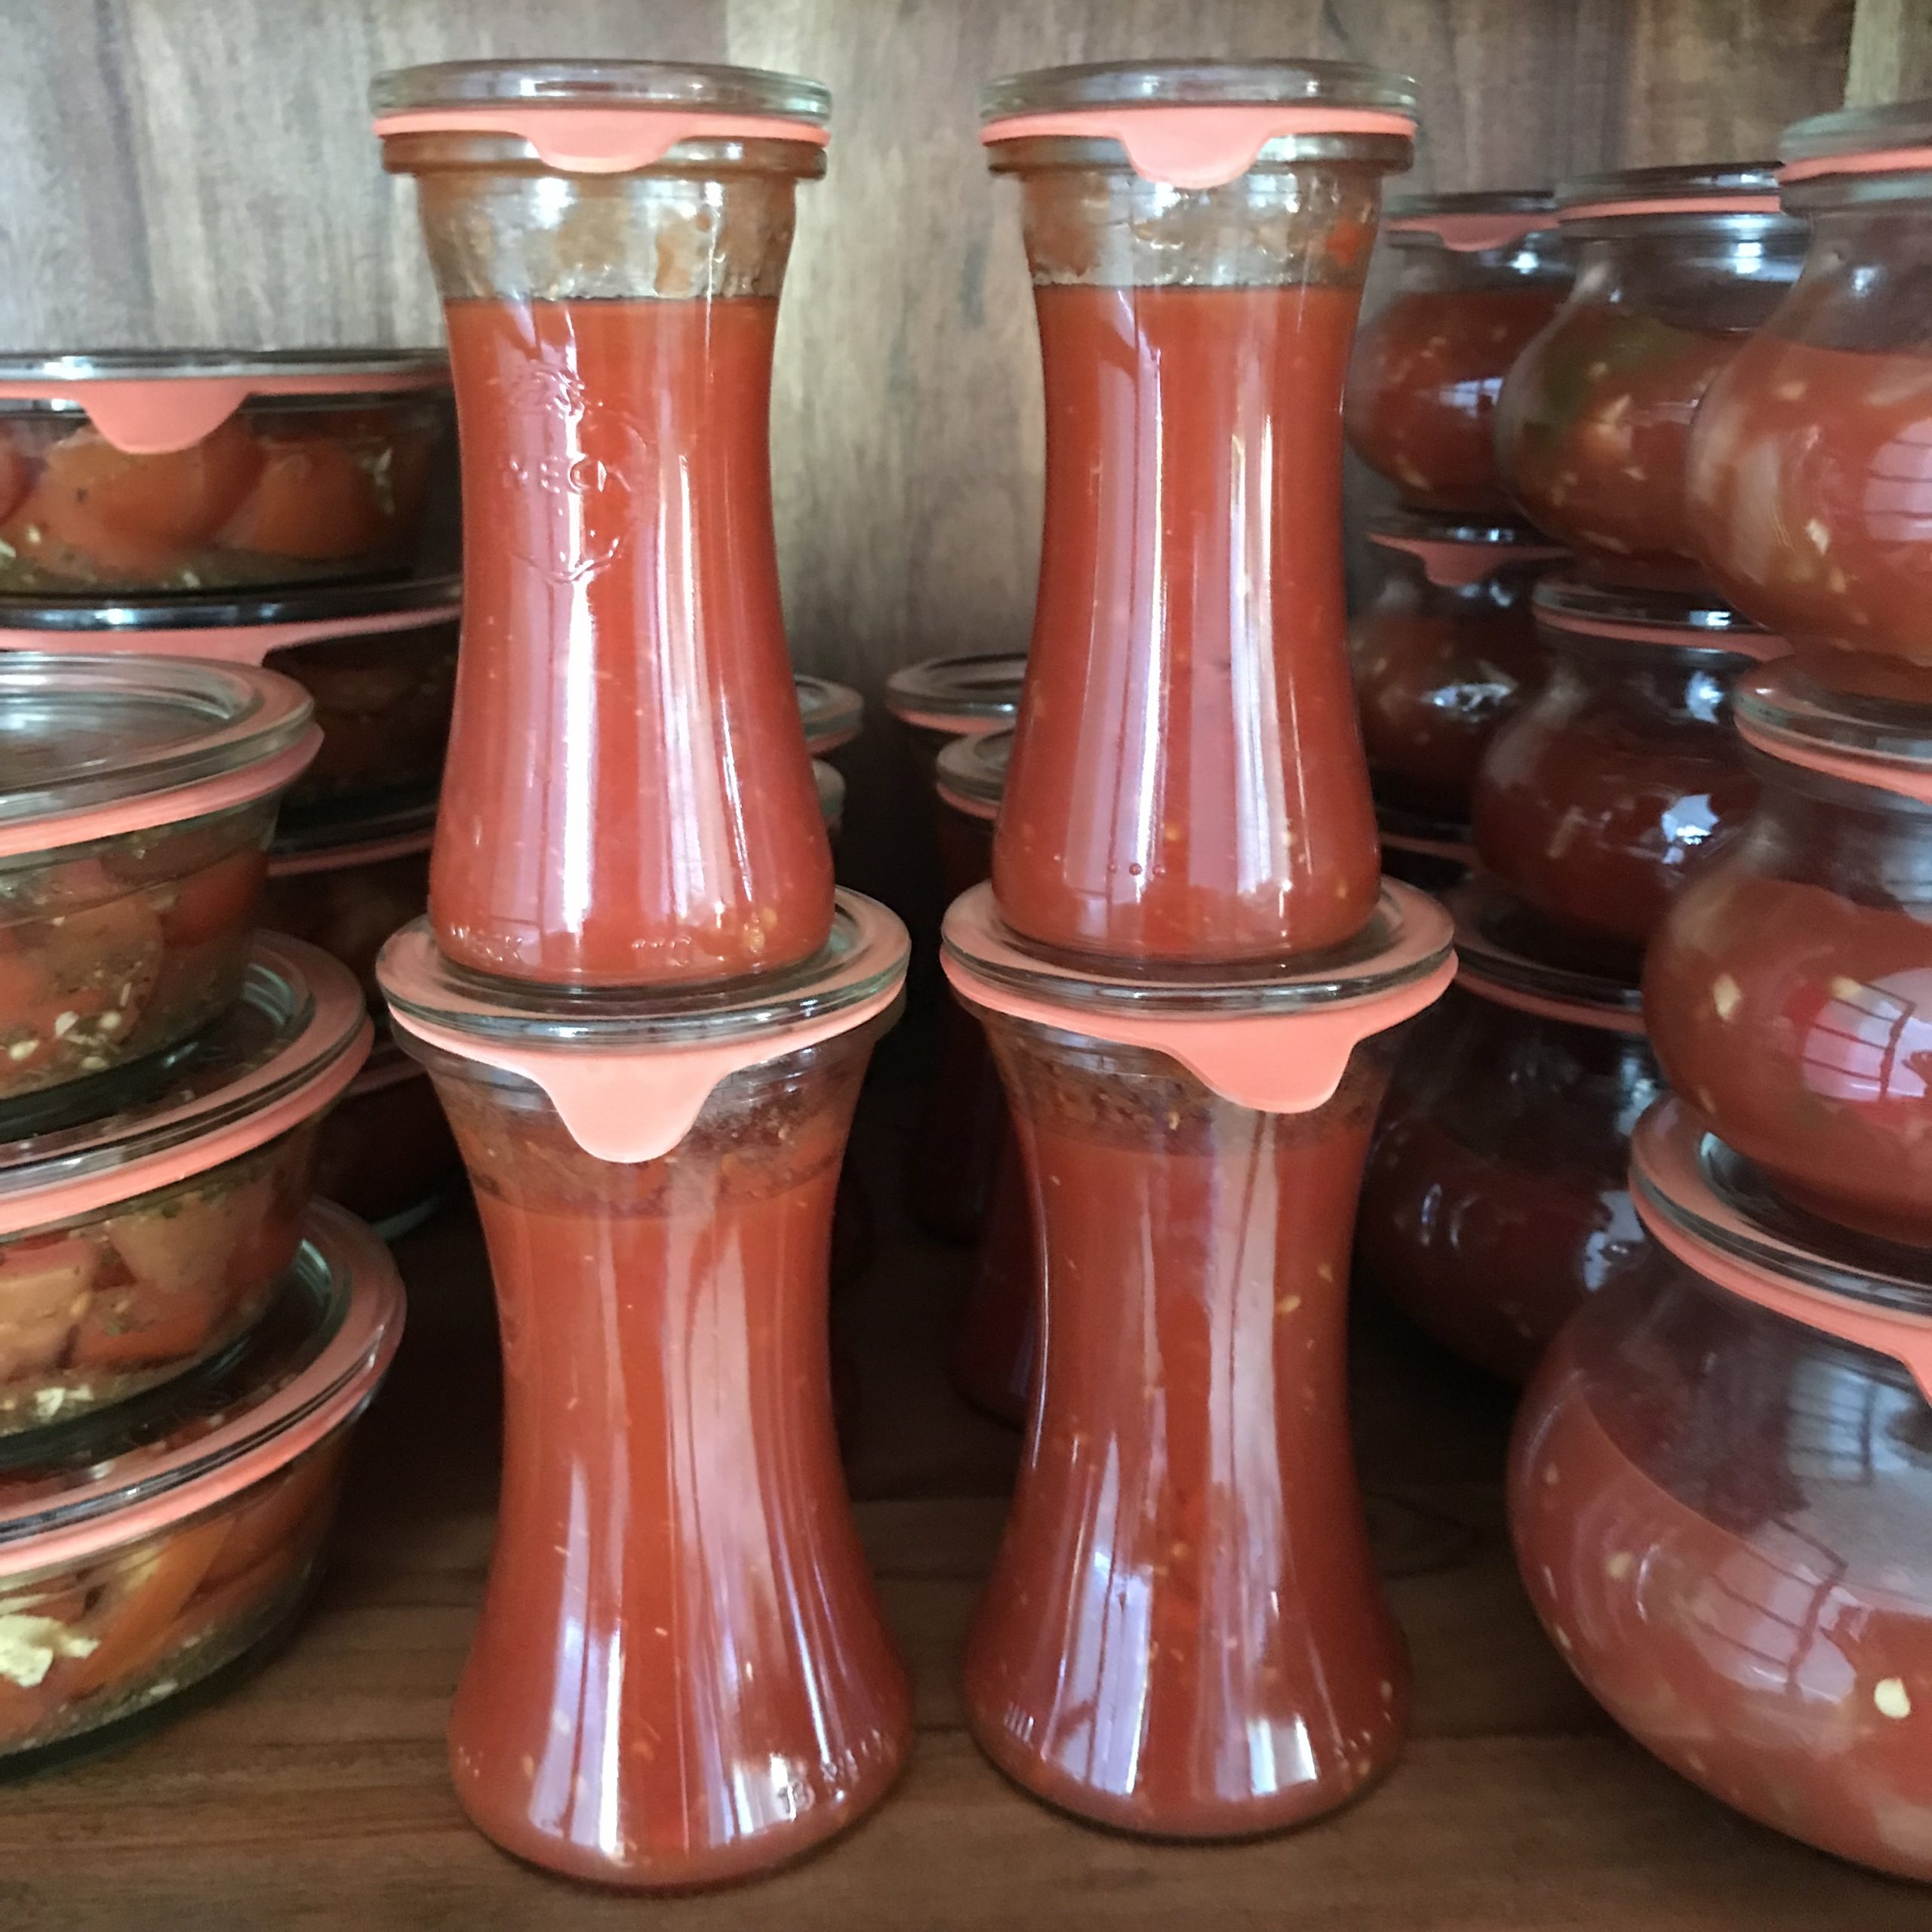
Tomato Ketchup Recipe for Canning
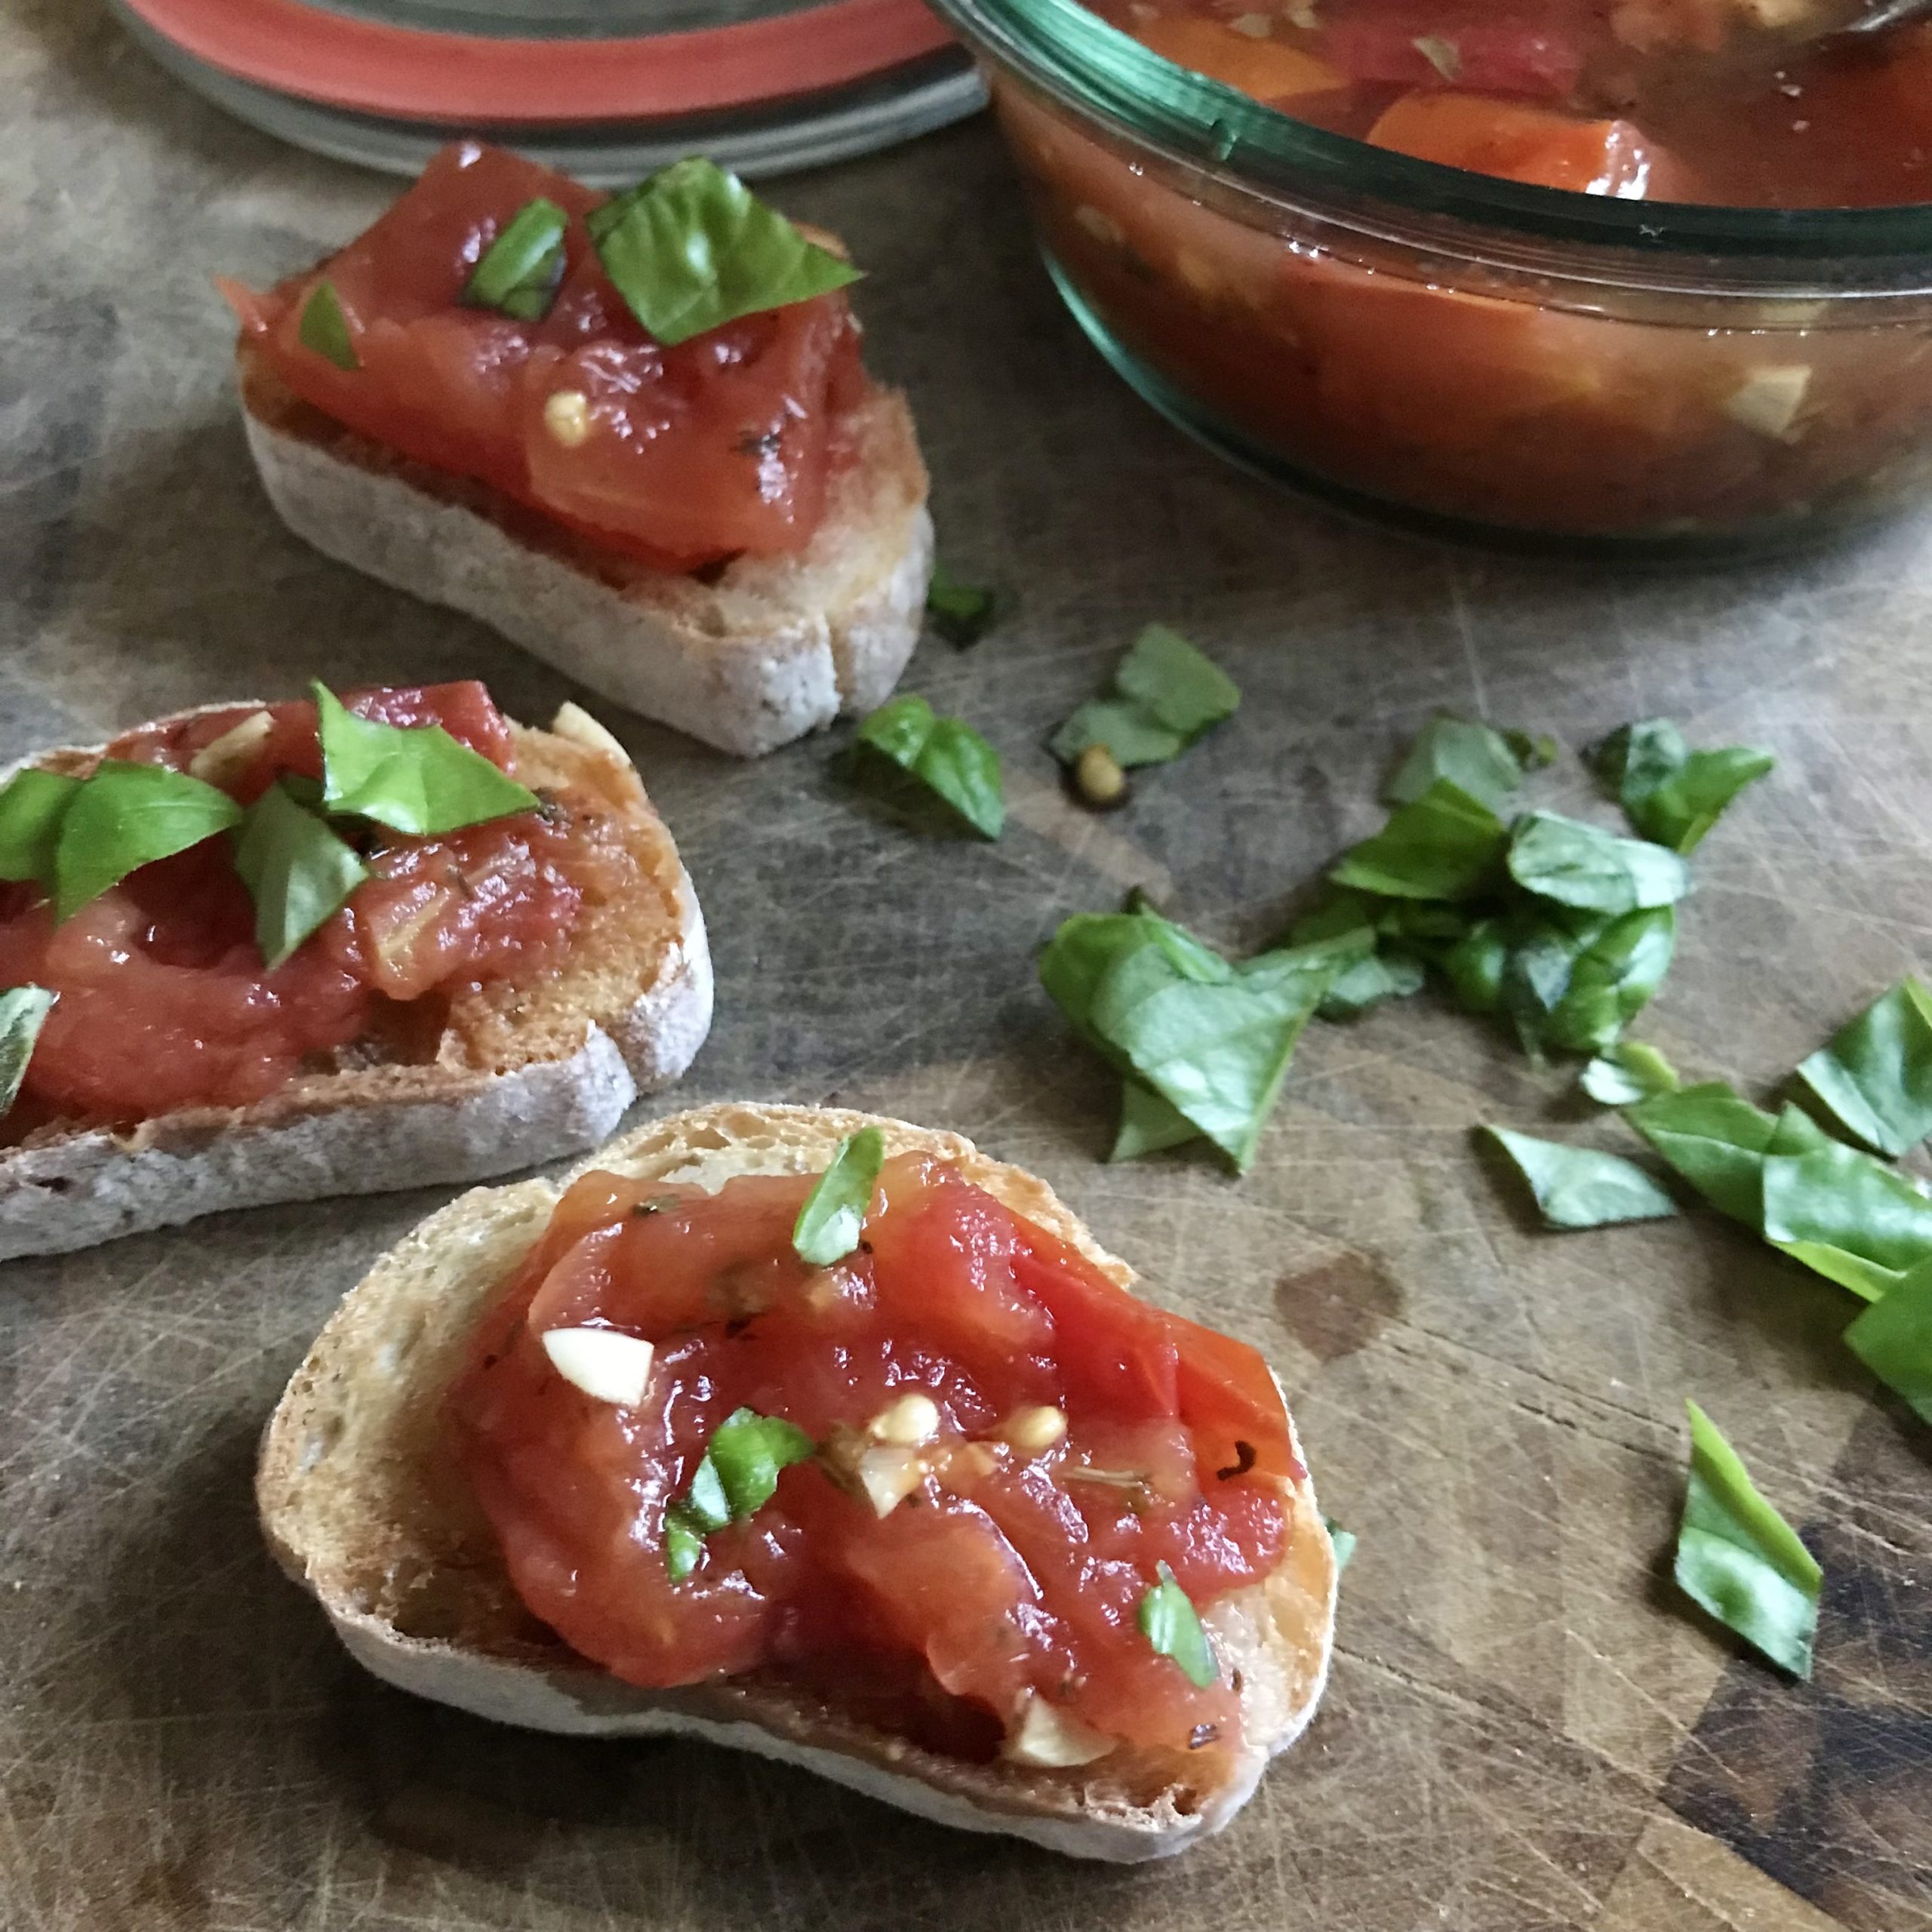
Canned Tomato Bruschetta Recipe
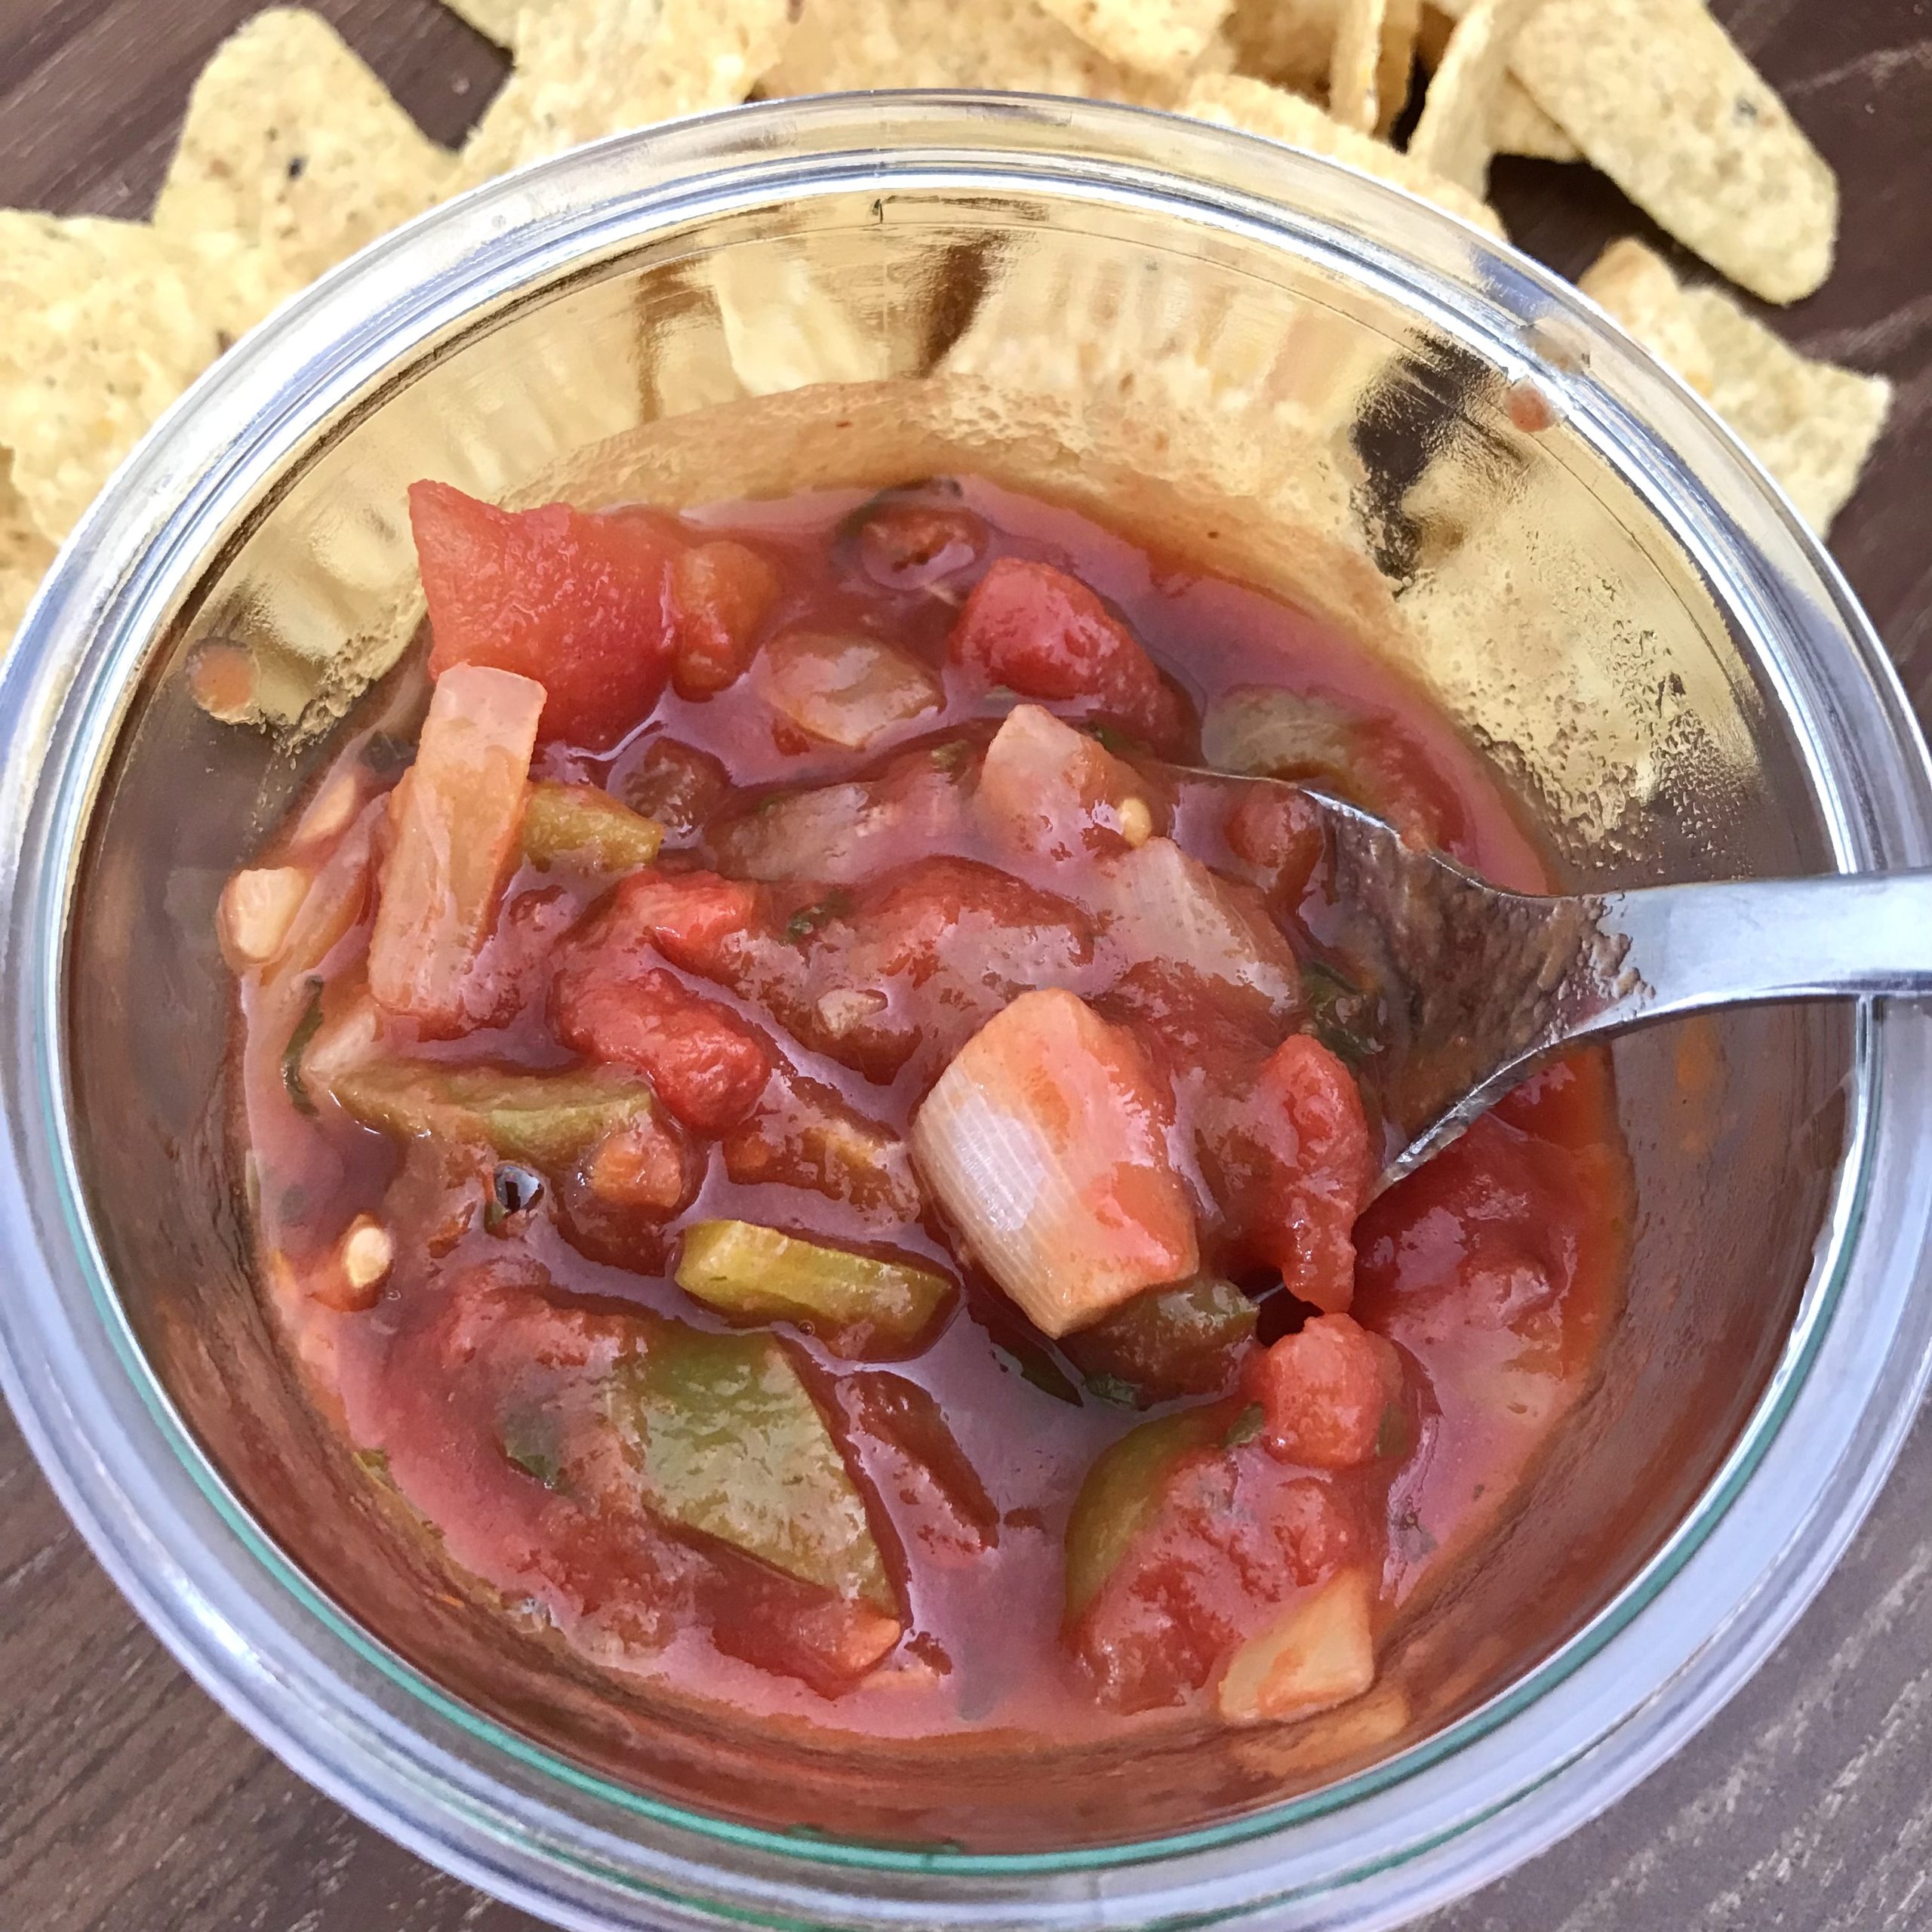
Salsa Recipe for Home Canning {This Tastes Just Like Costco Salsa!}
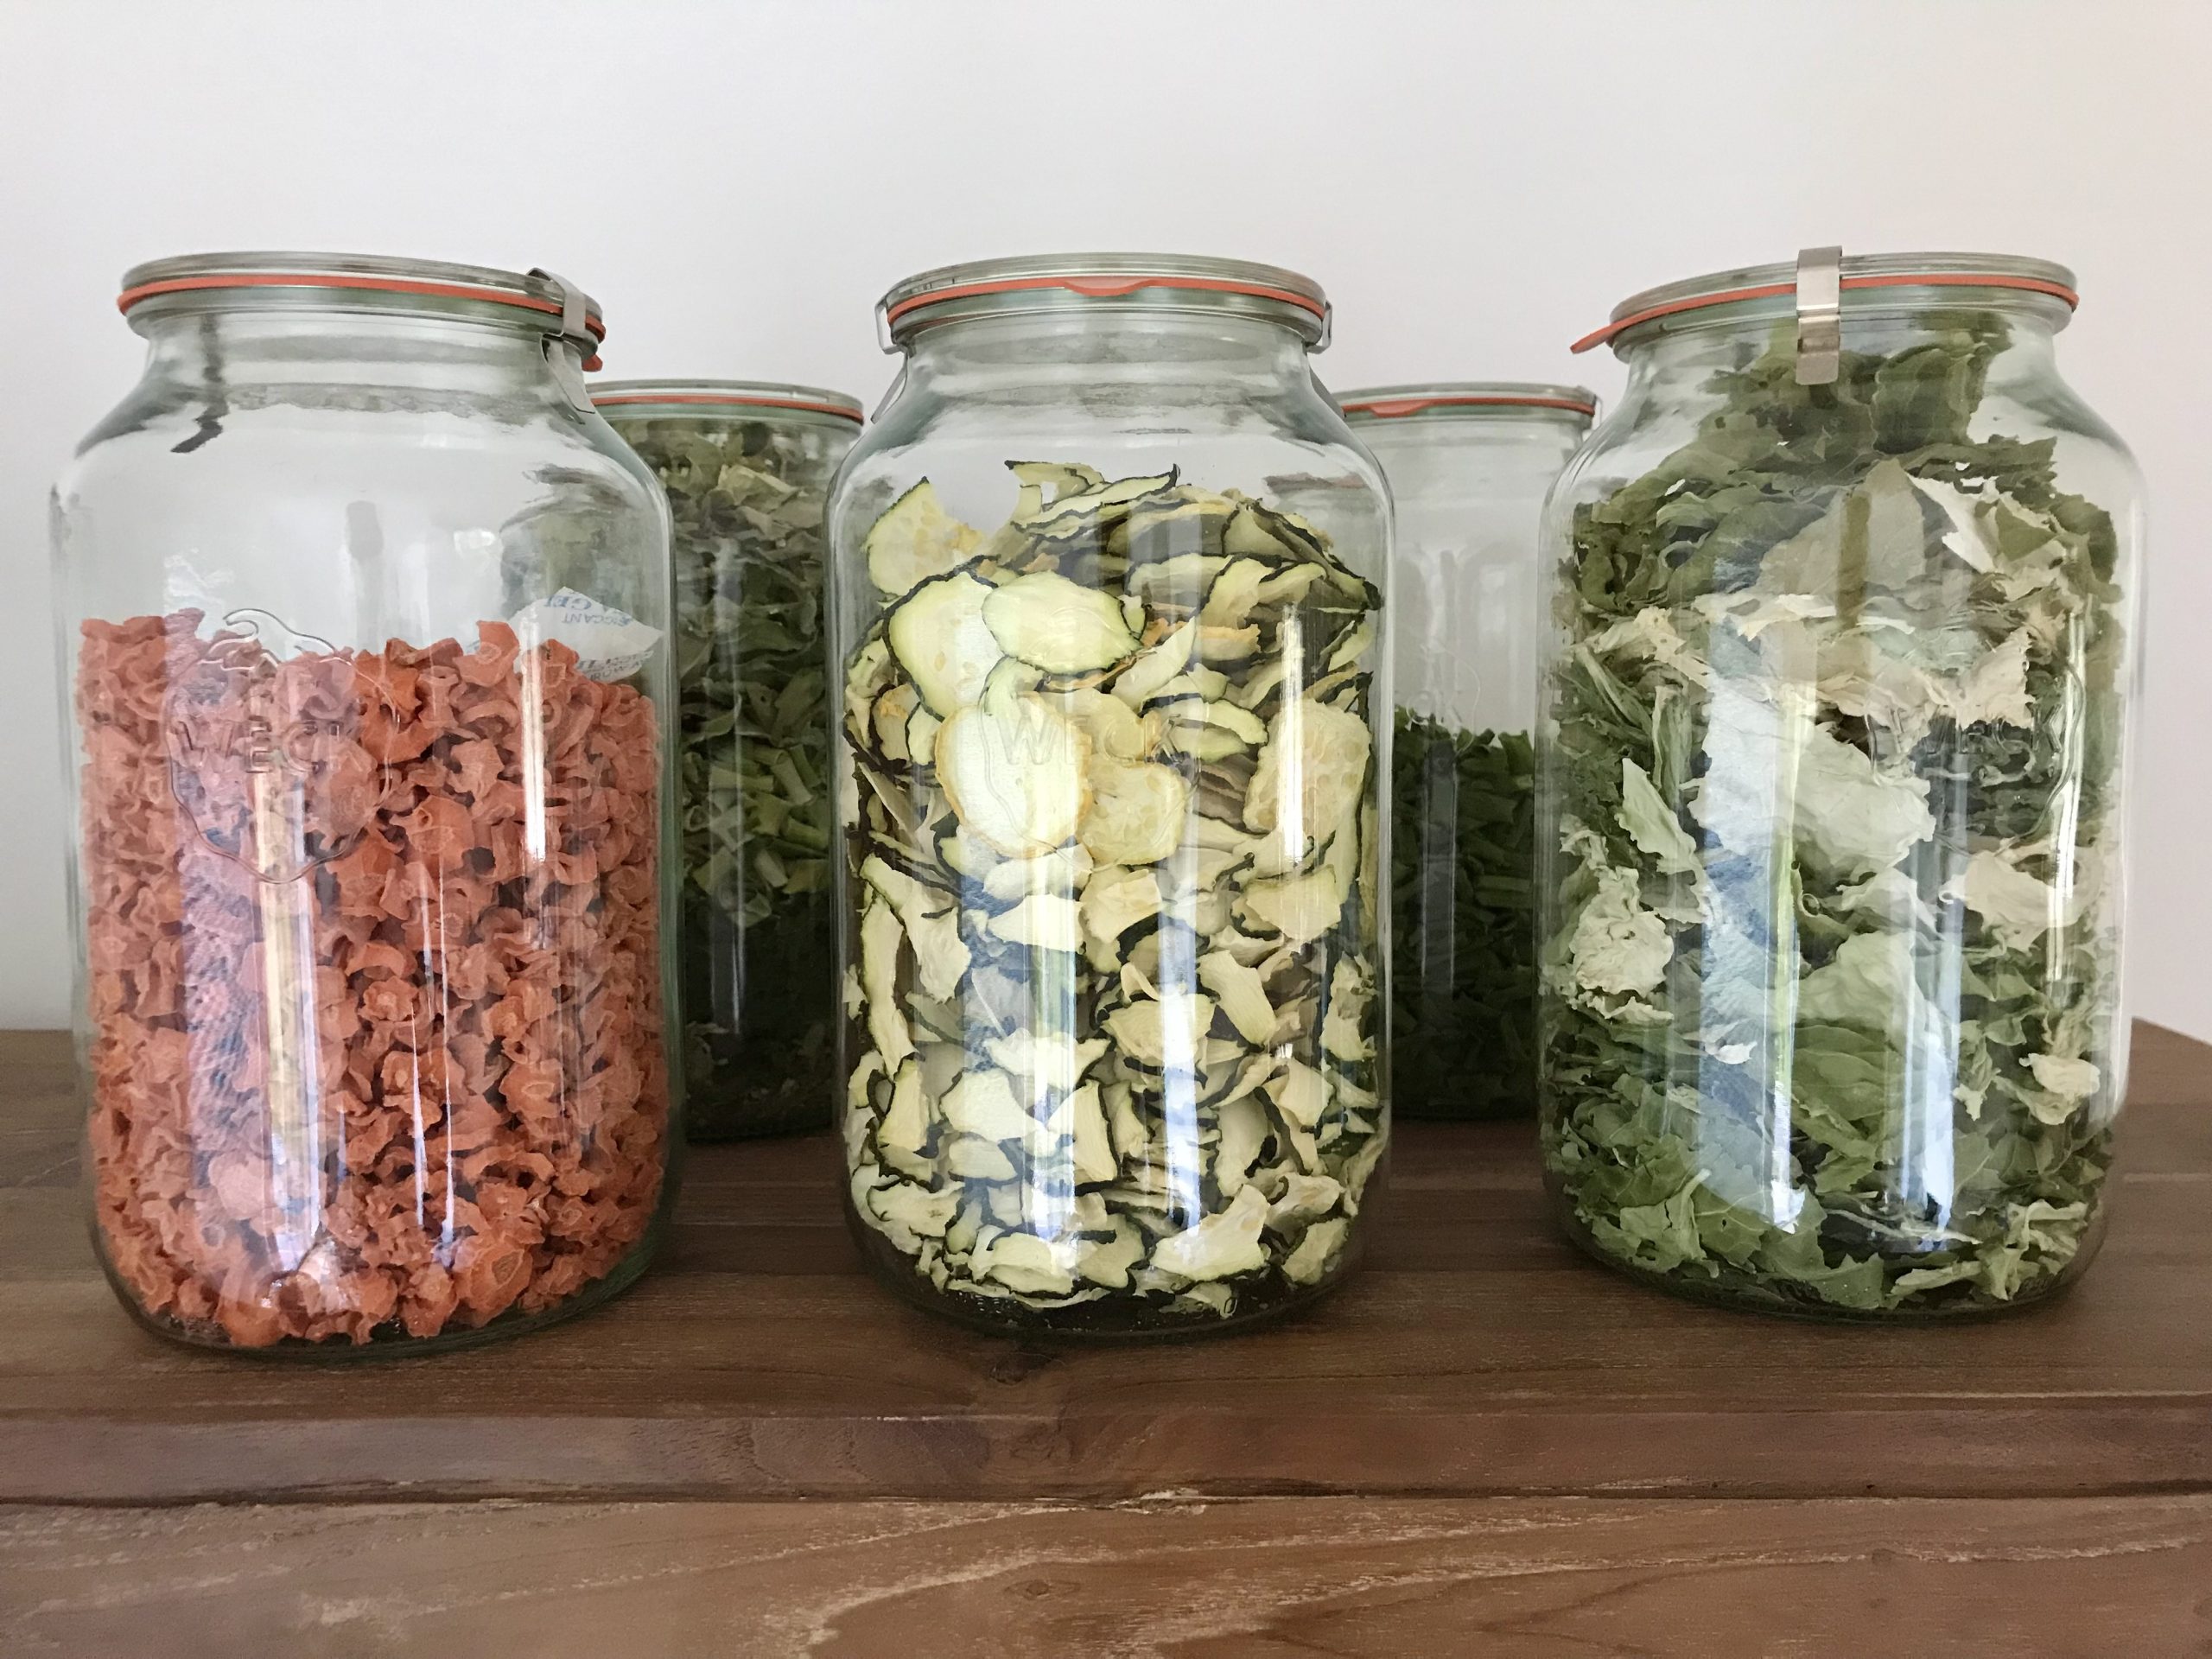
How to Dehydrate Zucchini
Peach Lavender Jam
Raspberry Blueberry Jam
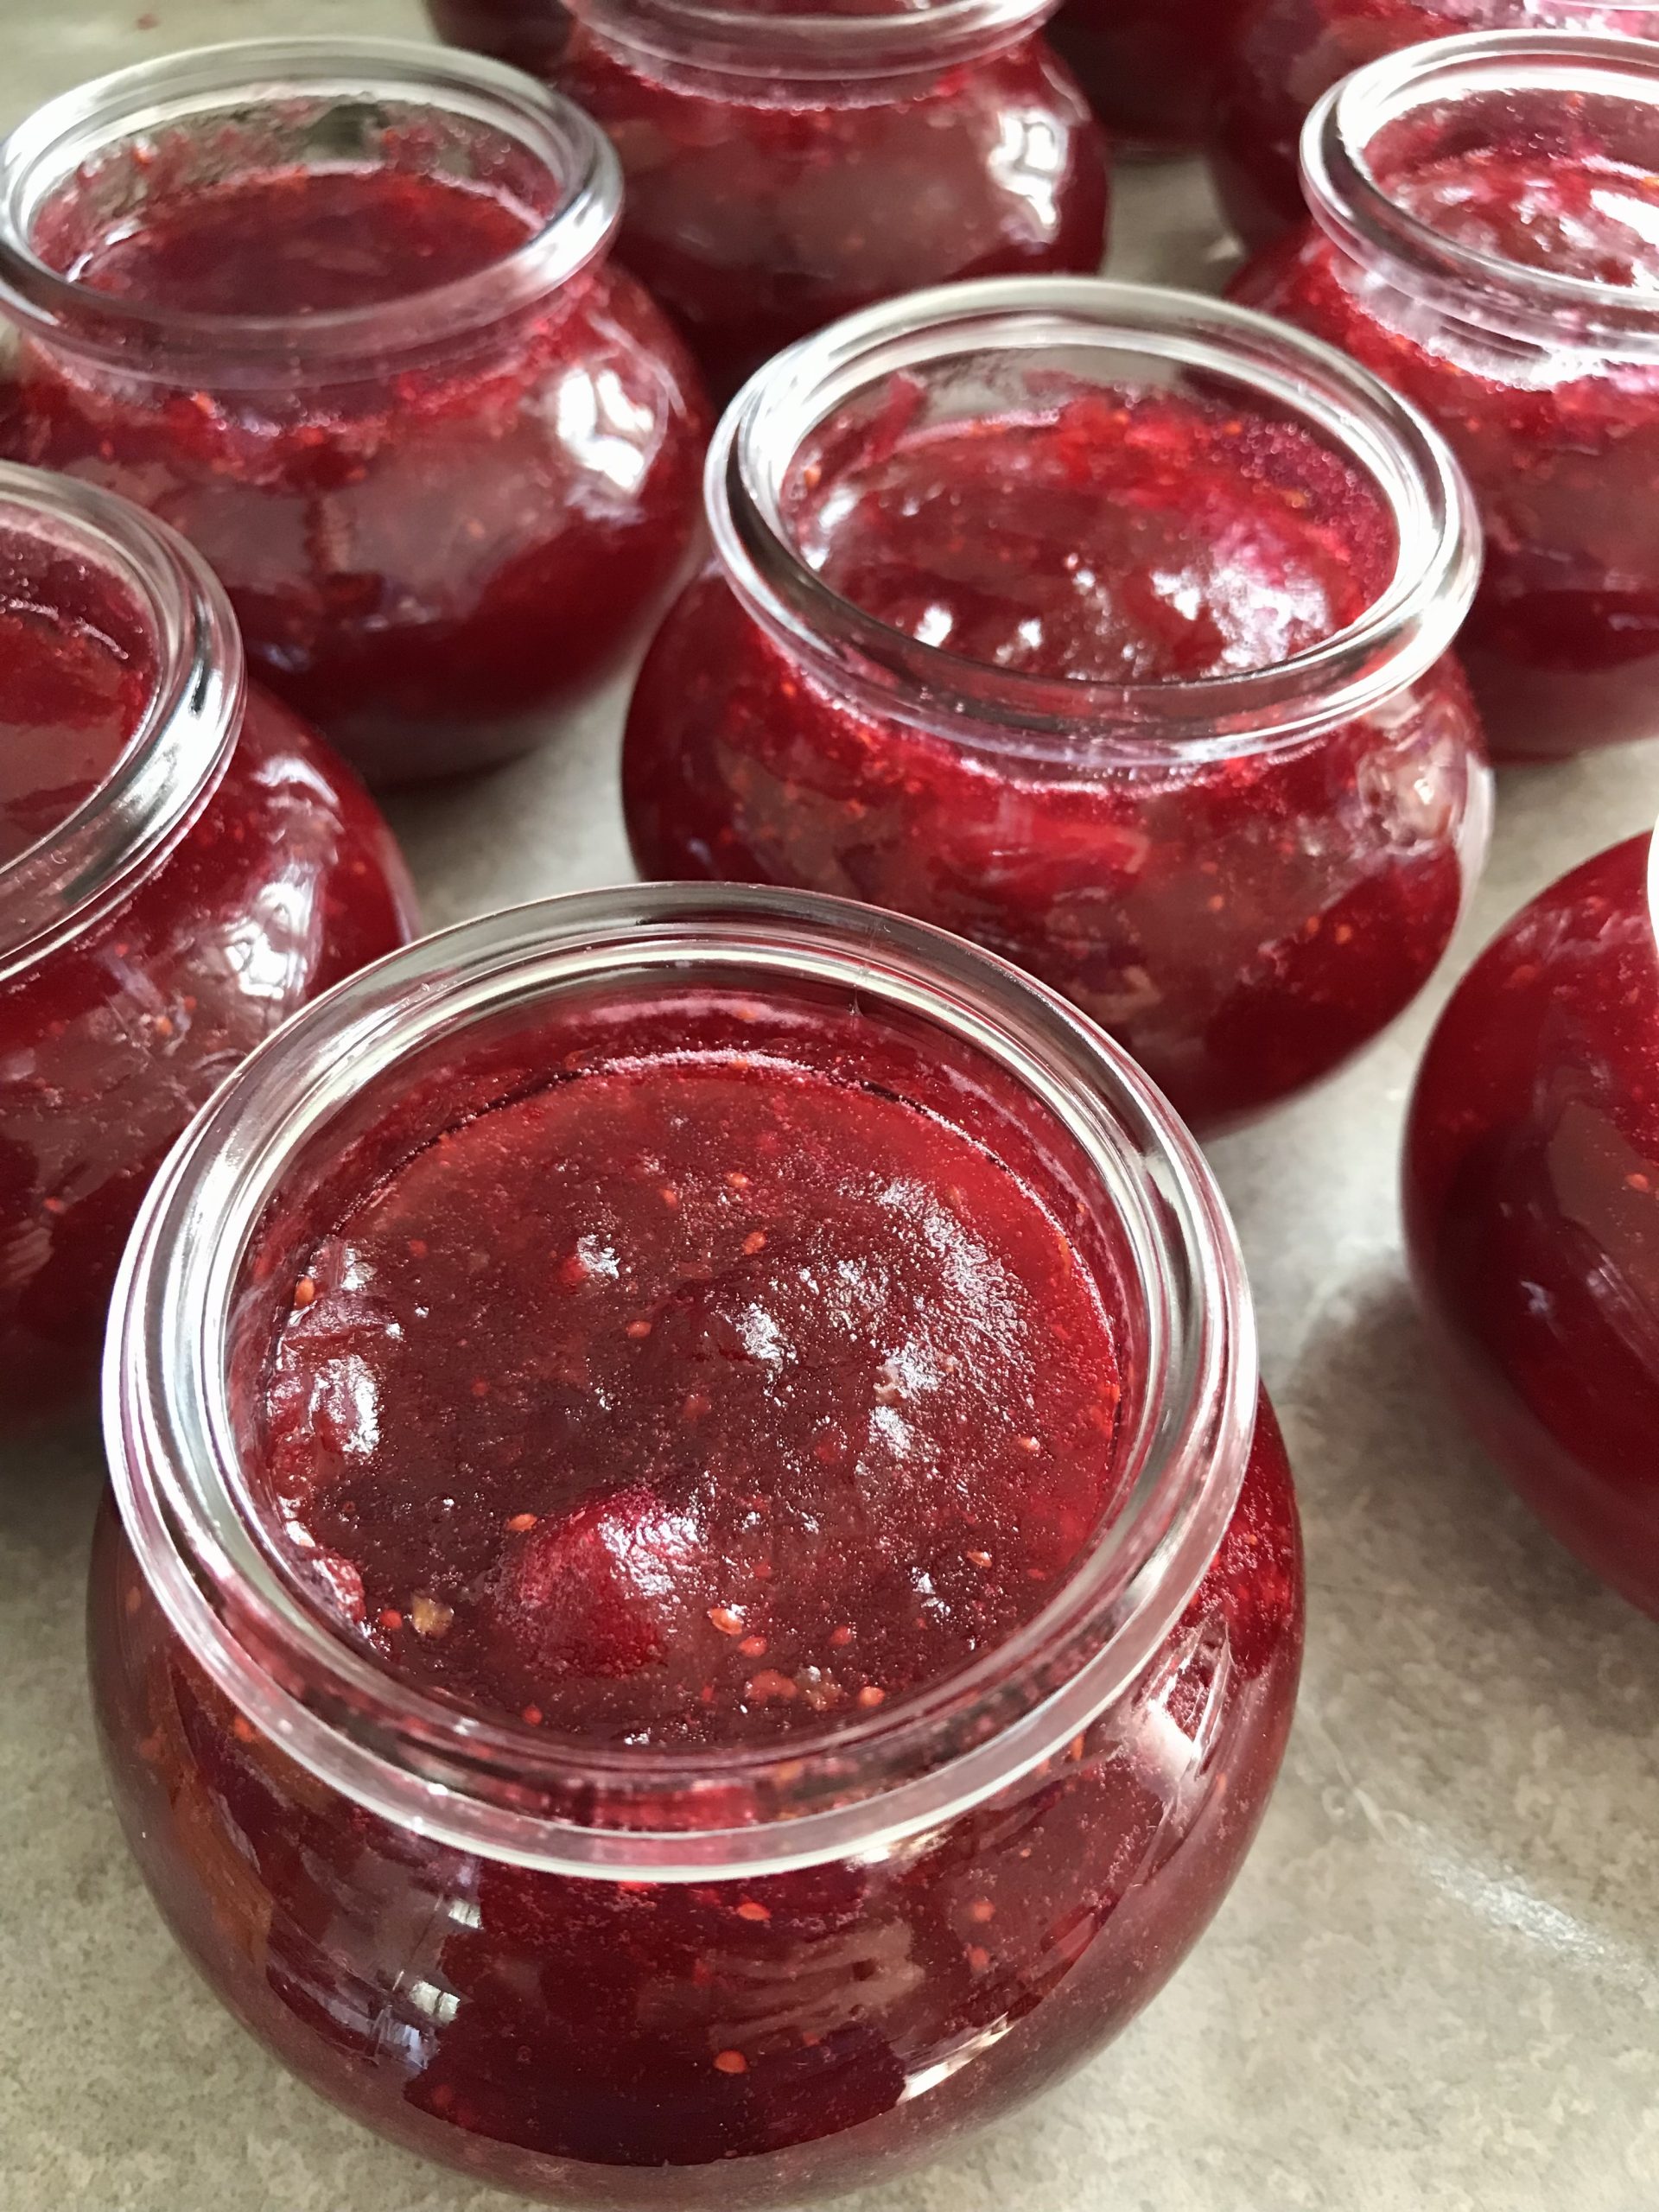
Strawberry Lemon Jam
Blueberry Lime Jam Recipe
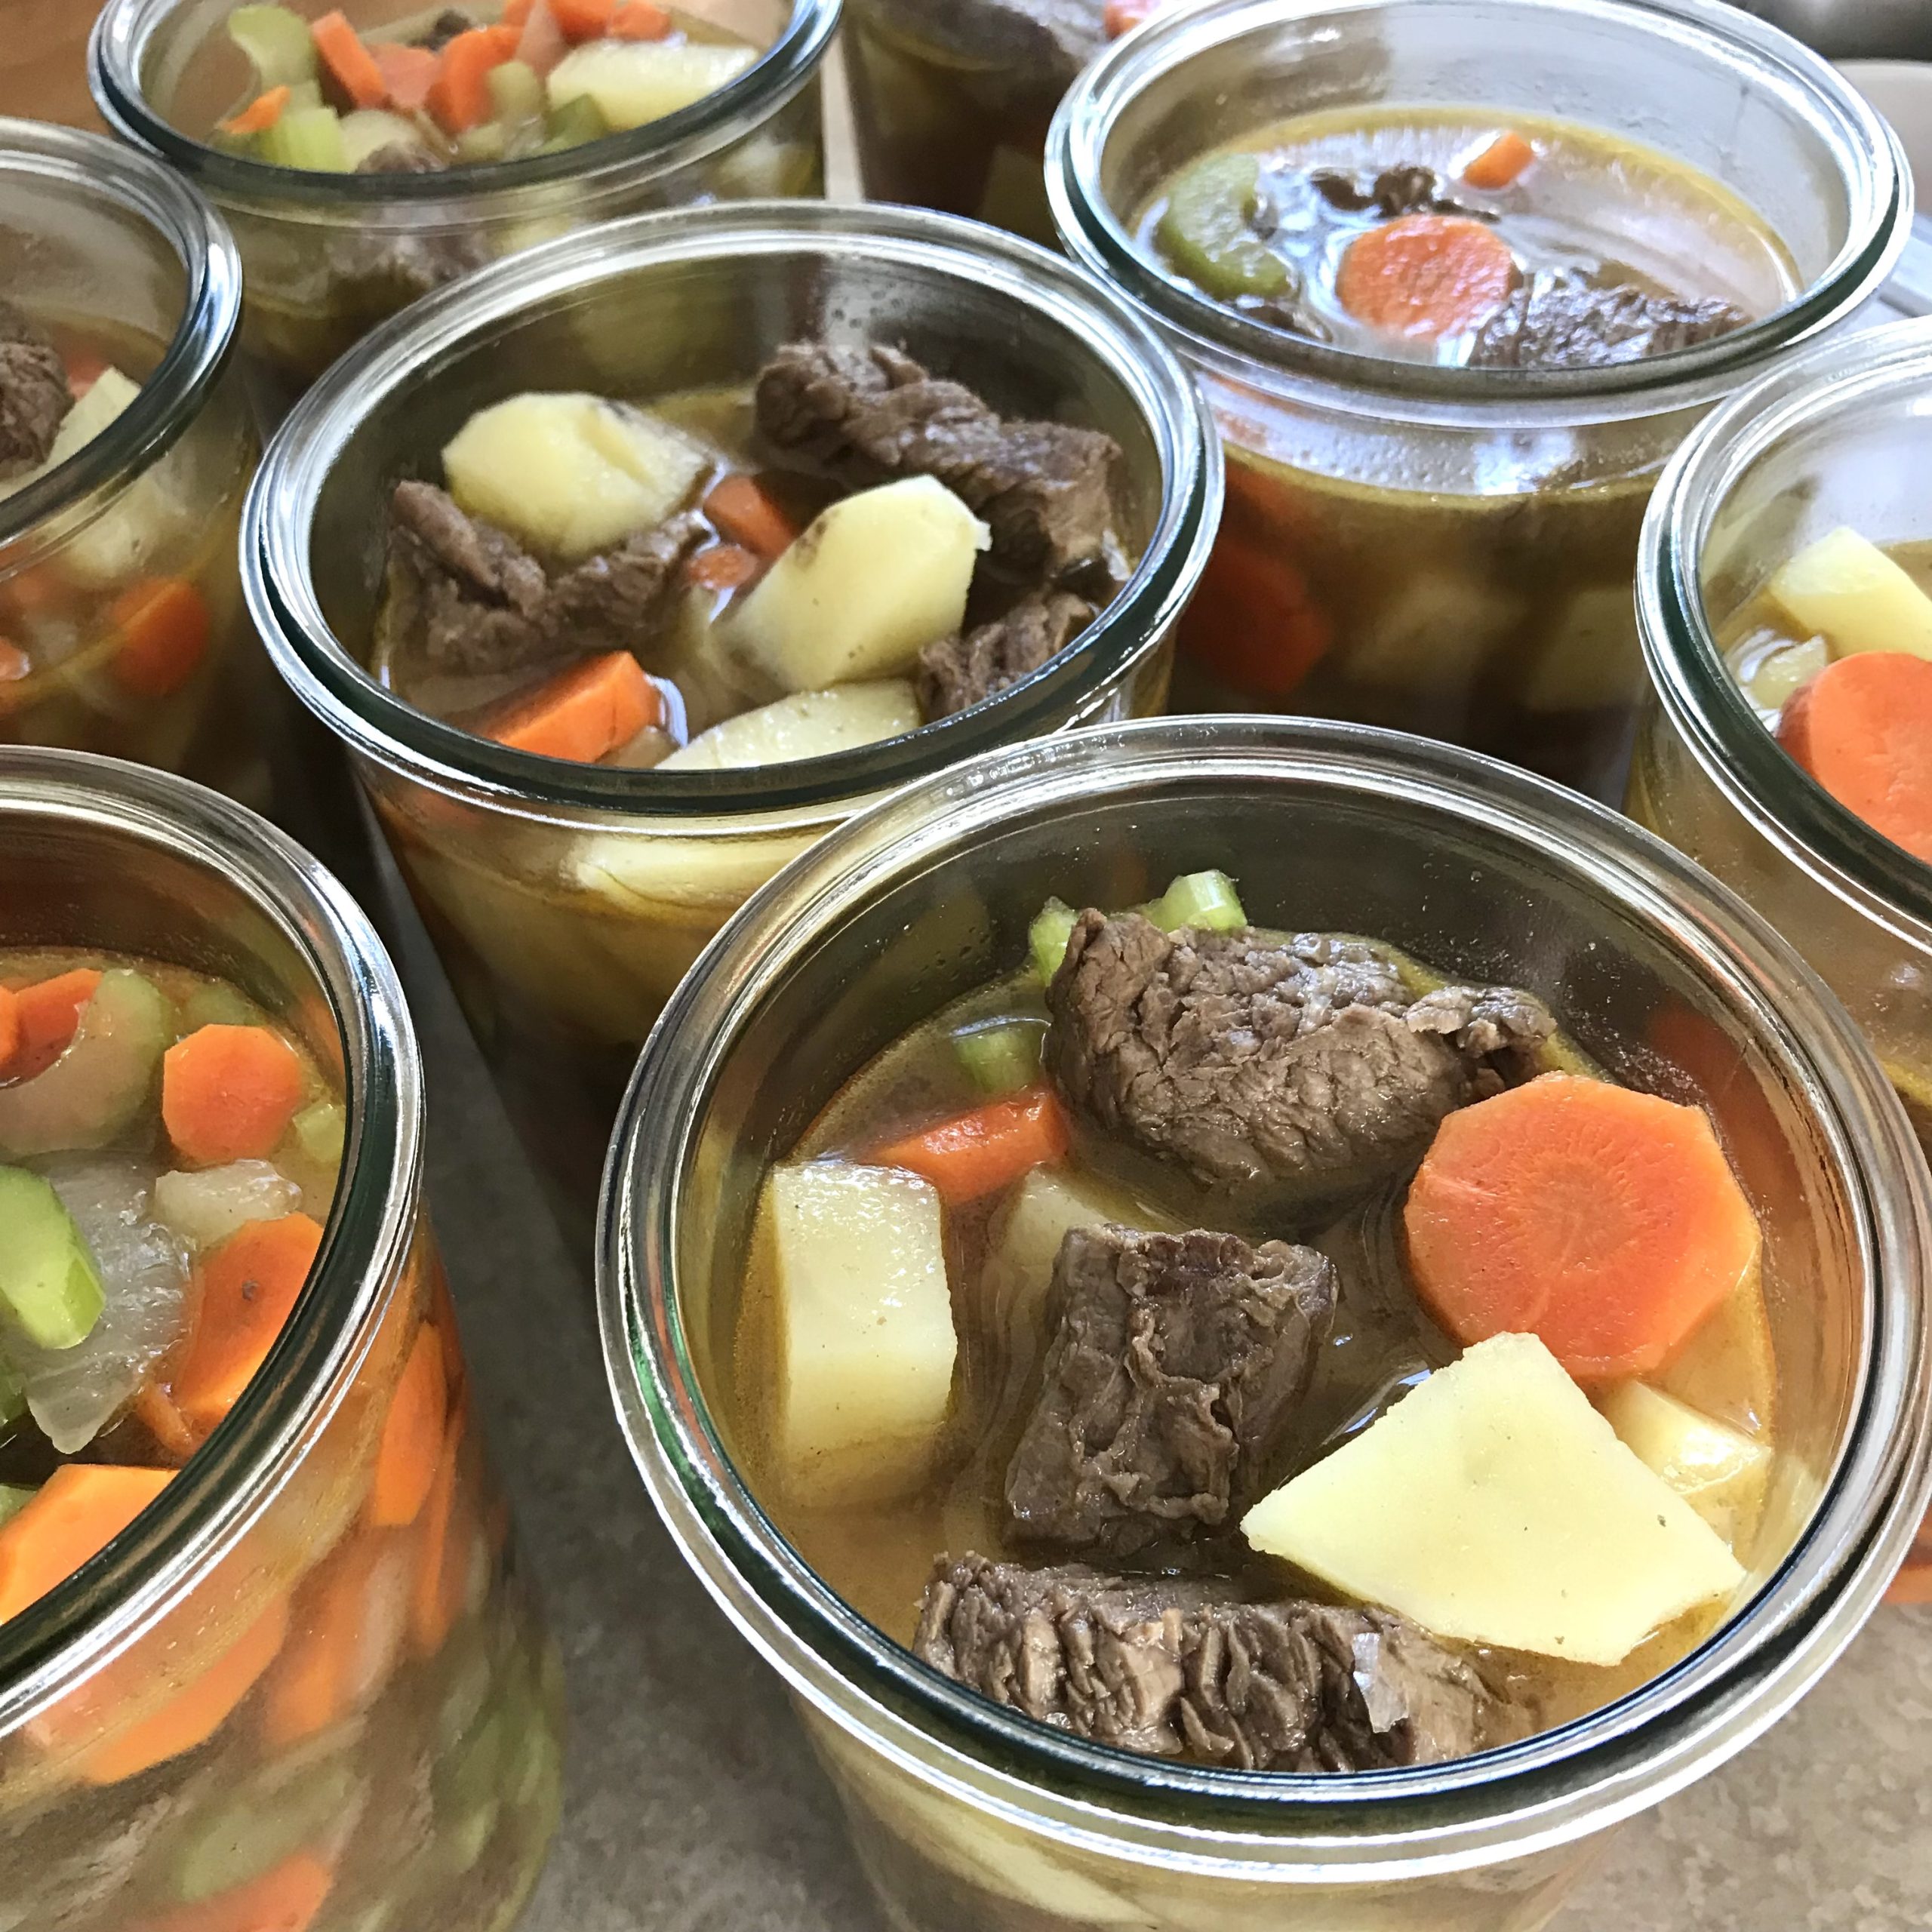
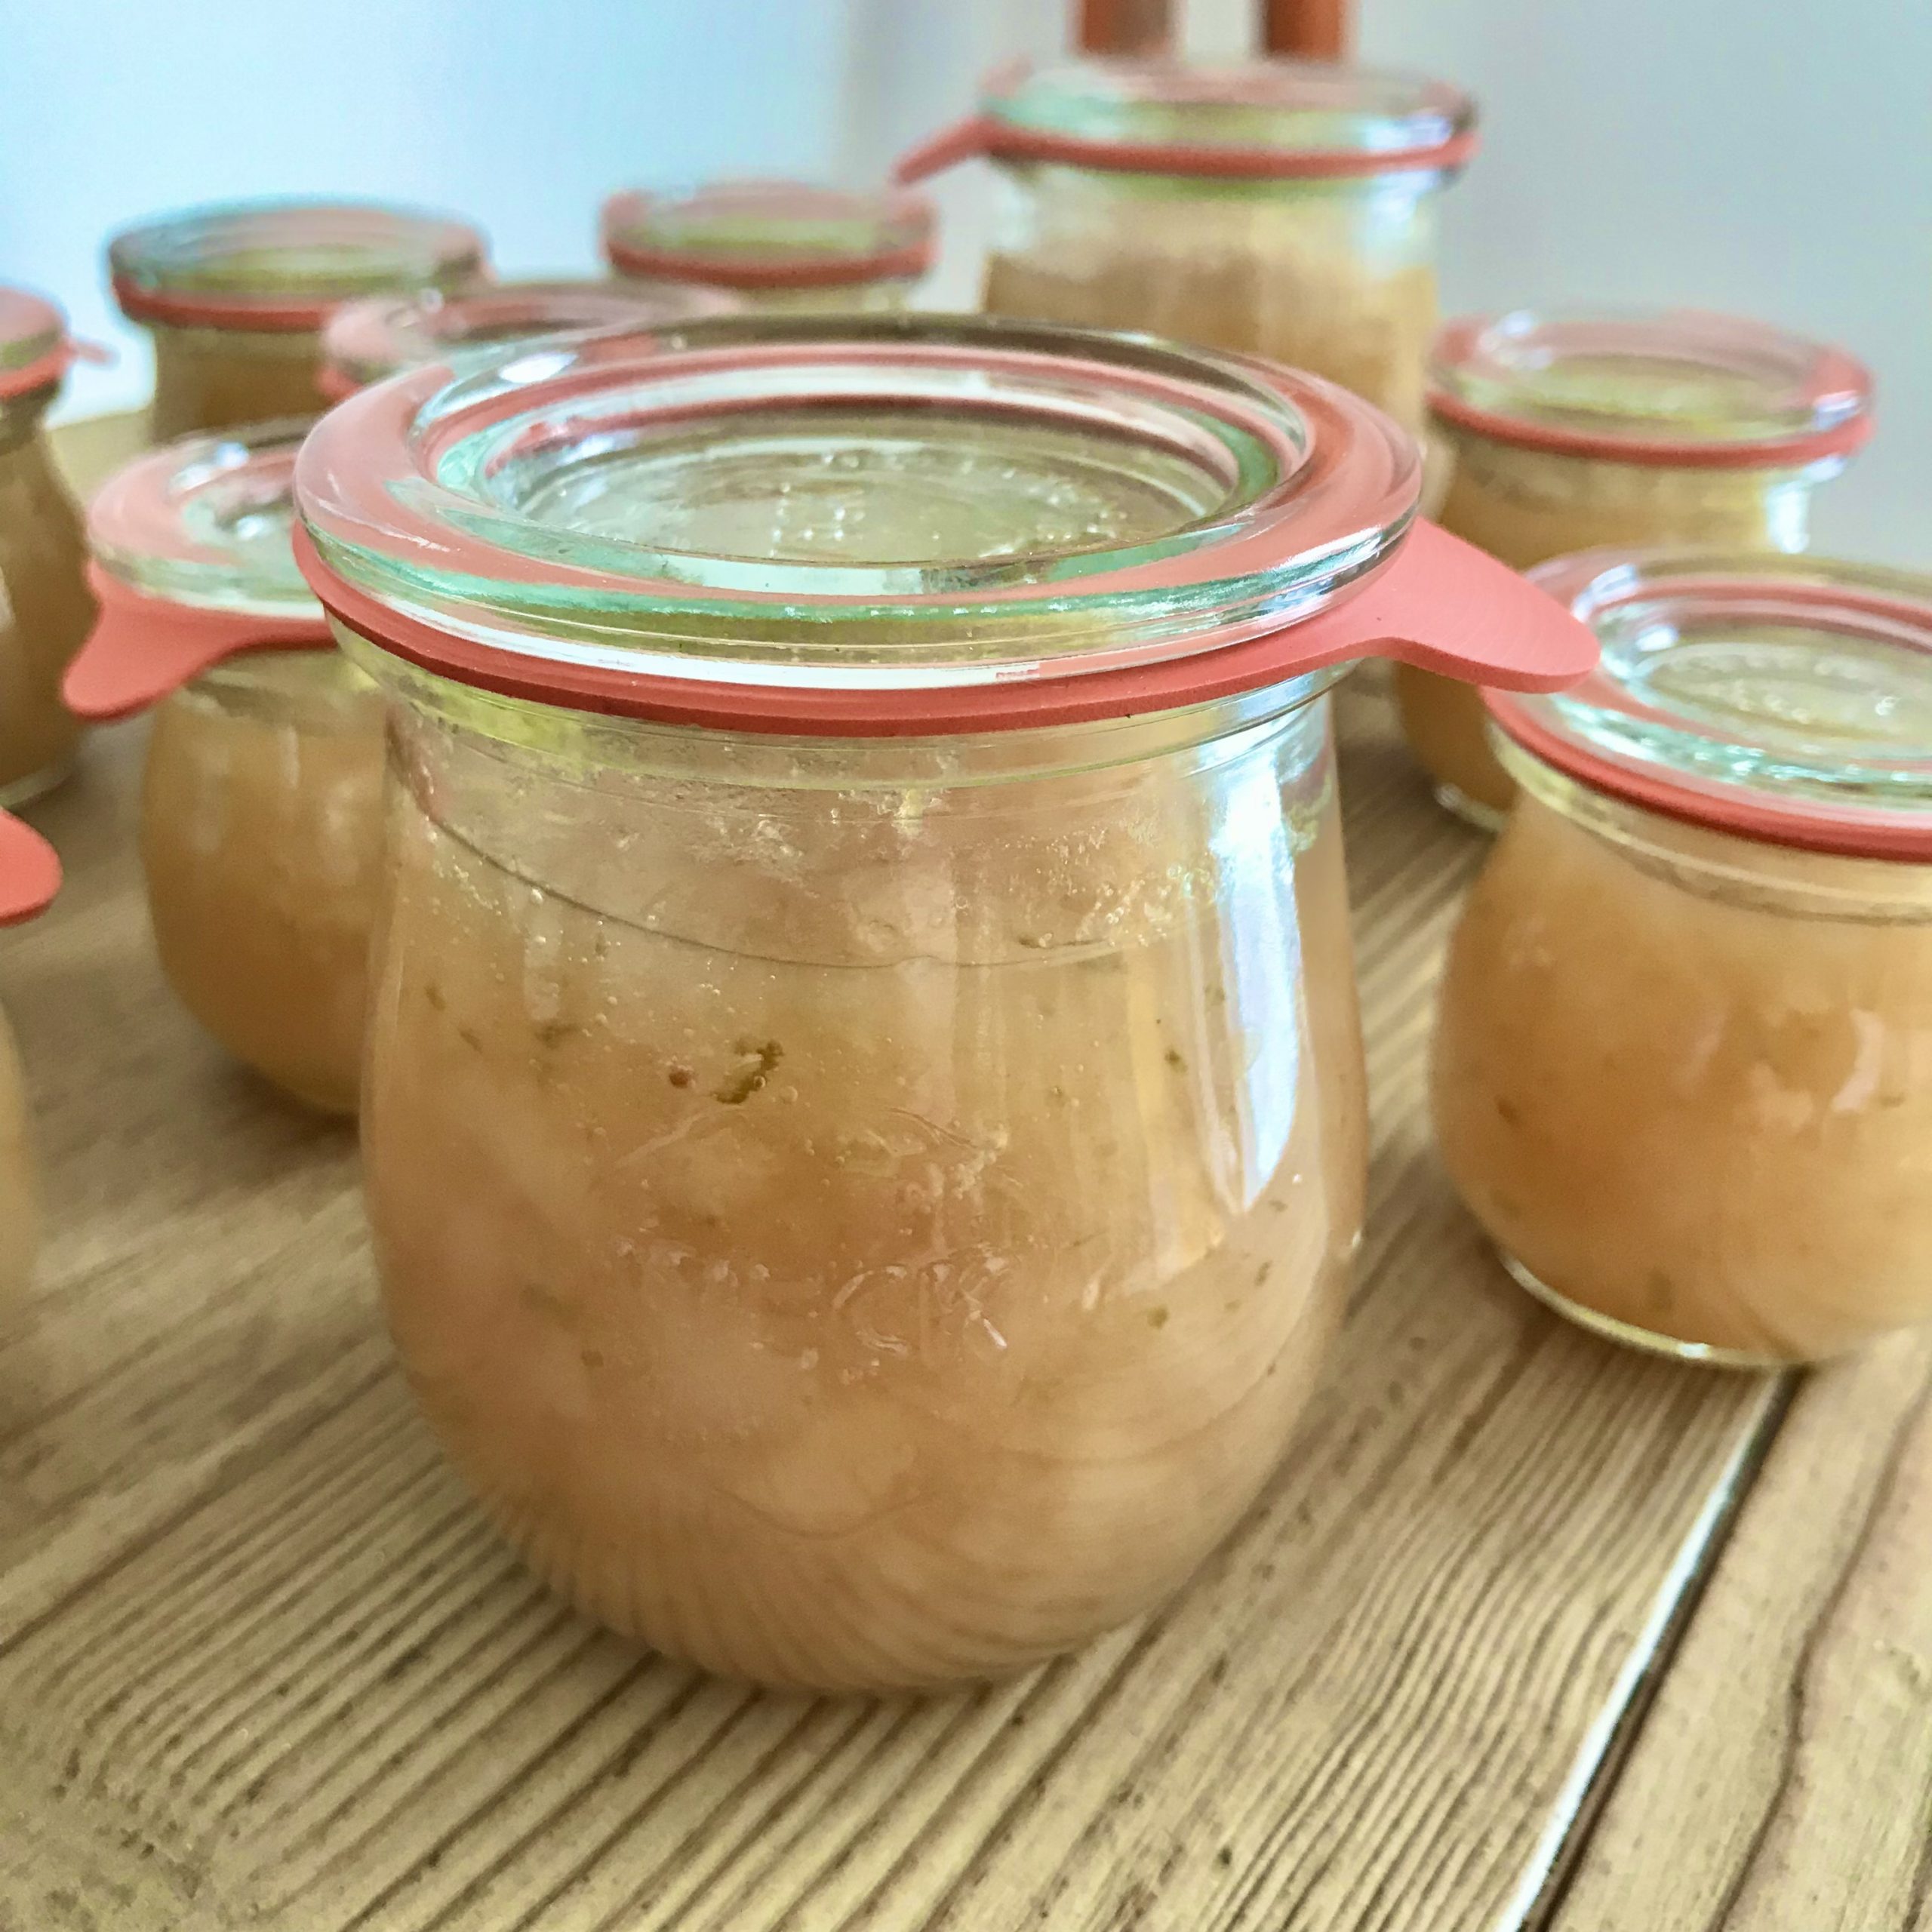
Pressure Canning Beef Stew in Weck Jars
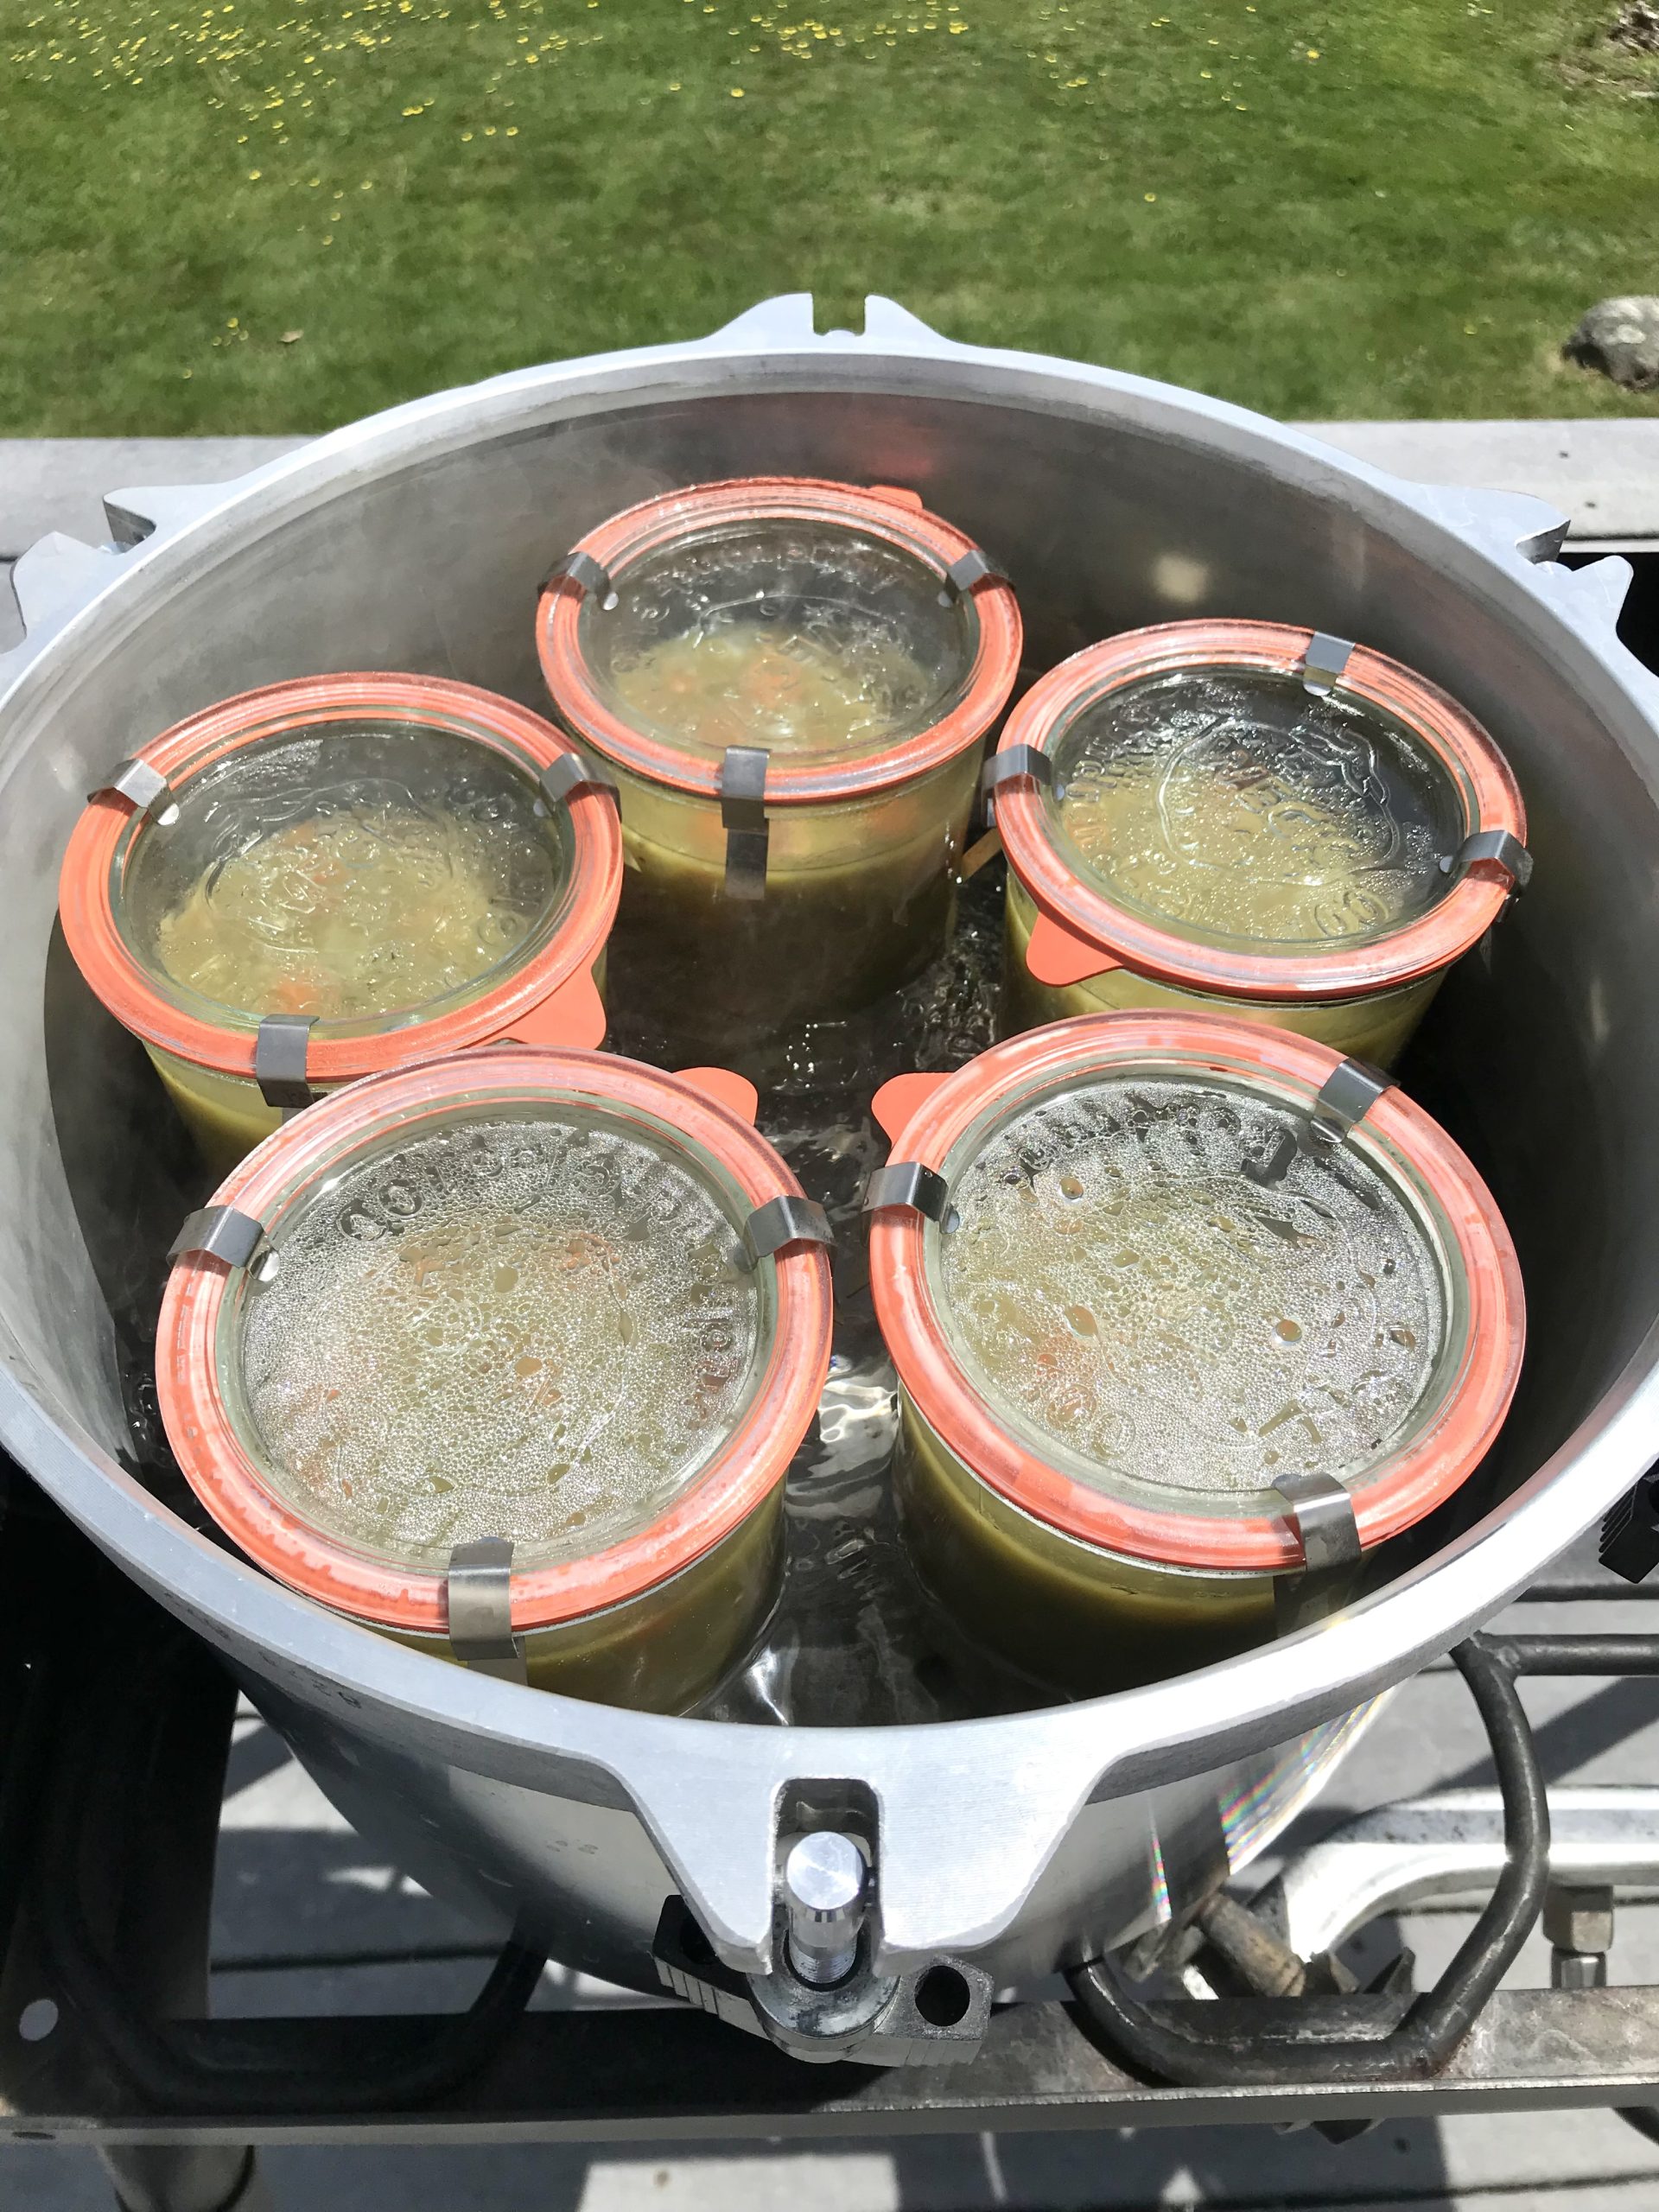
Pressure Canning Split Pea and Ham Soup in Weck Jars
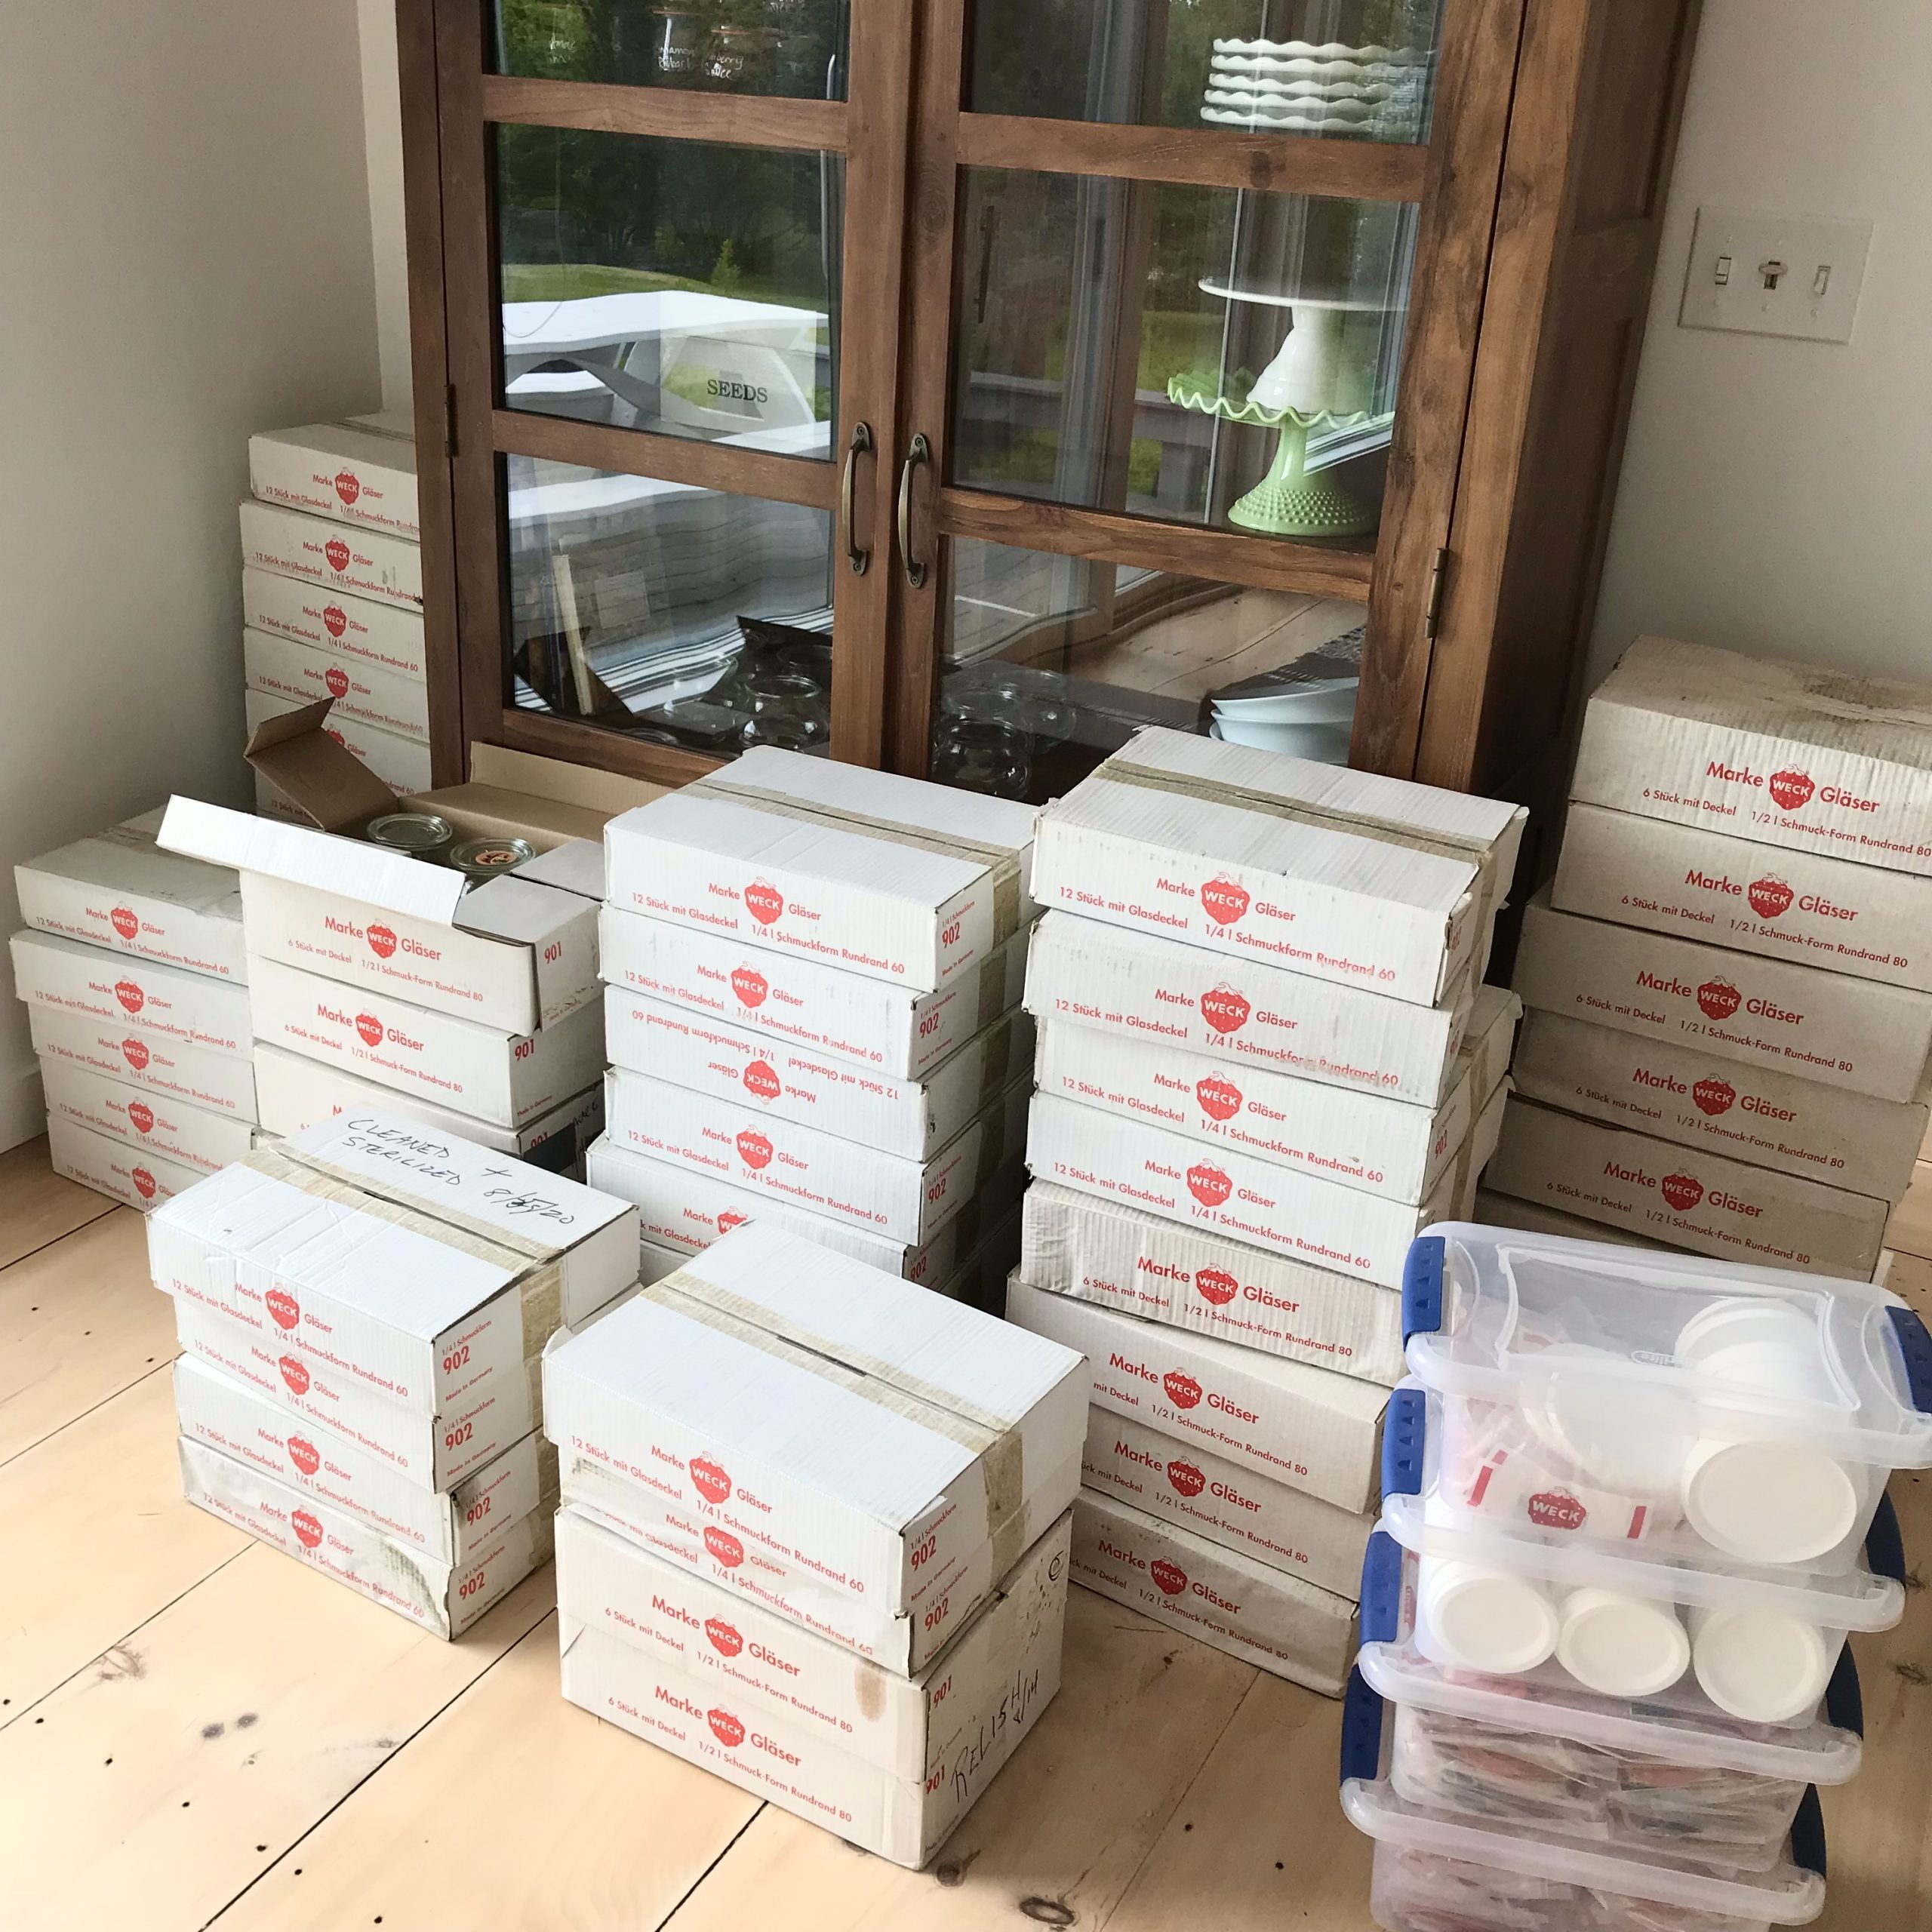
“Used Weck Jars For Sale”
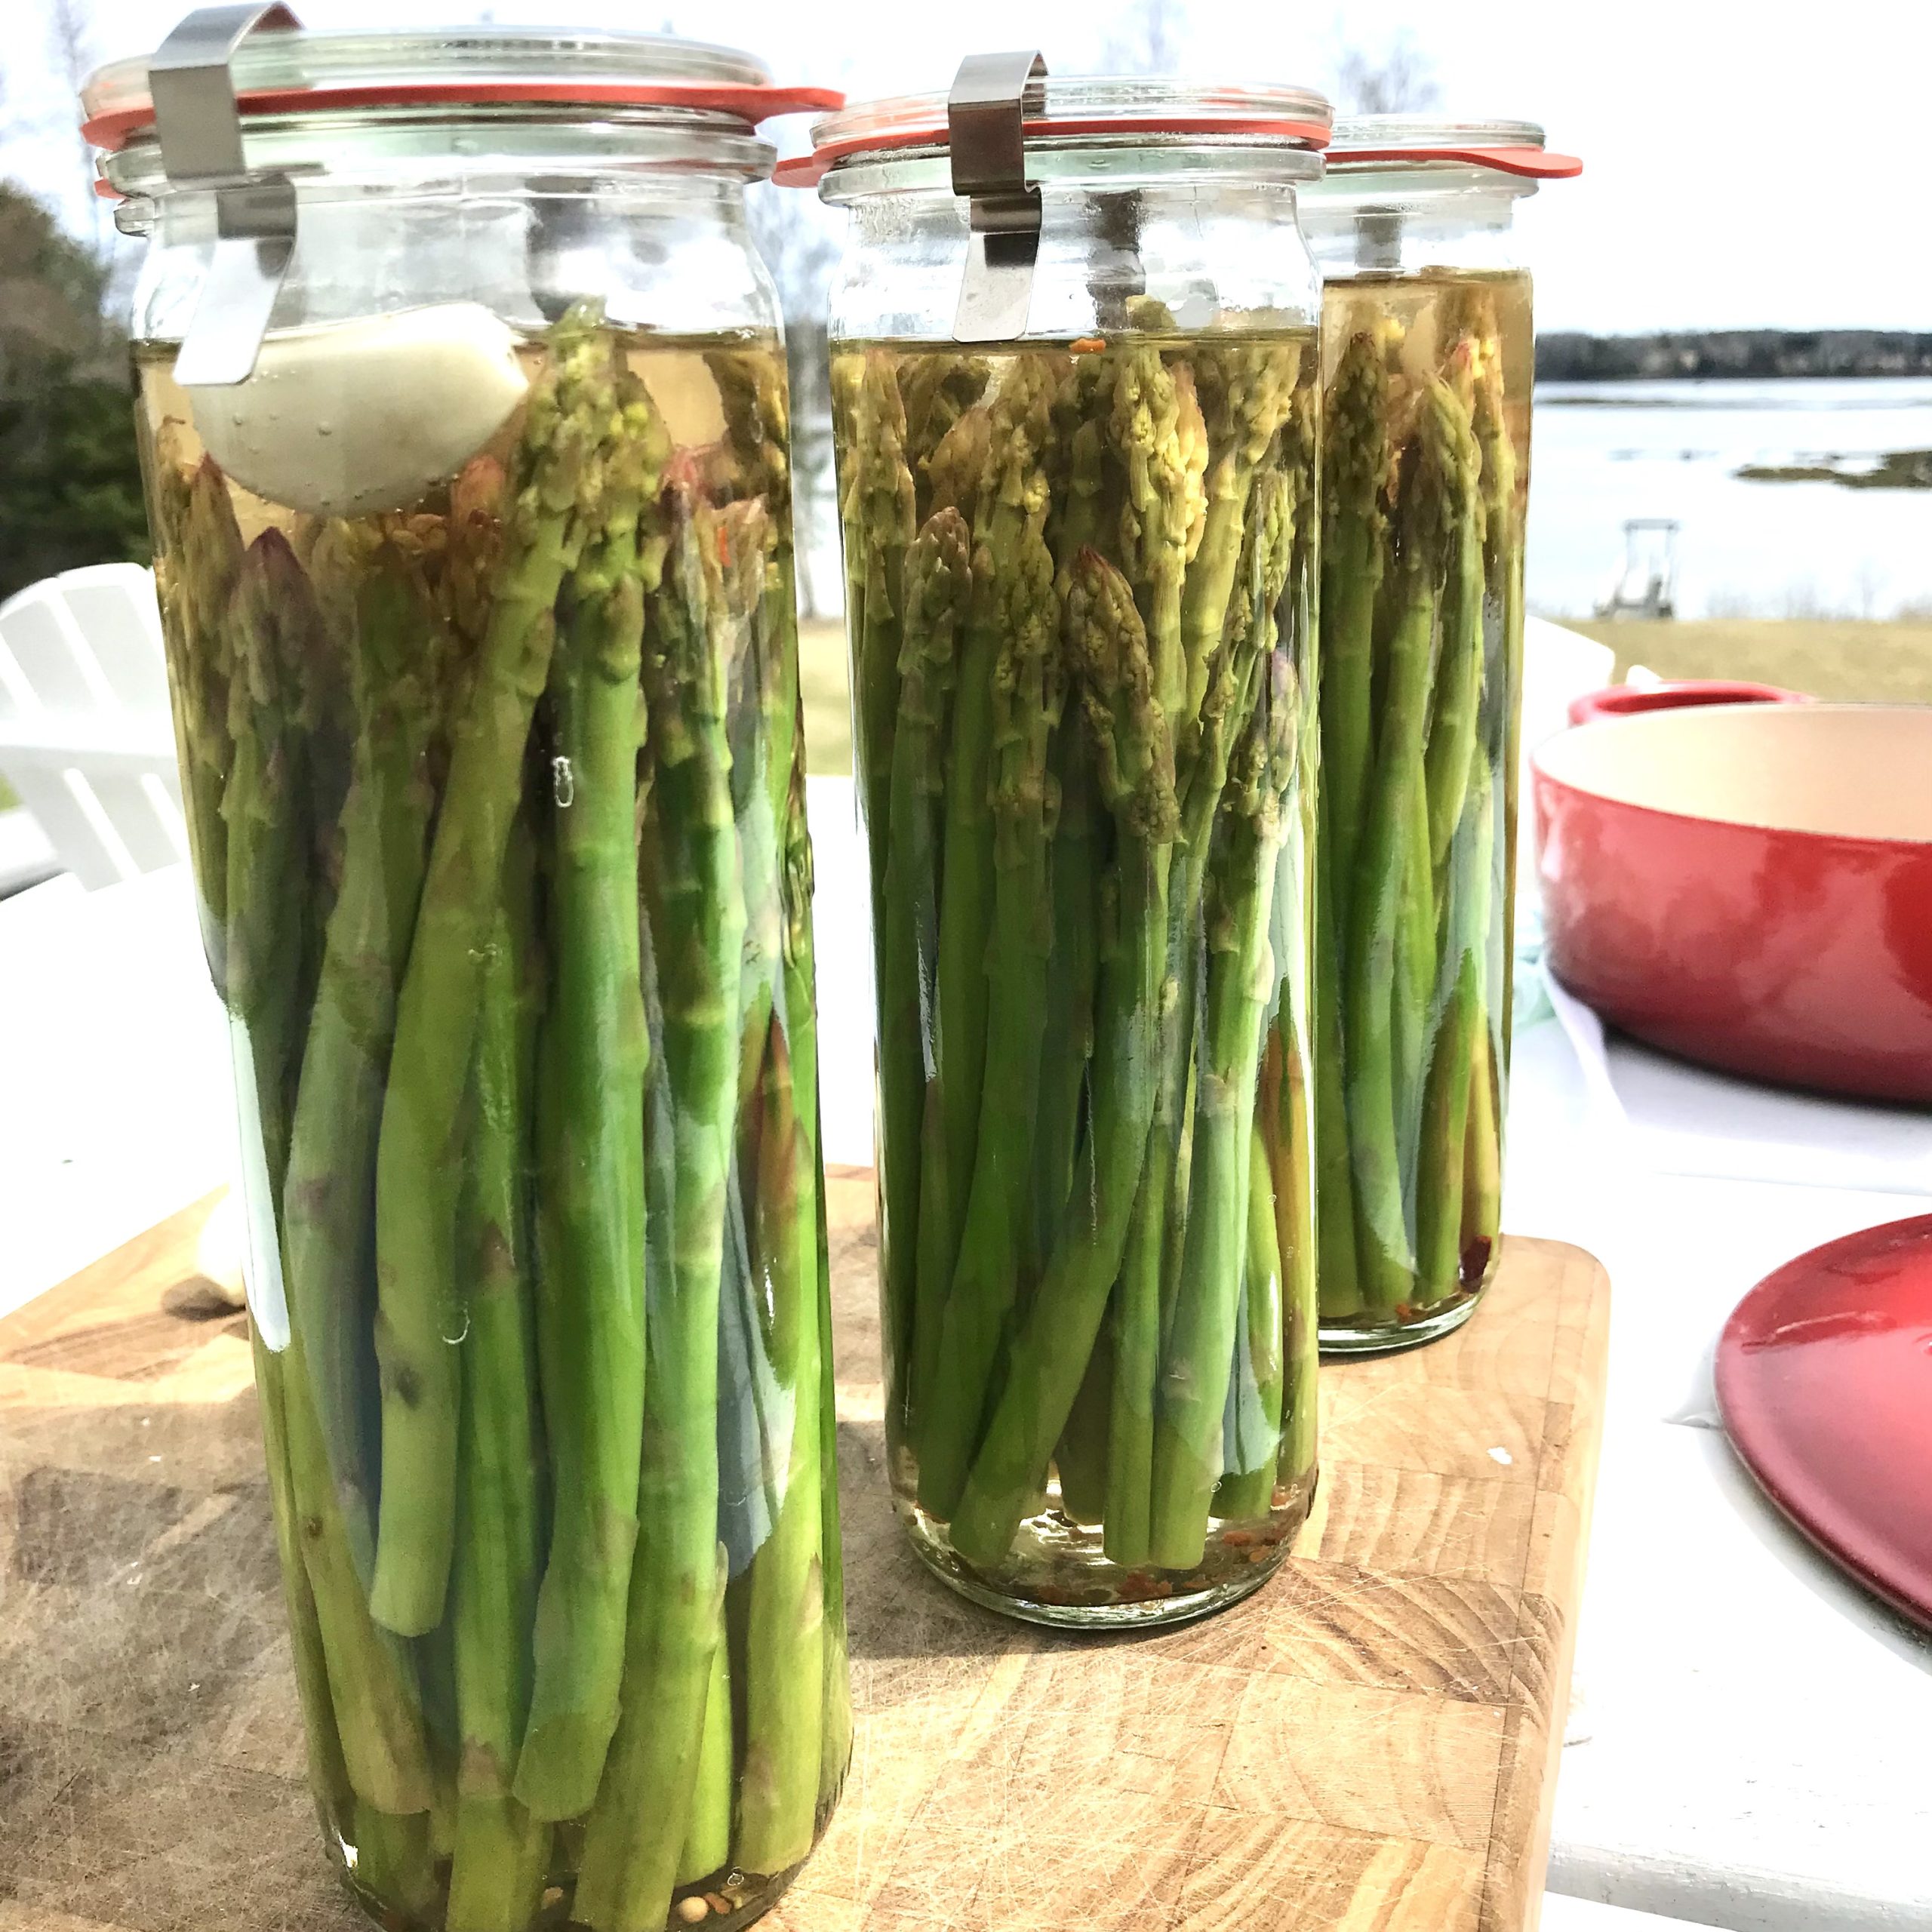
Recipe for Pickled Asparagus
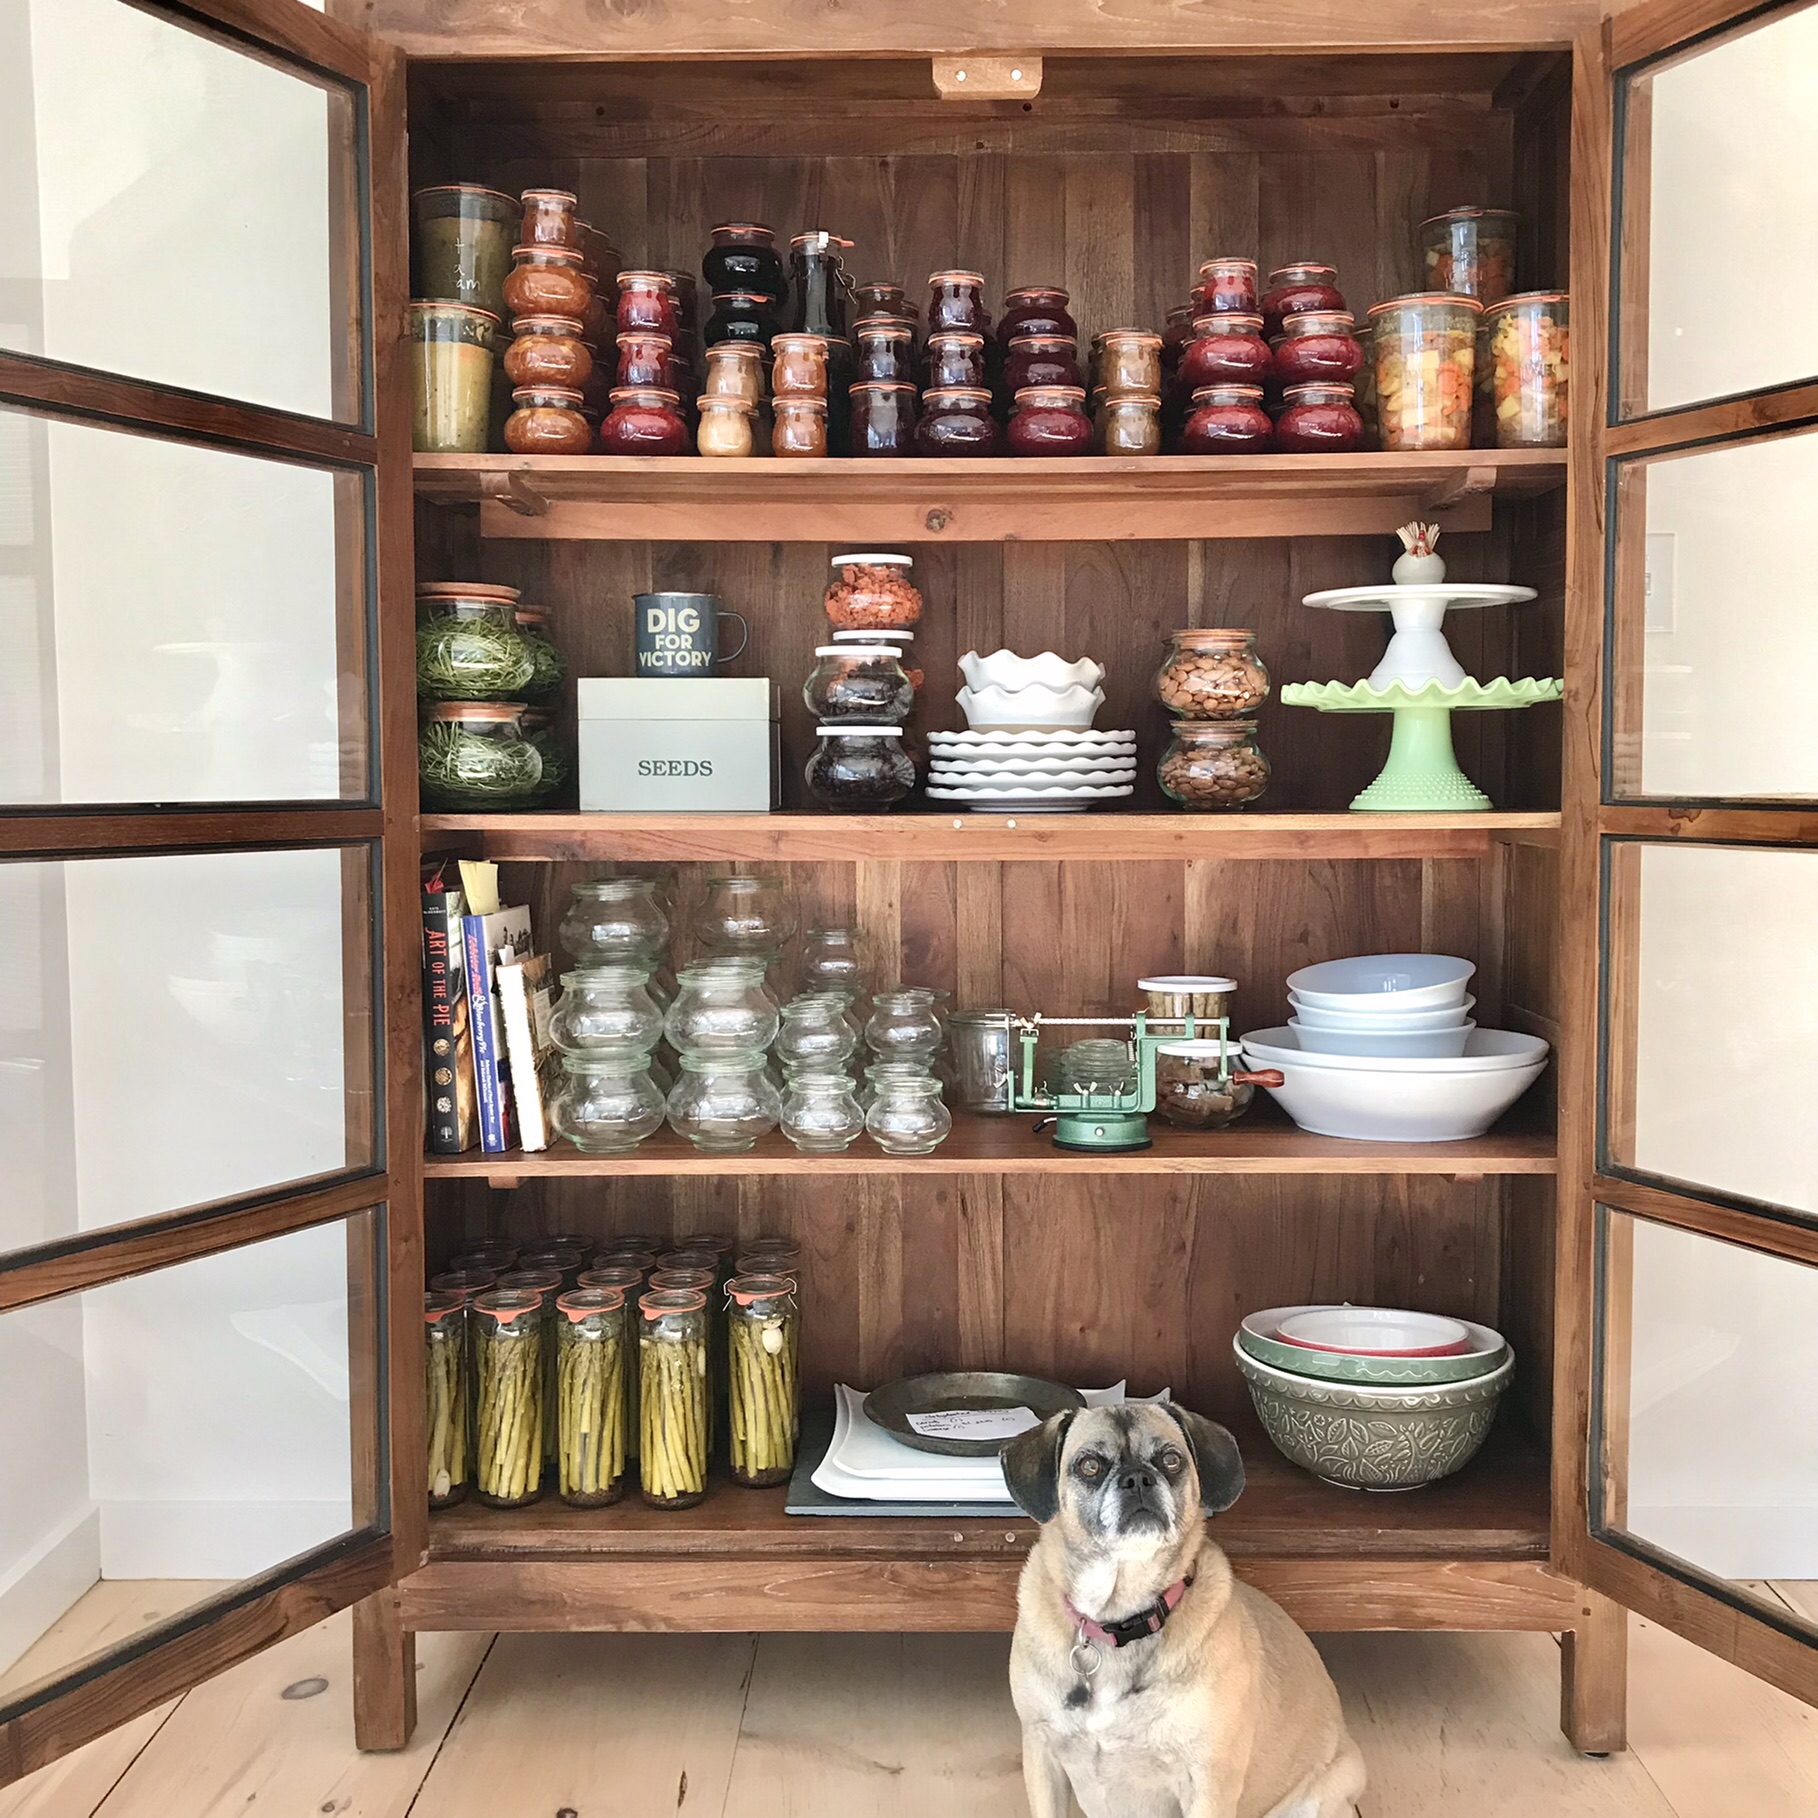
Canning Supplies and Cookbooks
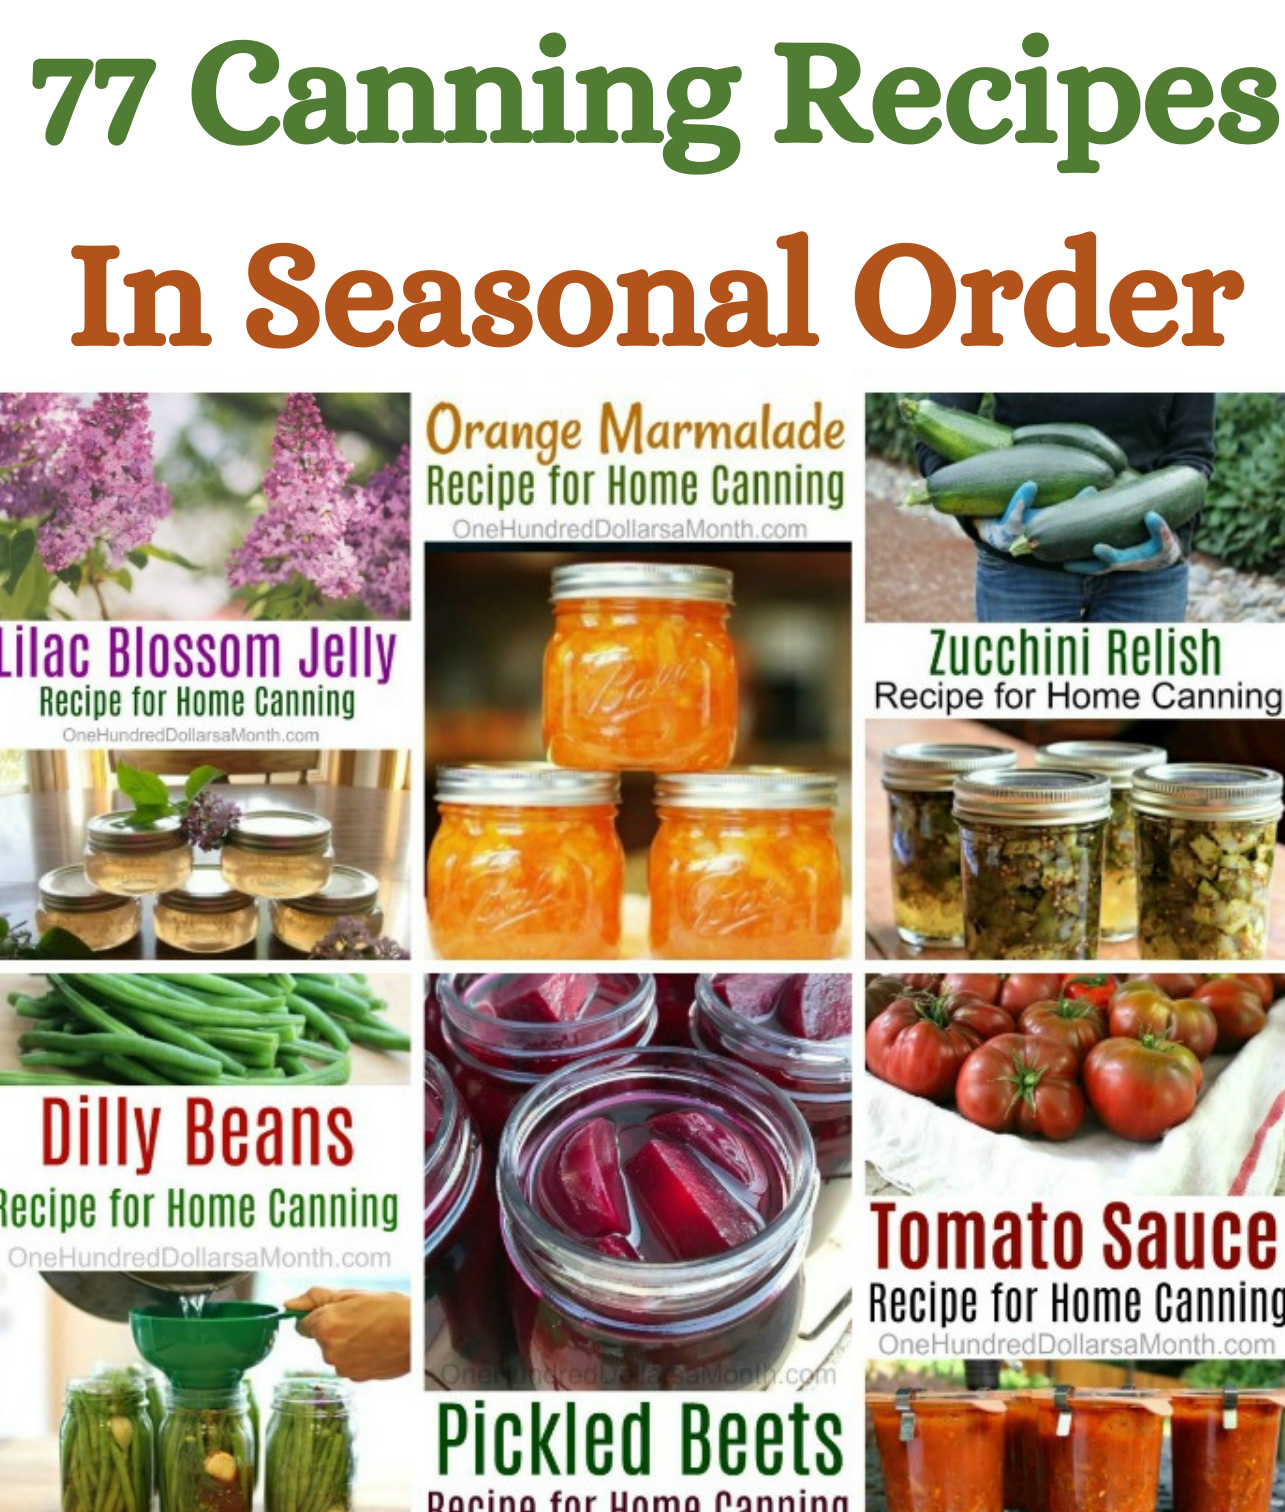
77 Canning Recipes In Seasonal Order
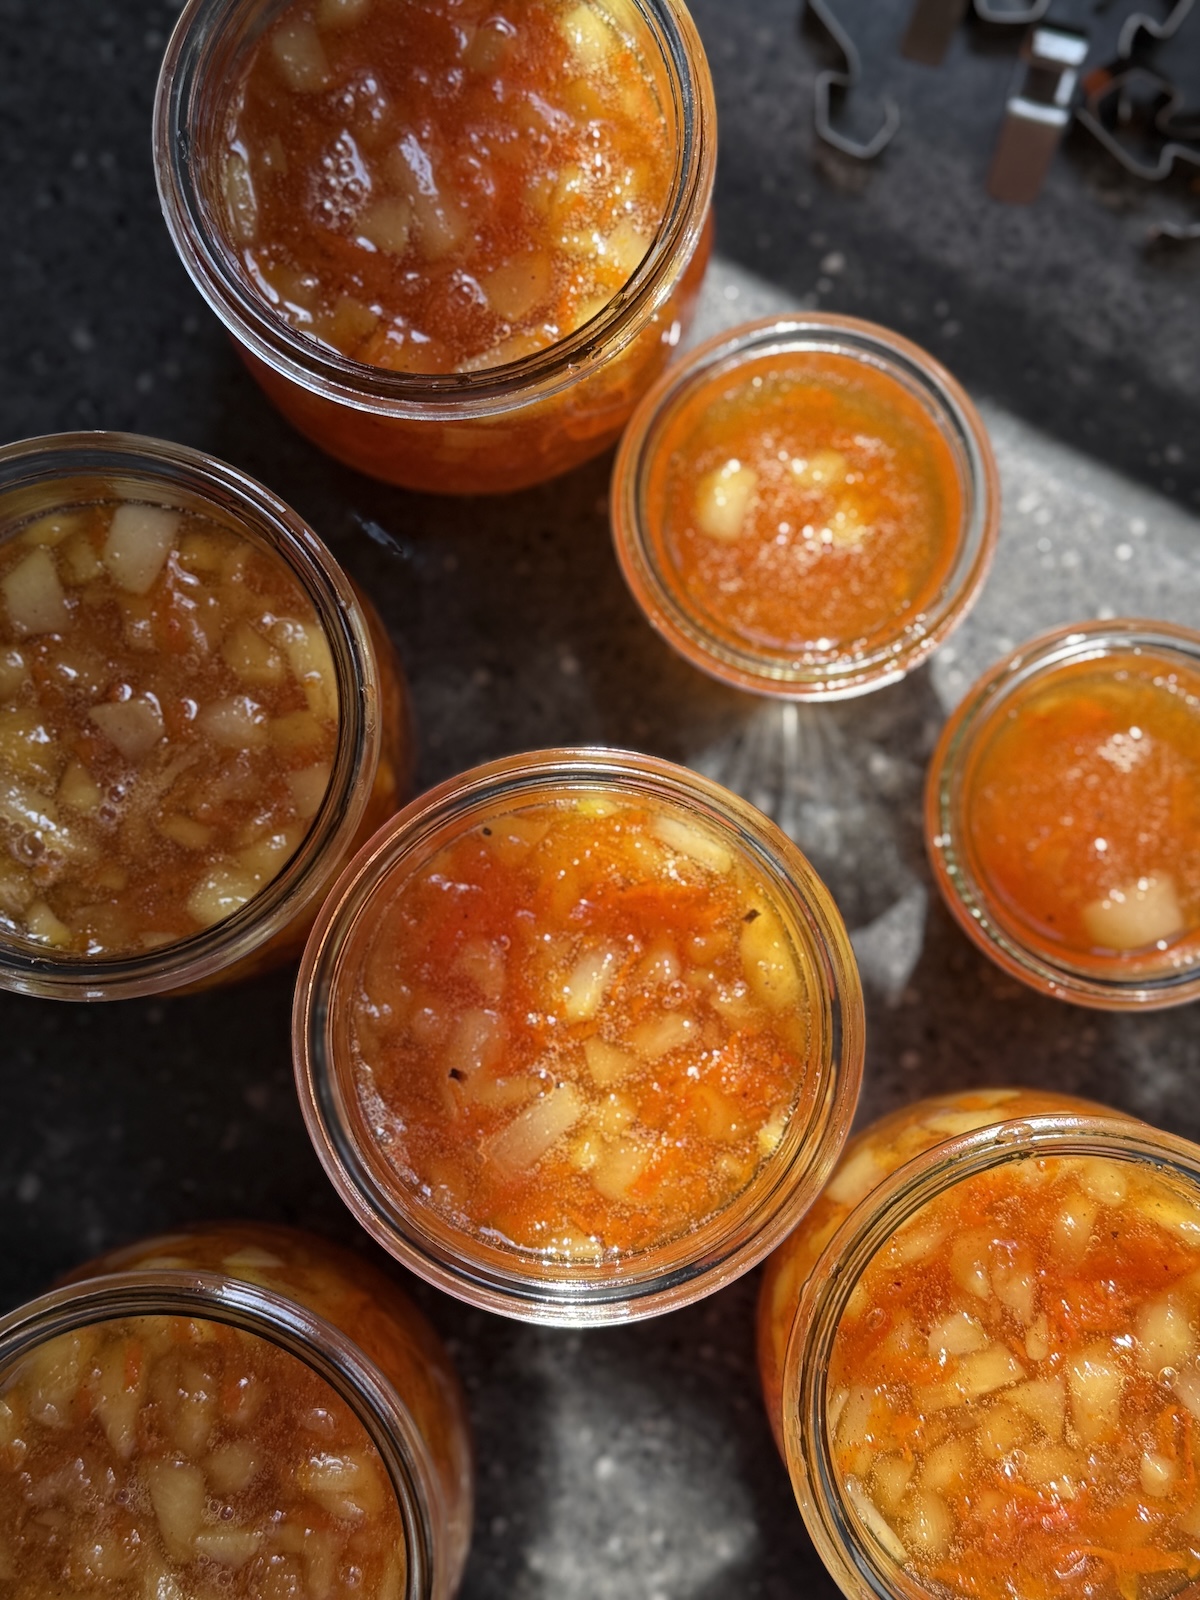
Ginger Pear Jam
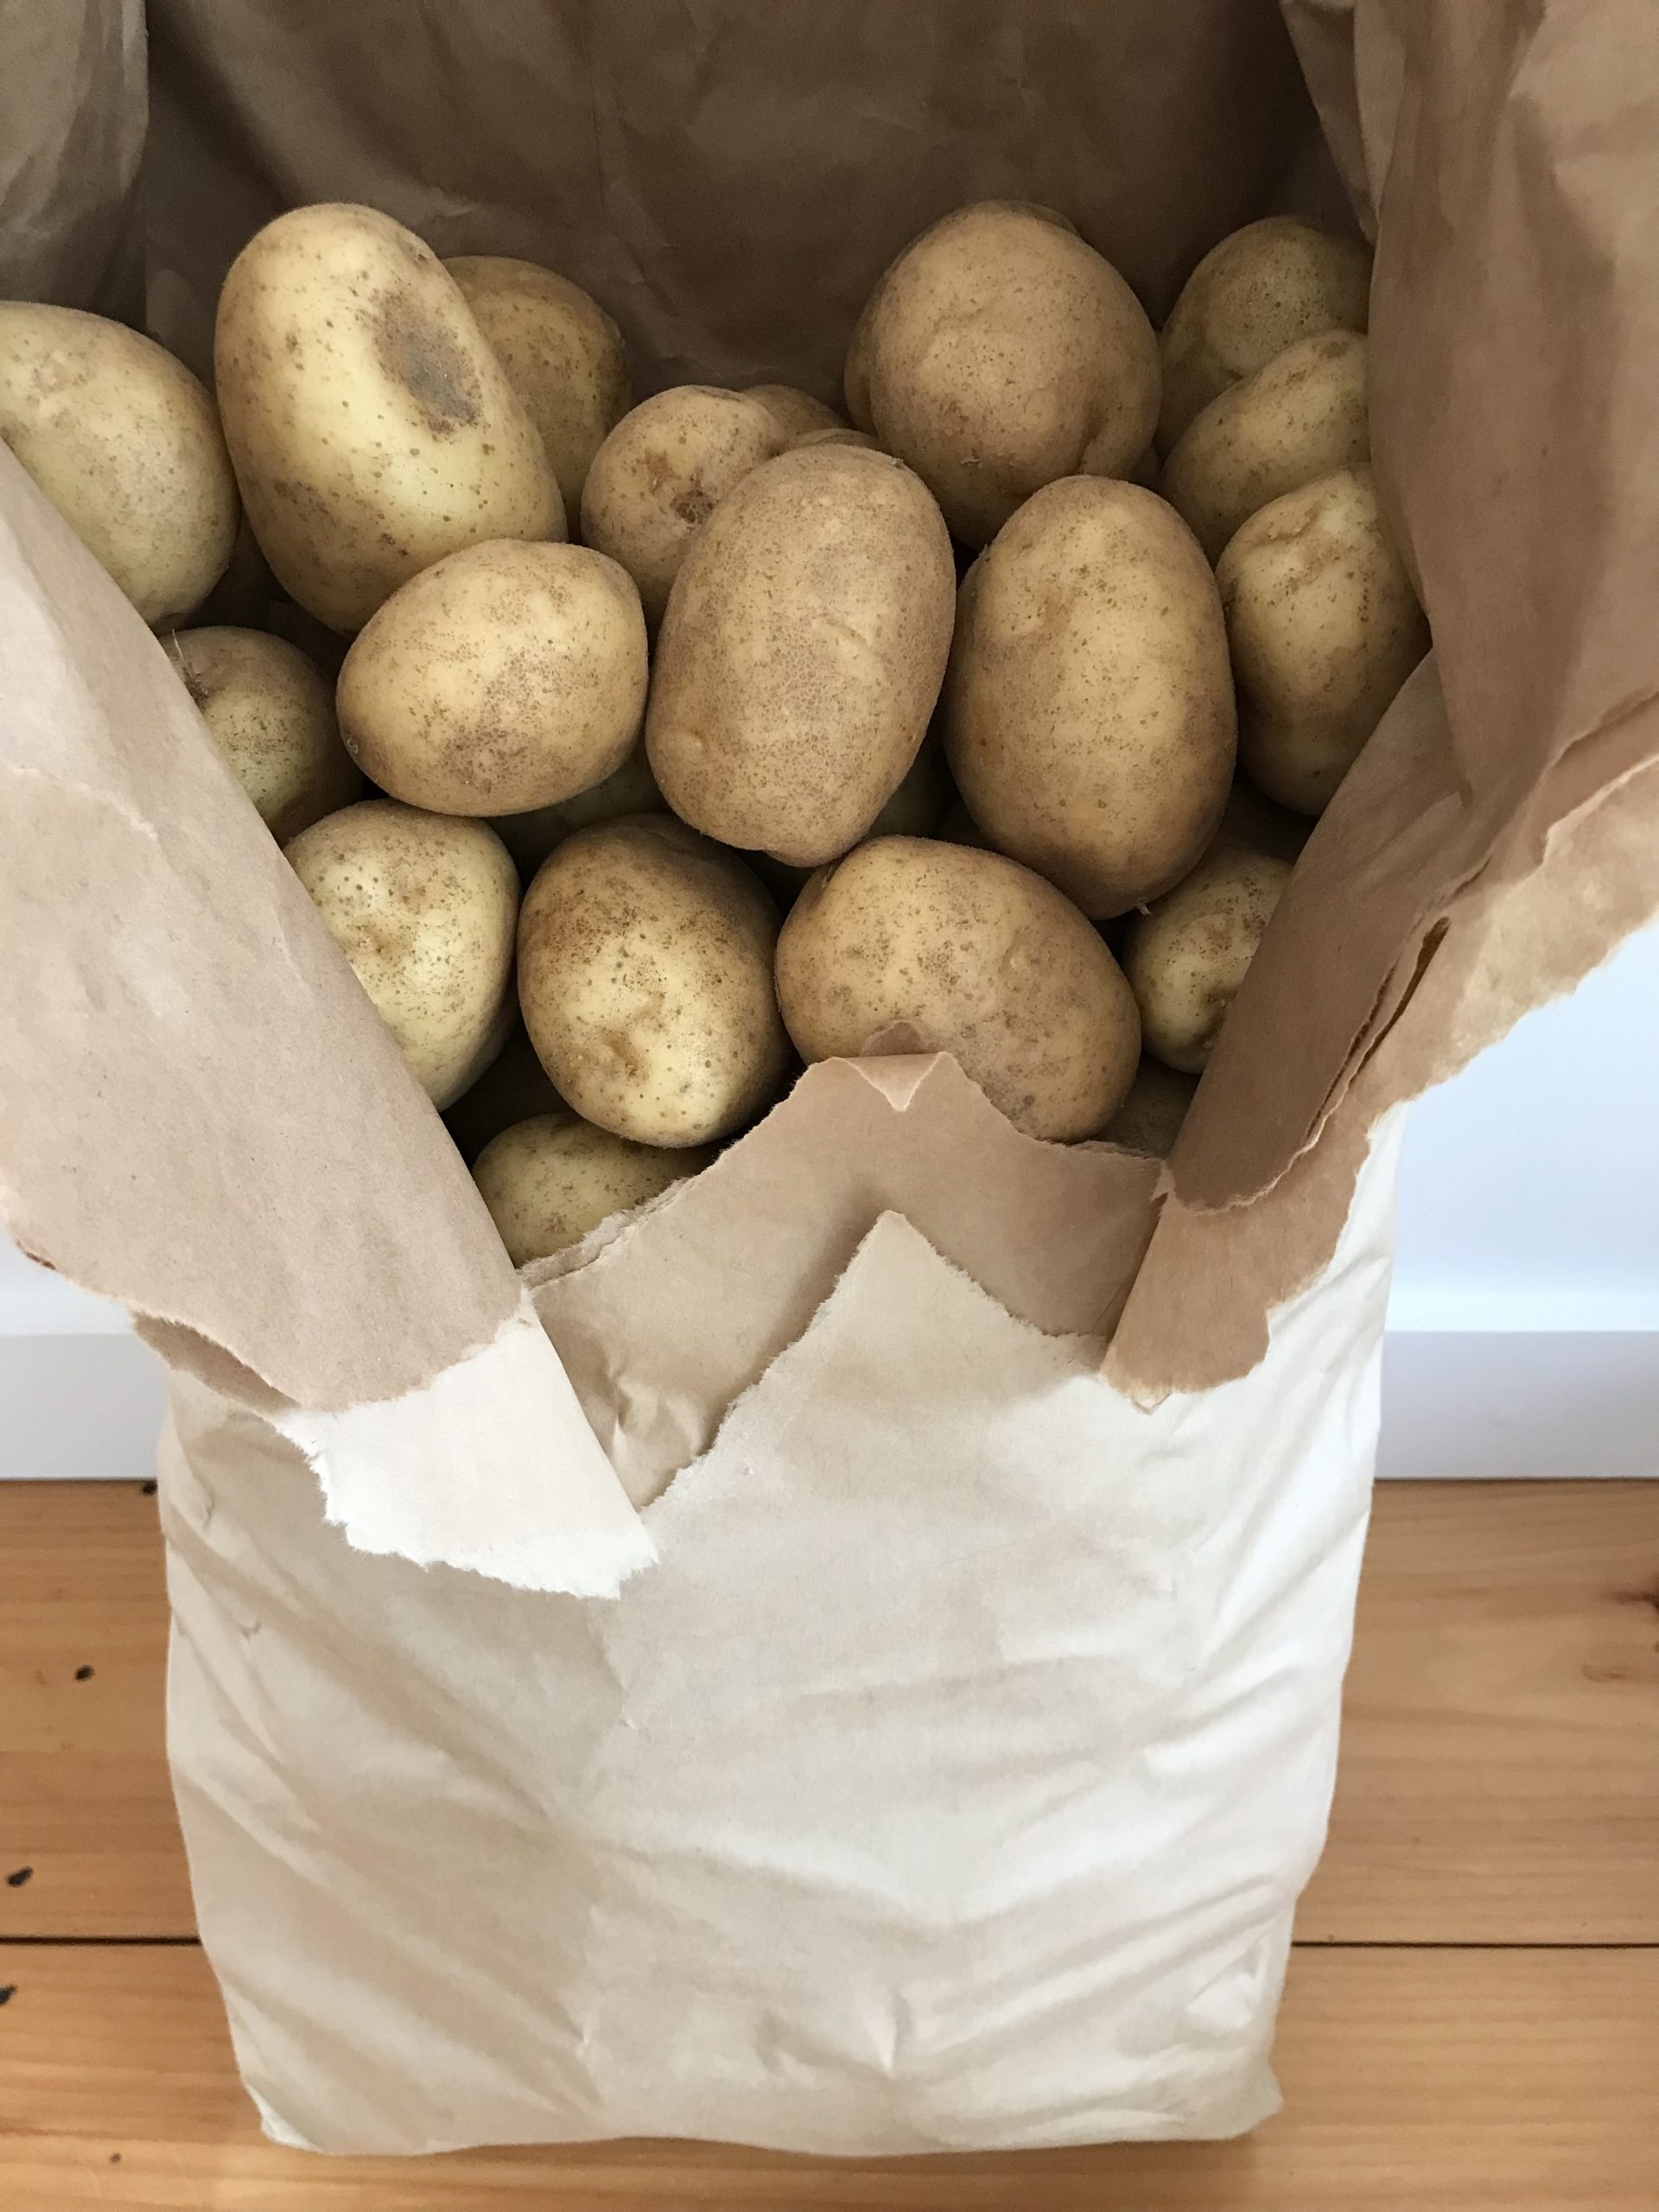
How To Store Potatoes Long Term
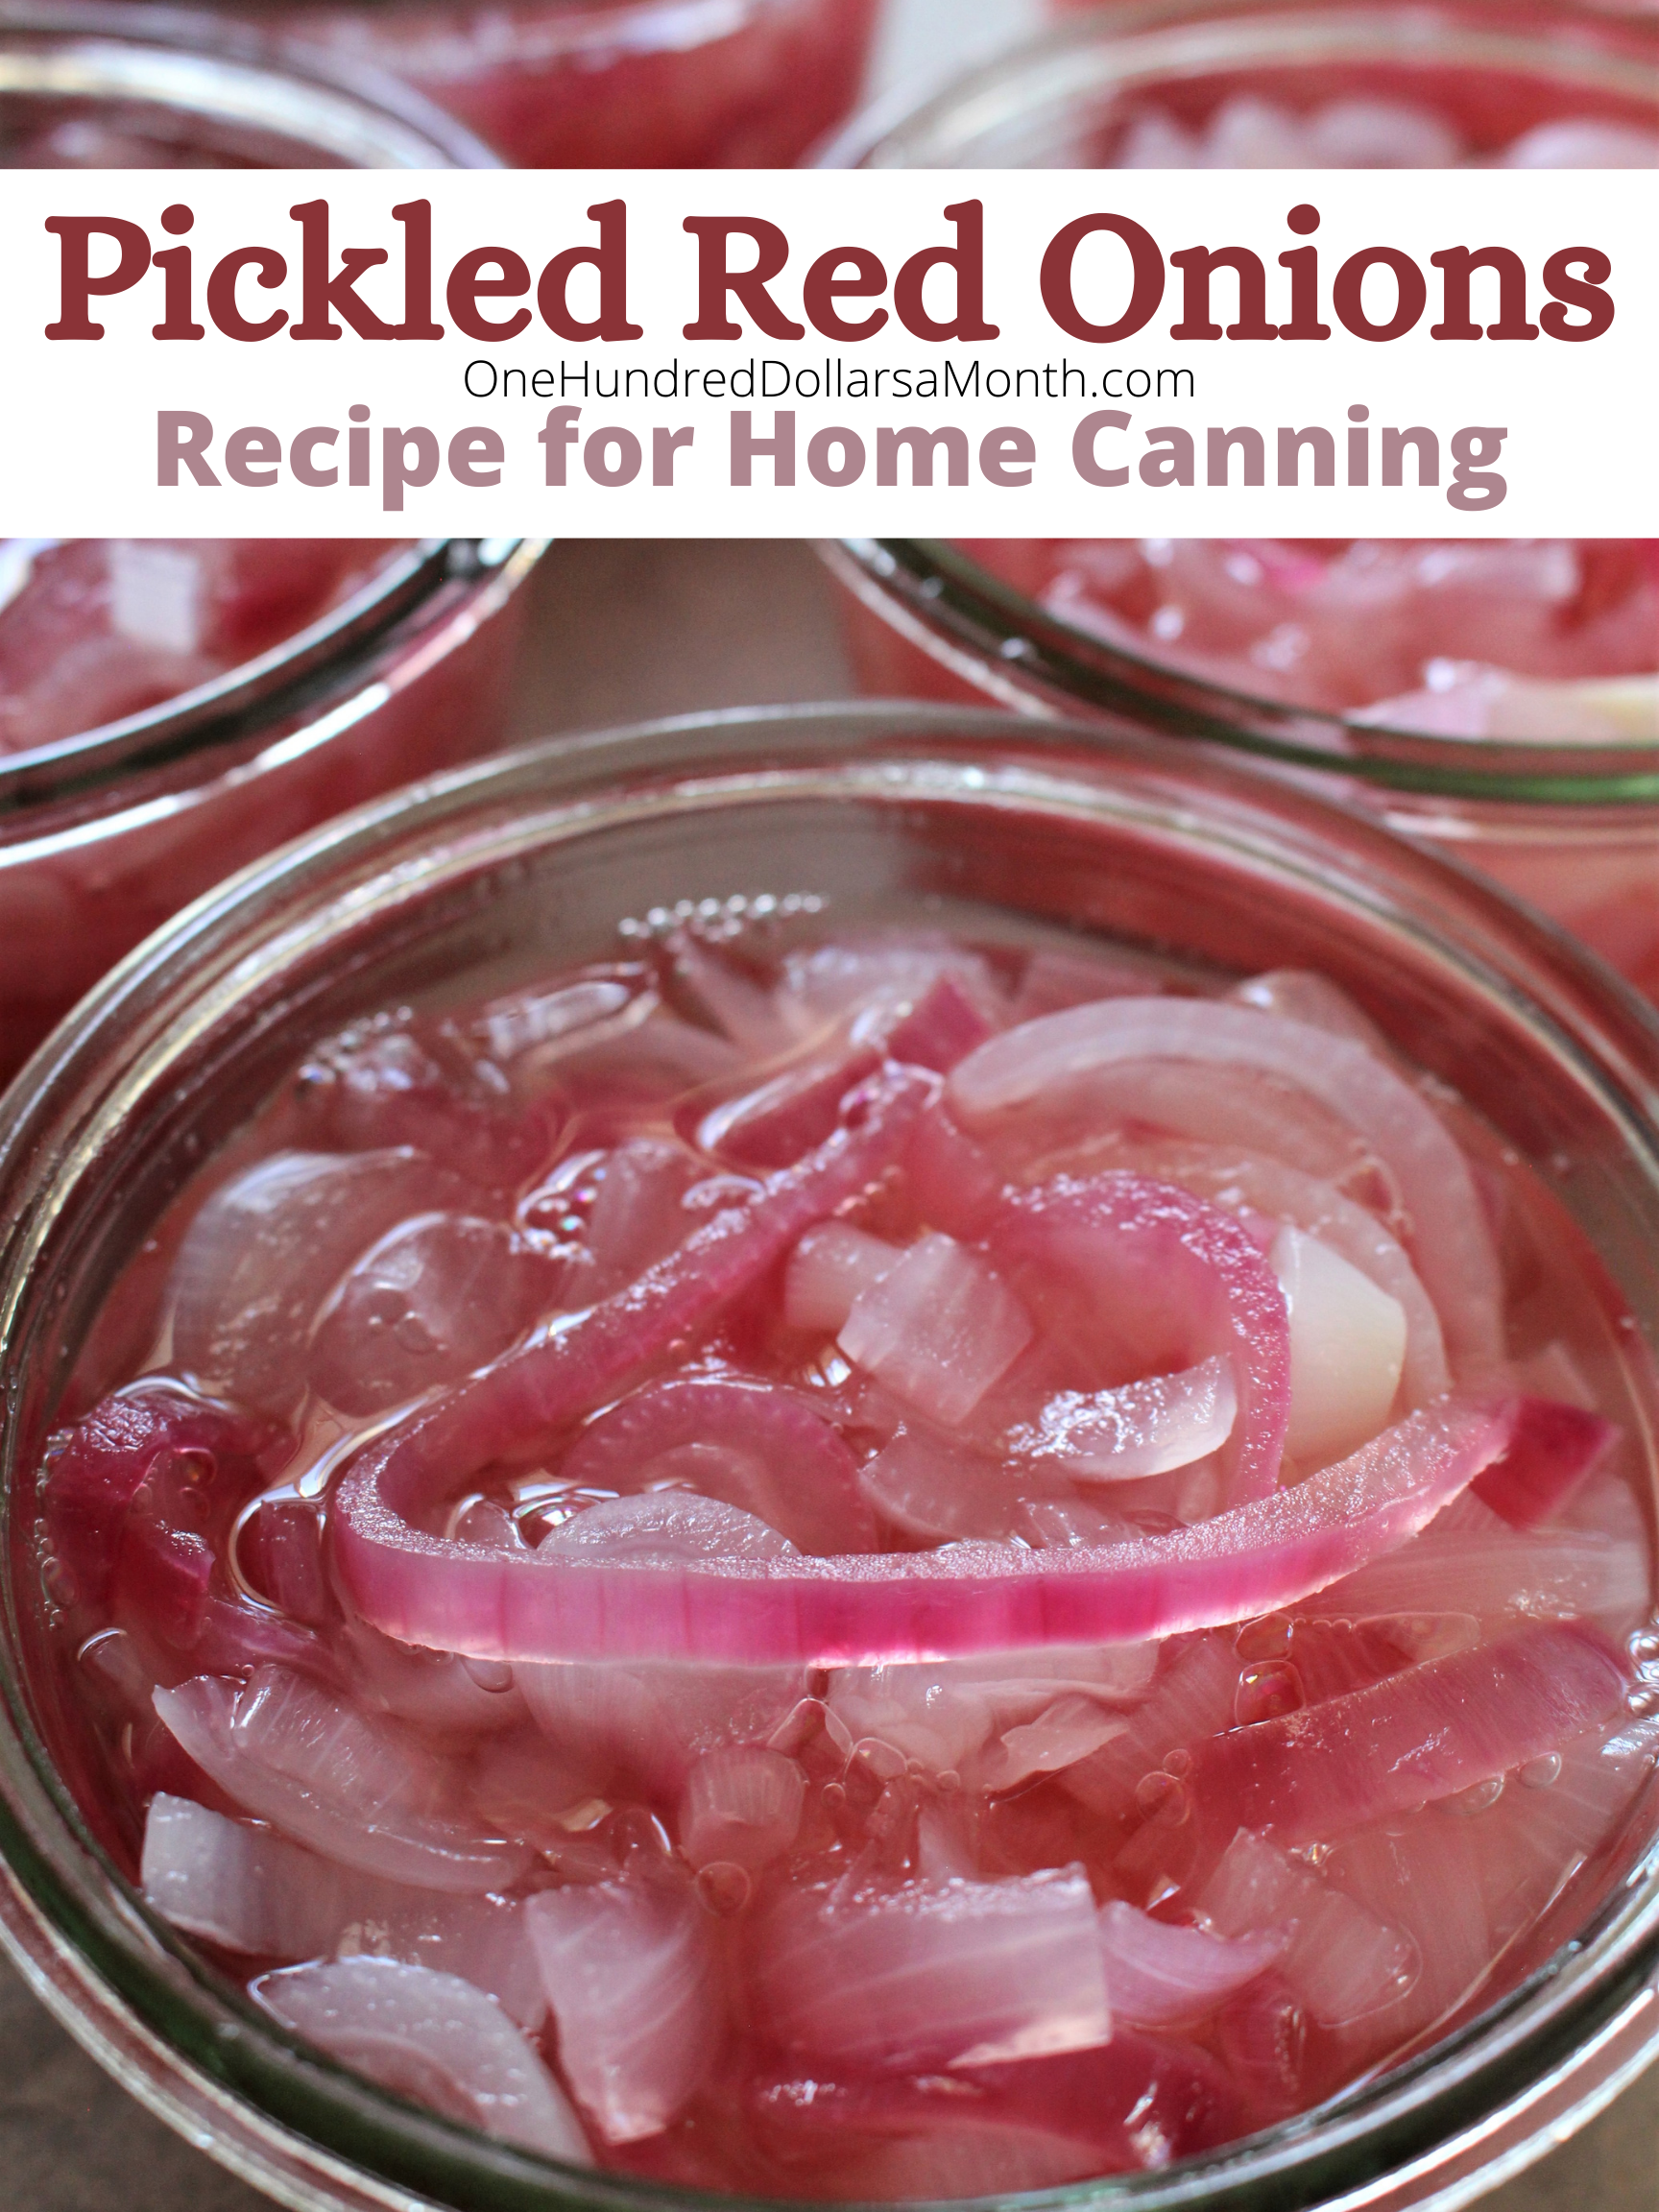
Canning Recipe for Pickled Red Onions {No Funky Spices}
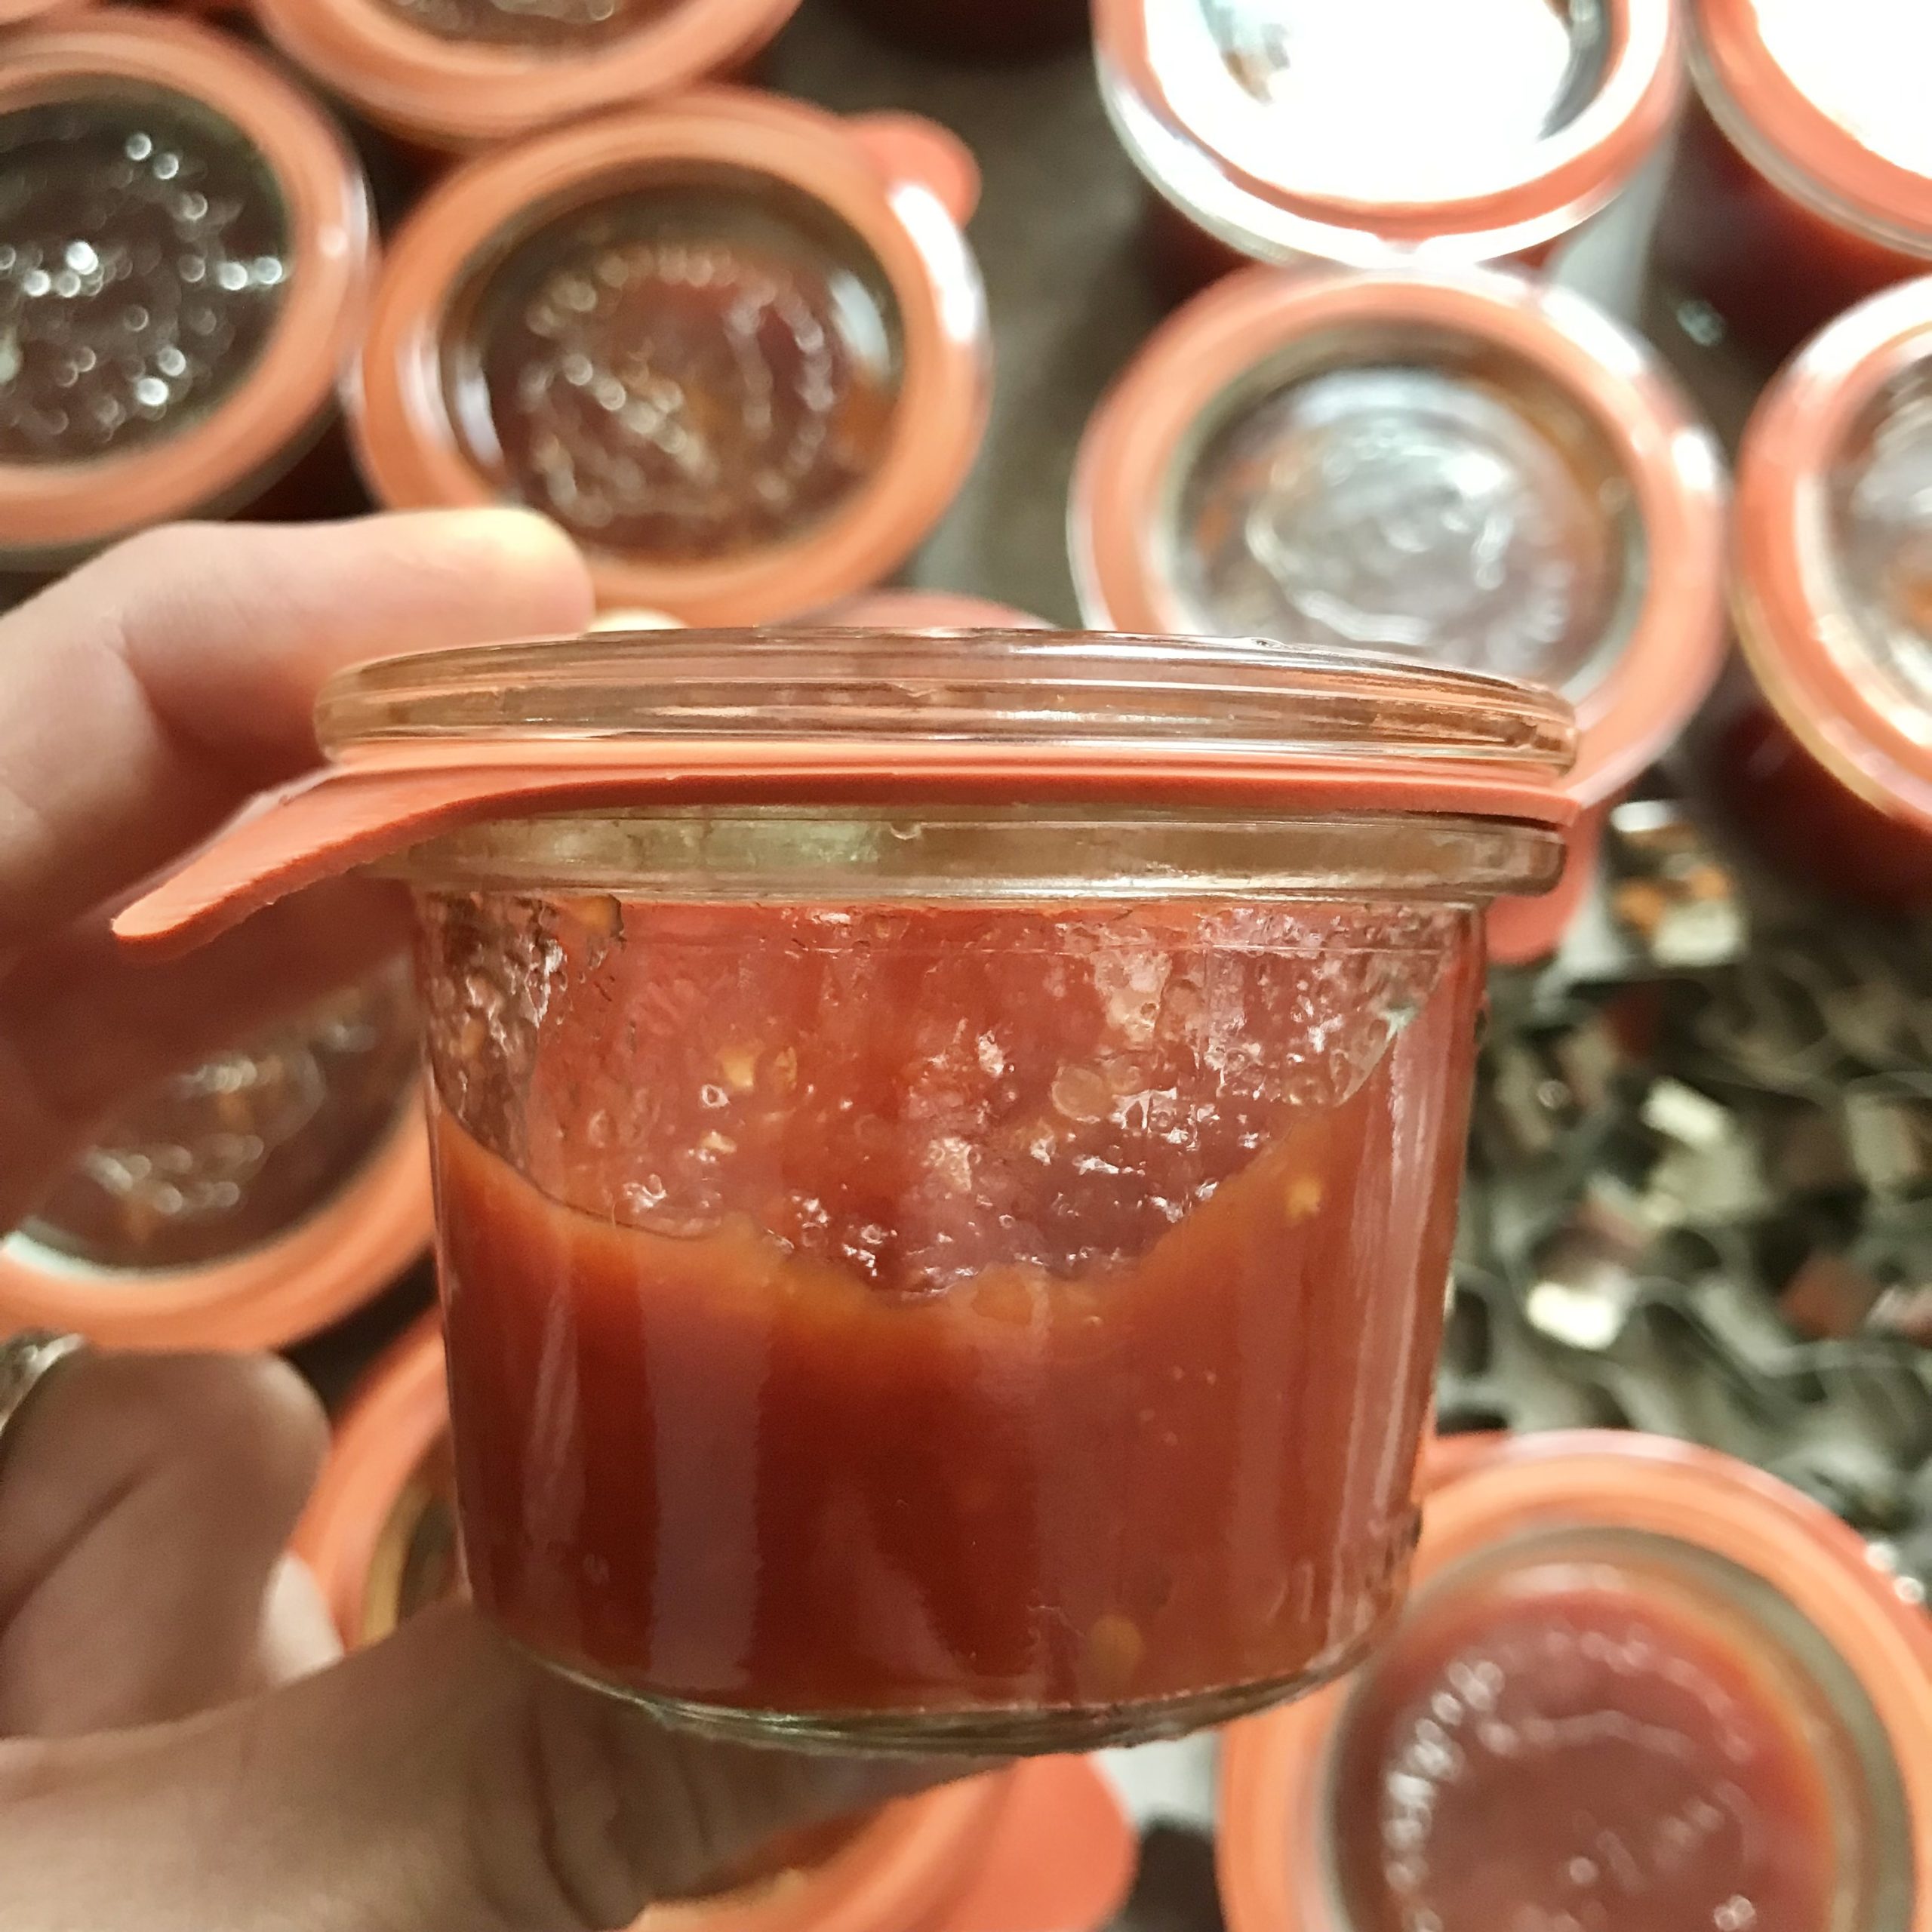
Savory Tomato Jam Recipe
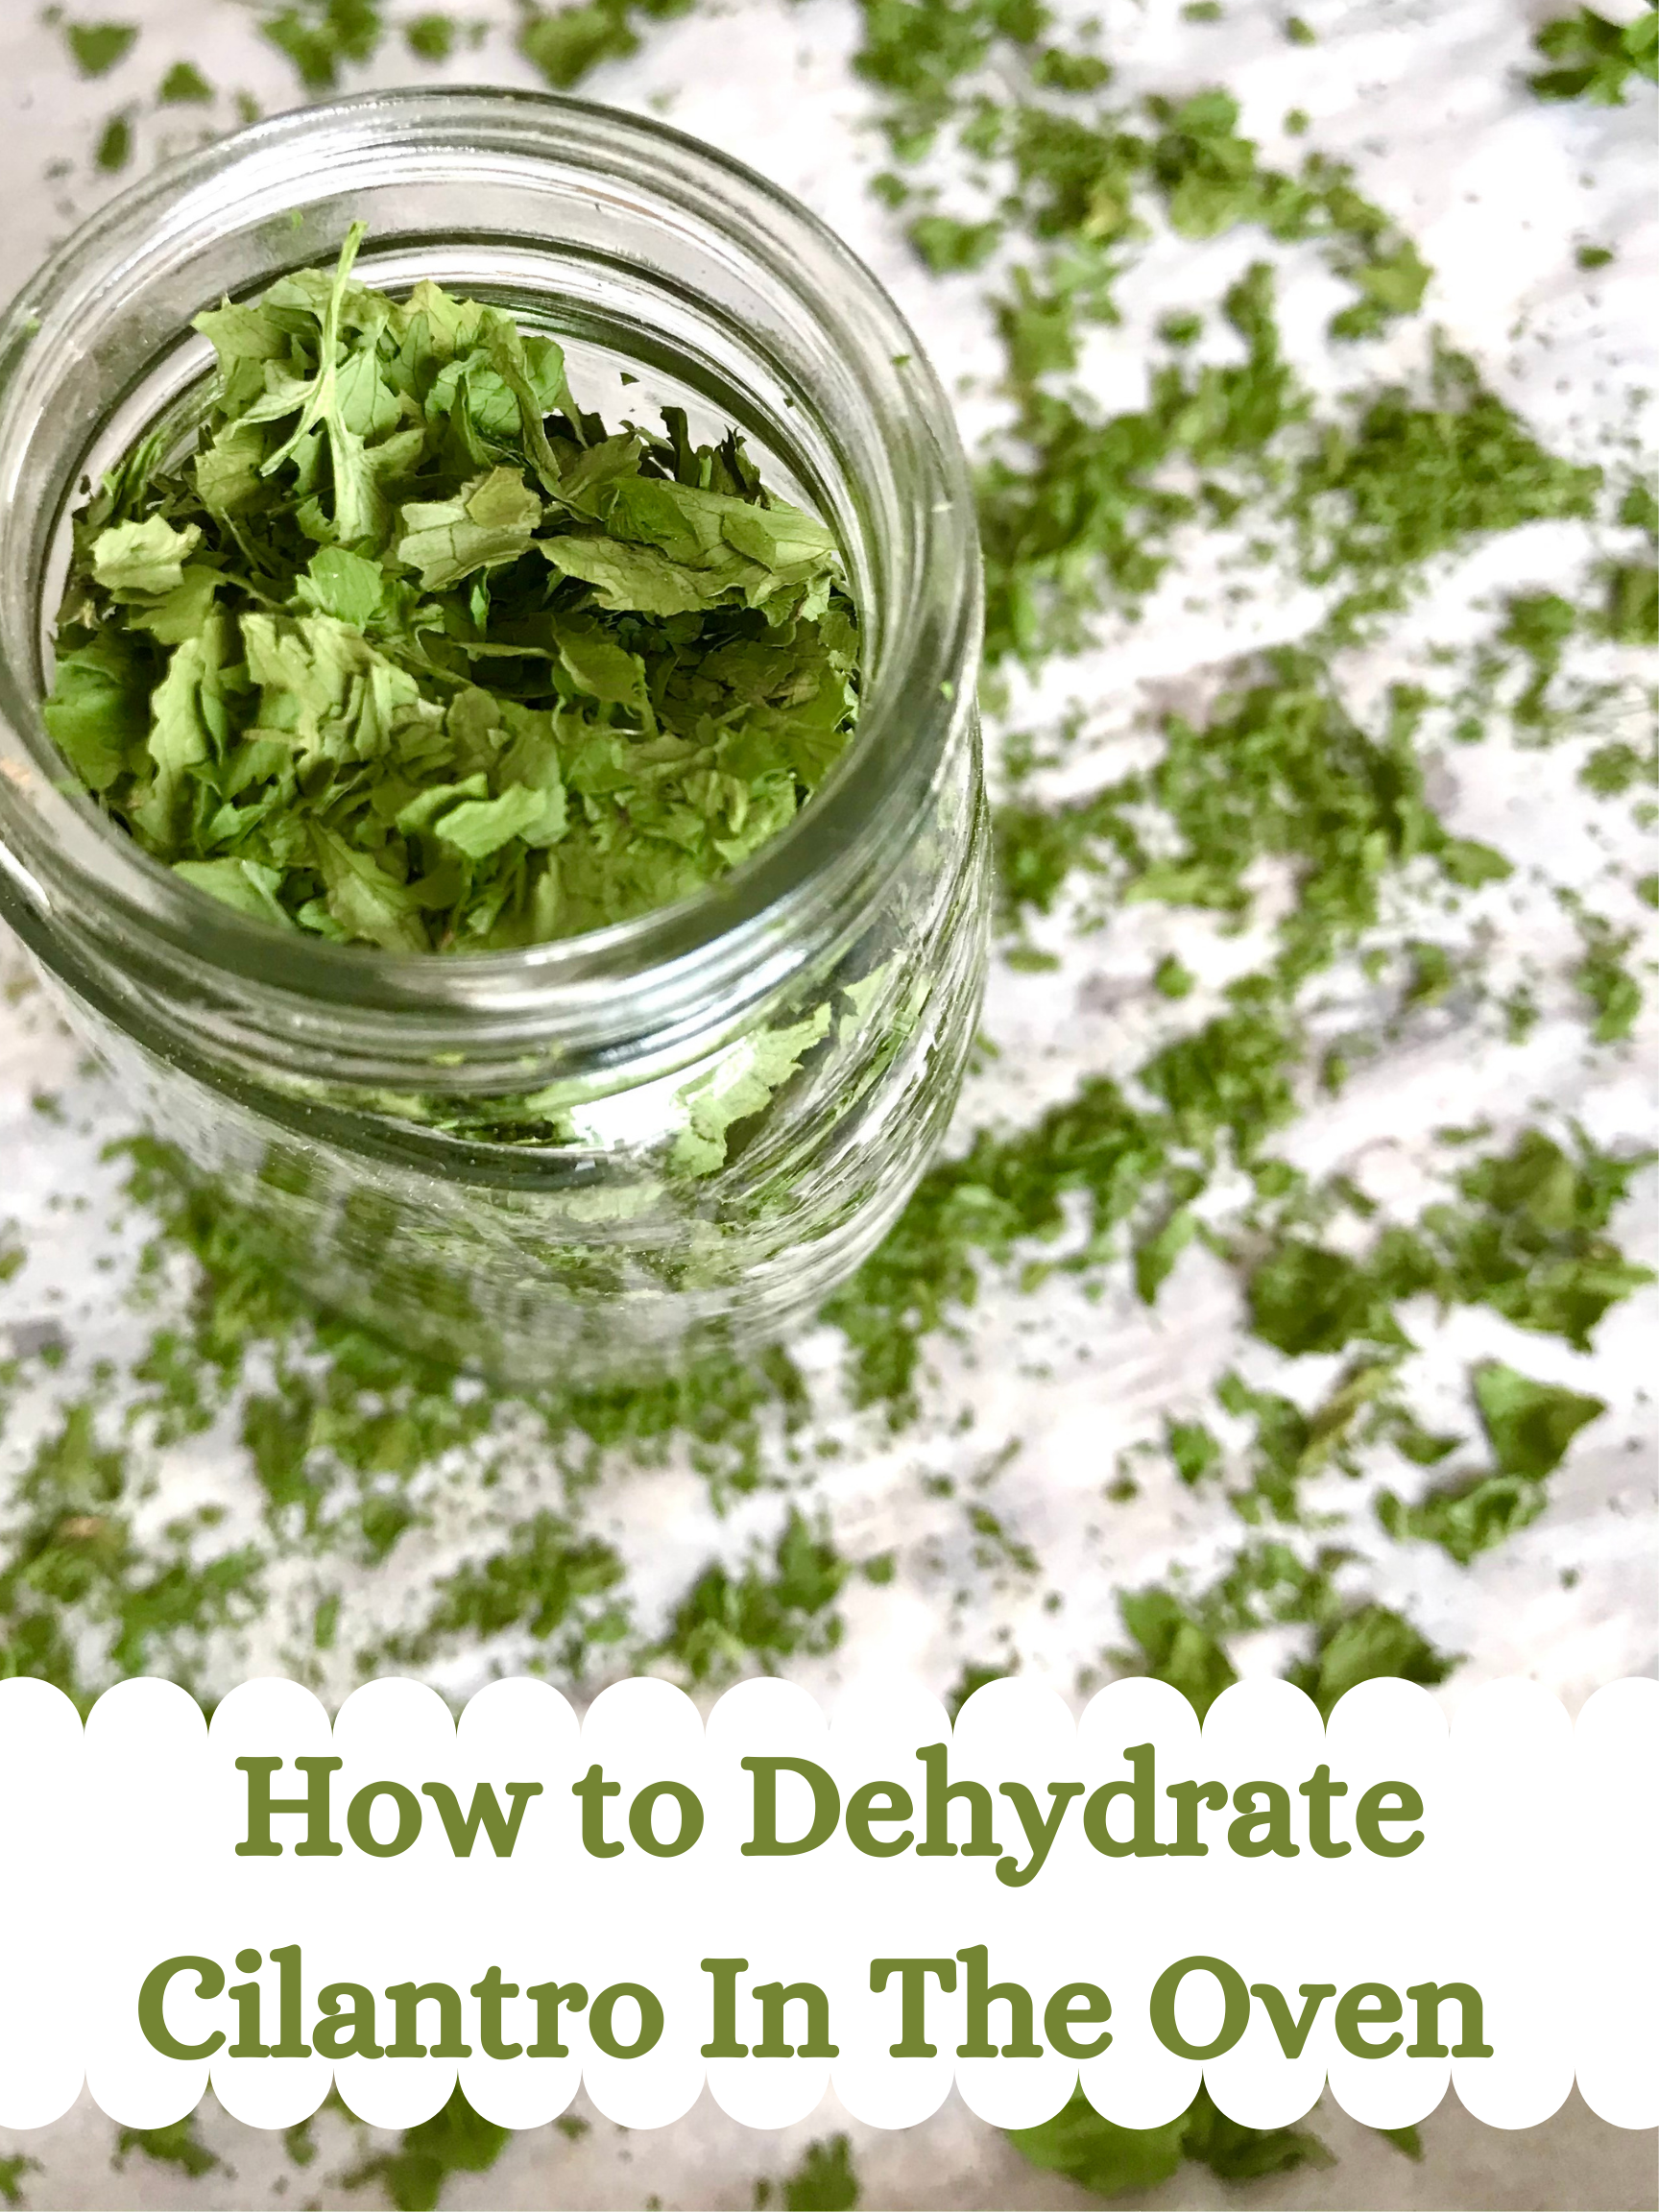
How to Dehydrate Cilantro In The Oven
Classic Strawberry Jam Recipe
Seville Orange Marmalade Recipe
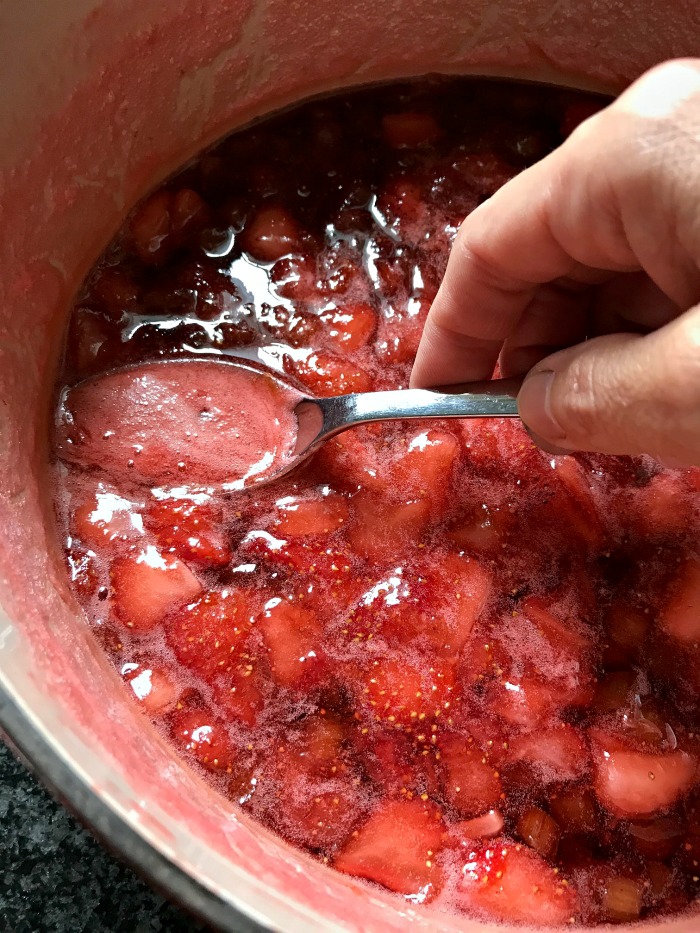
Strawberry Rhubarb Jam Recipe
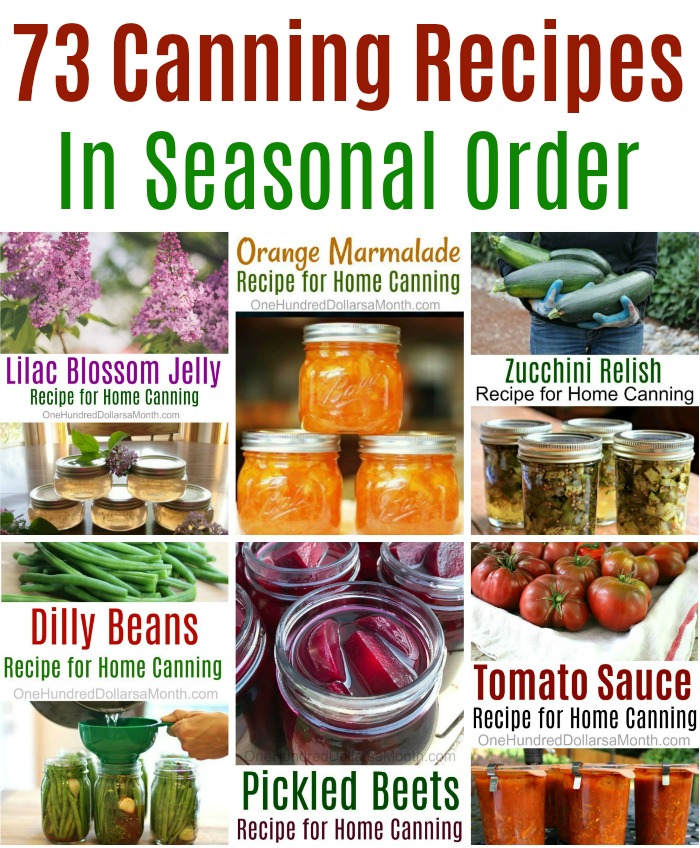
73 Canning Recipes In Seasonal Order
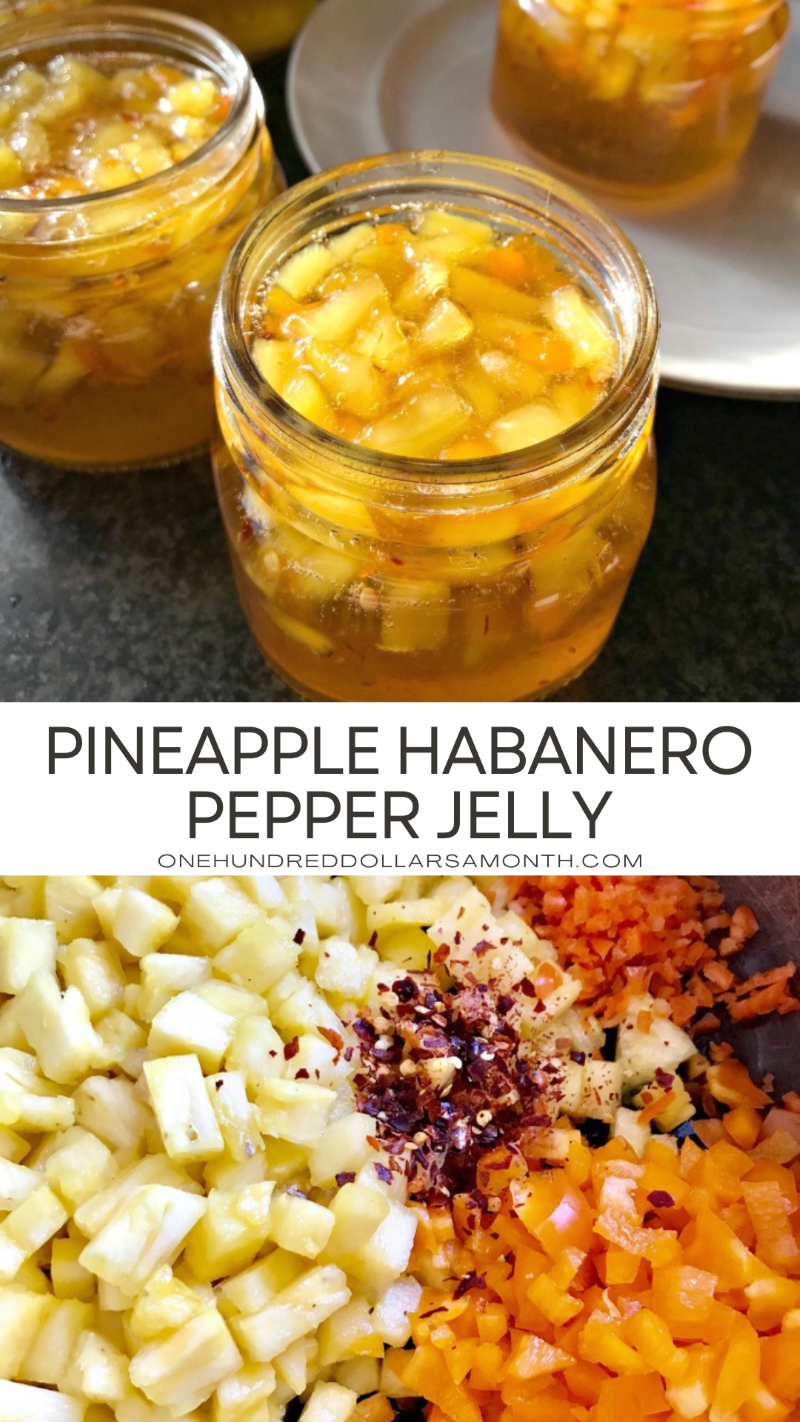
Pineapple Habanero Pepper Jelly
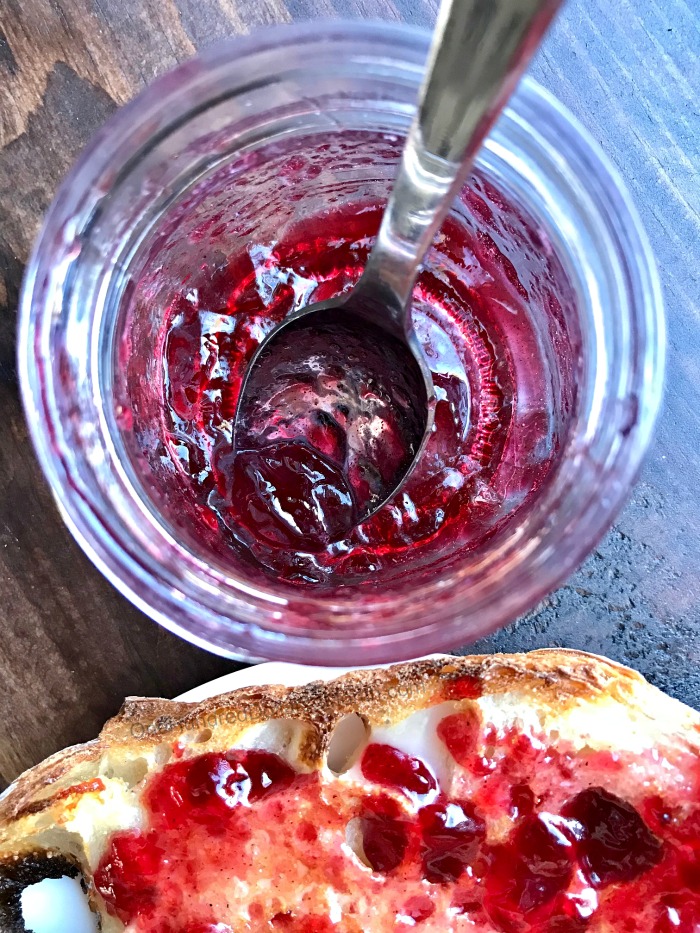
Spiced Pomegranate Jelly Recipe
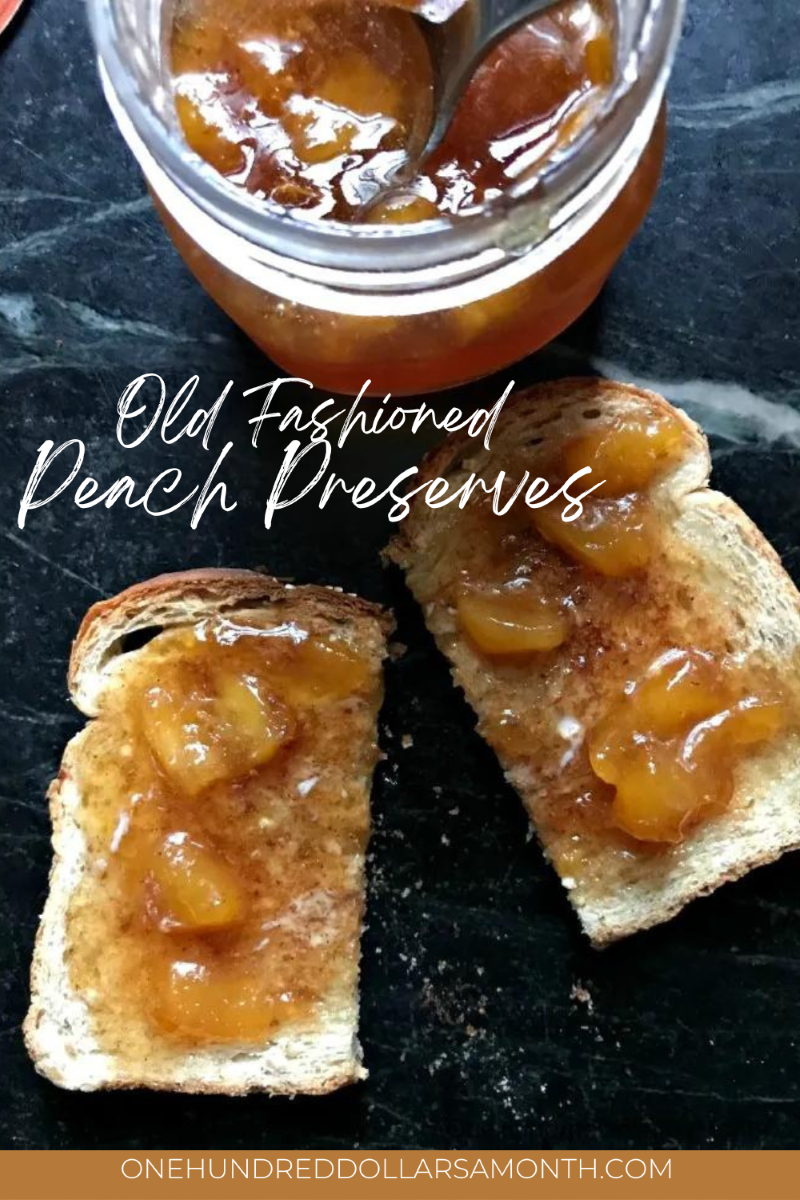
Recipe for Old Fashioned Peach Preserves
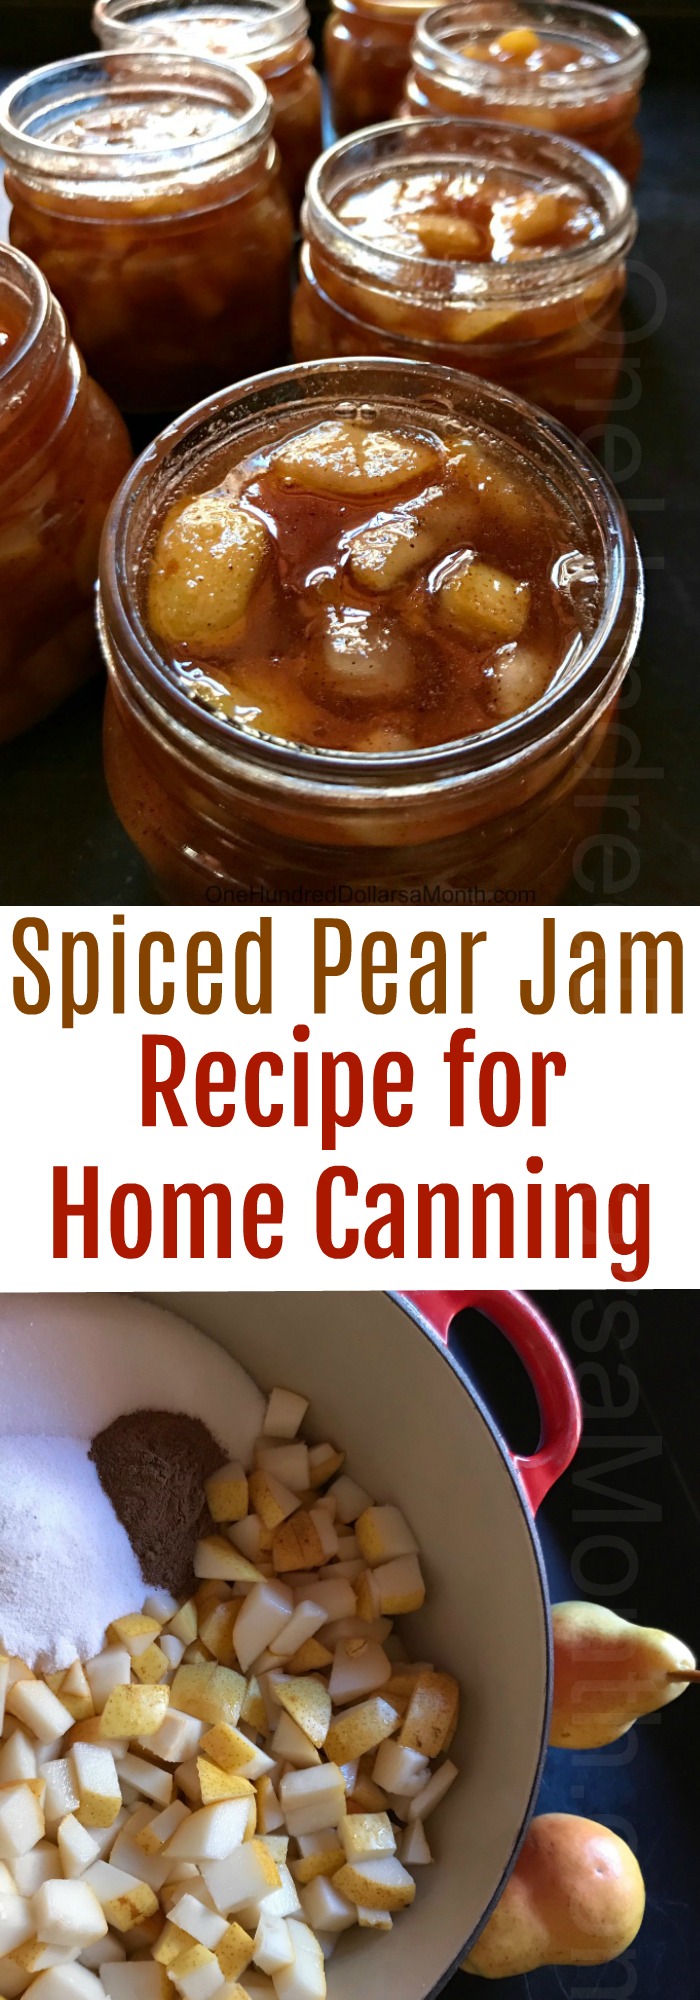
Spiced Pear Jam for Home Canning
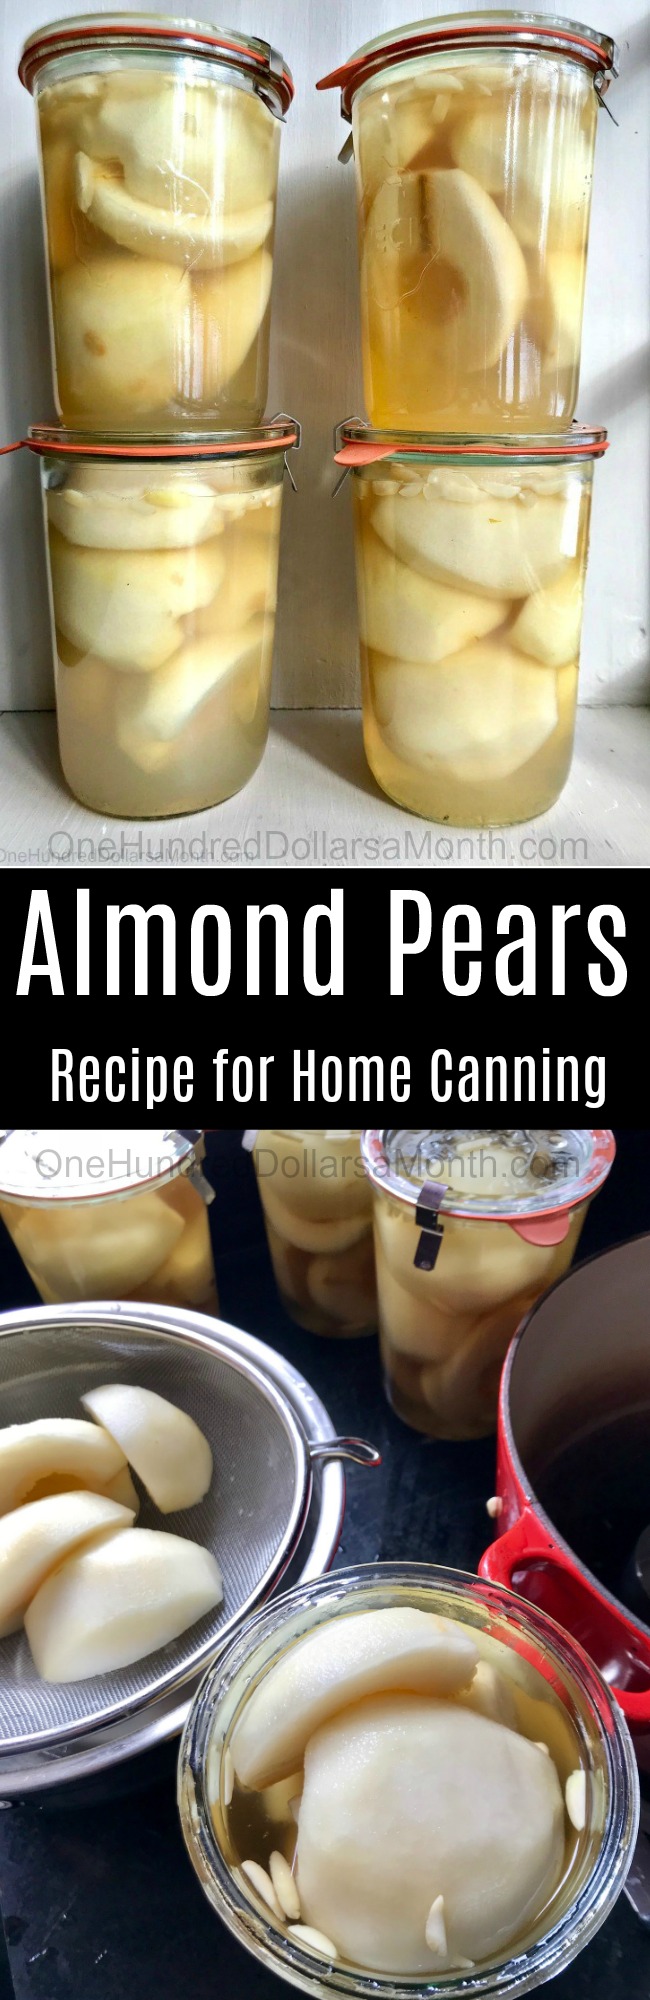
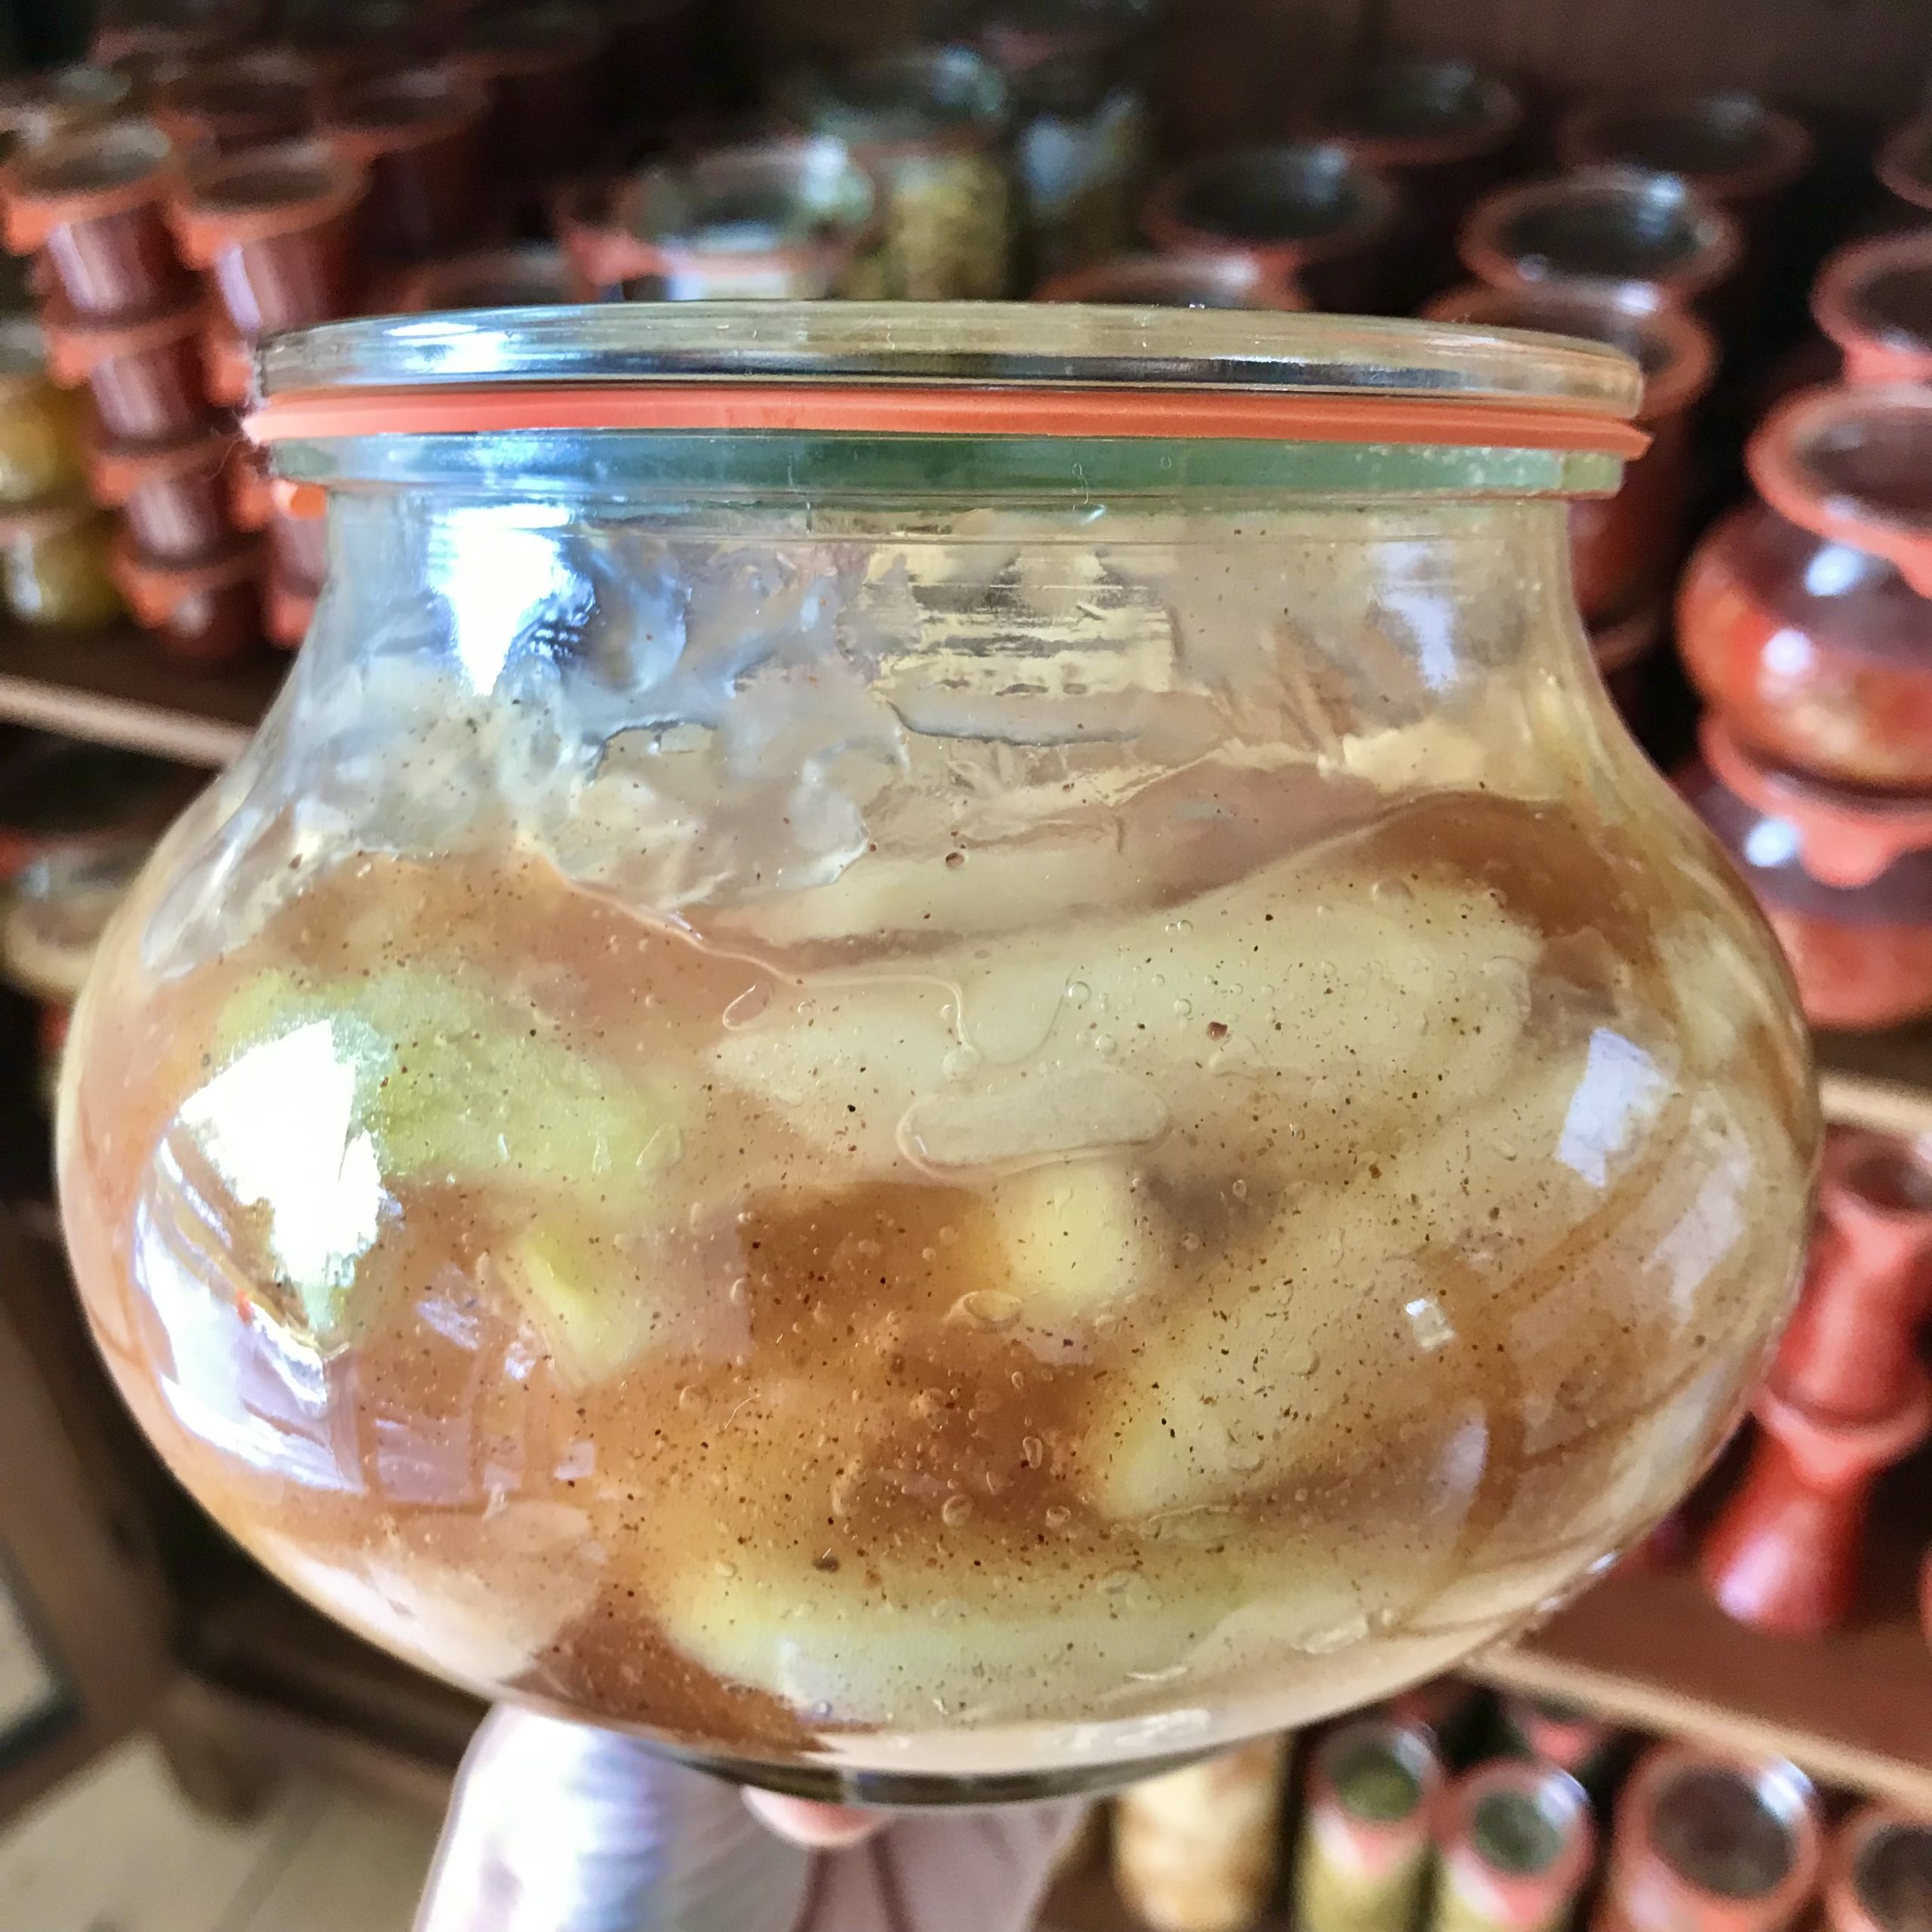
Almond Pears – Home Canning Recipe
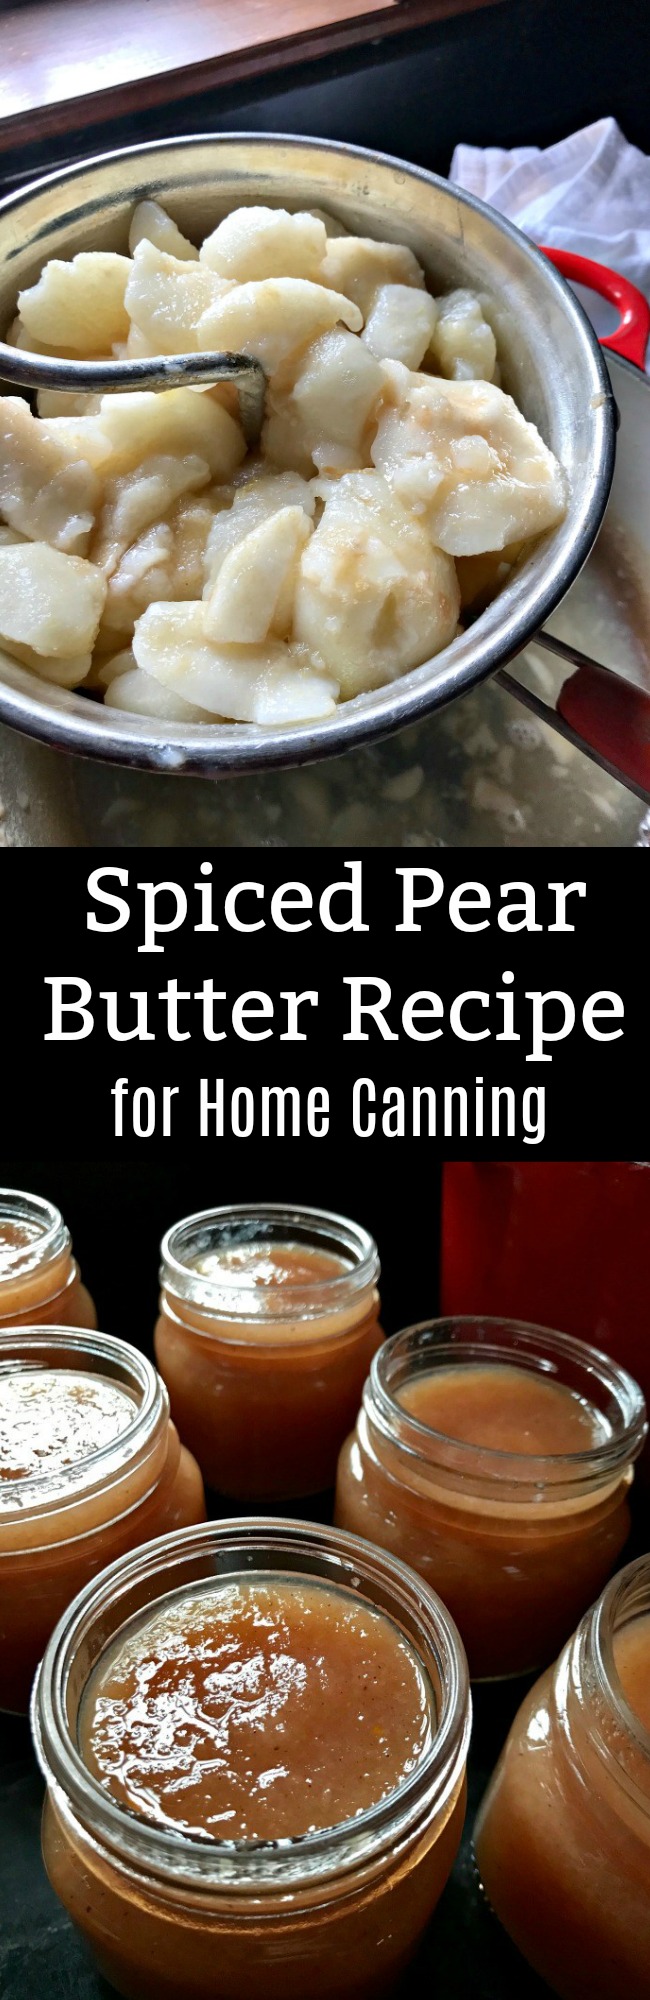
Spiced Pear Butter for Home Canning
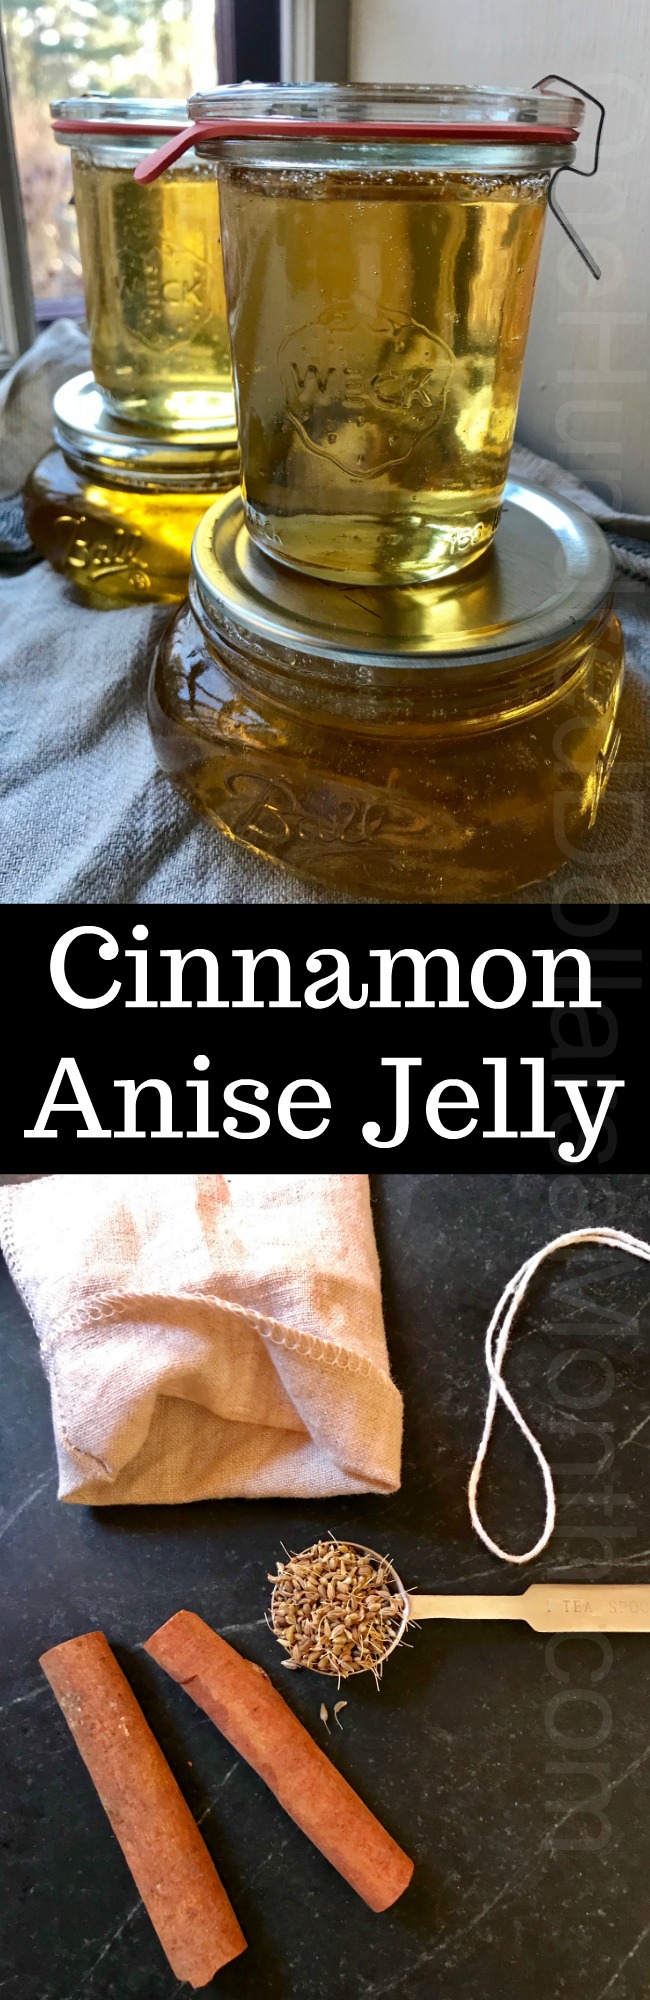
Cinnamon Anise Jelly
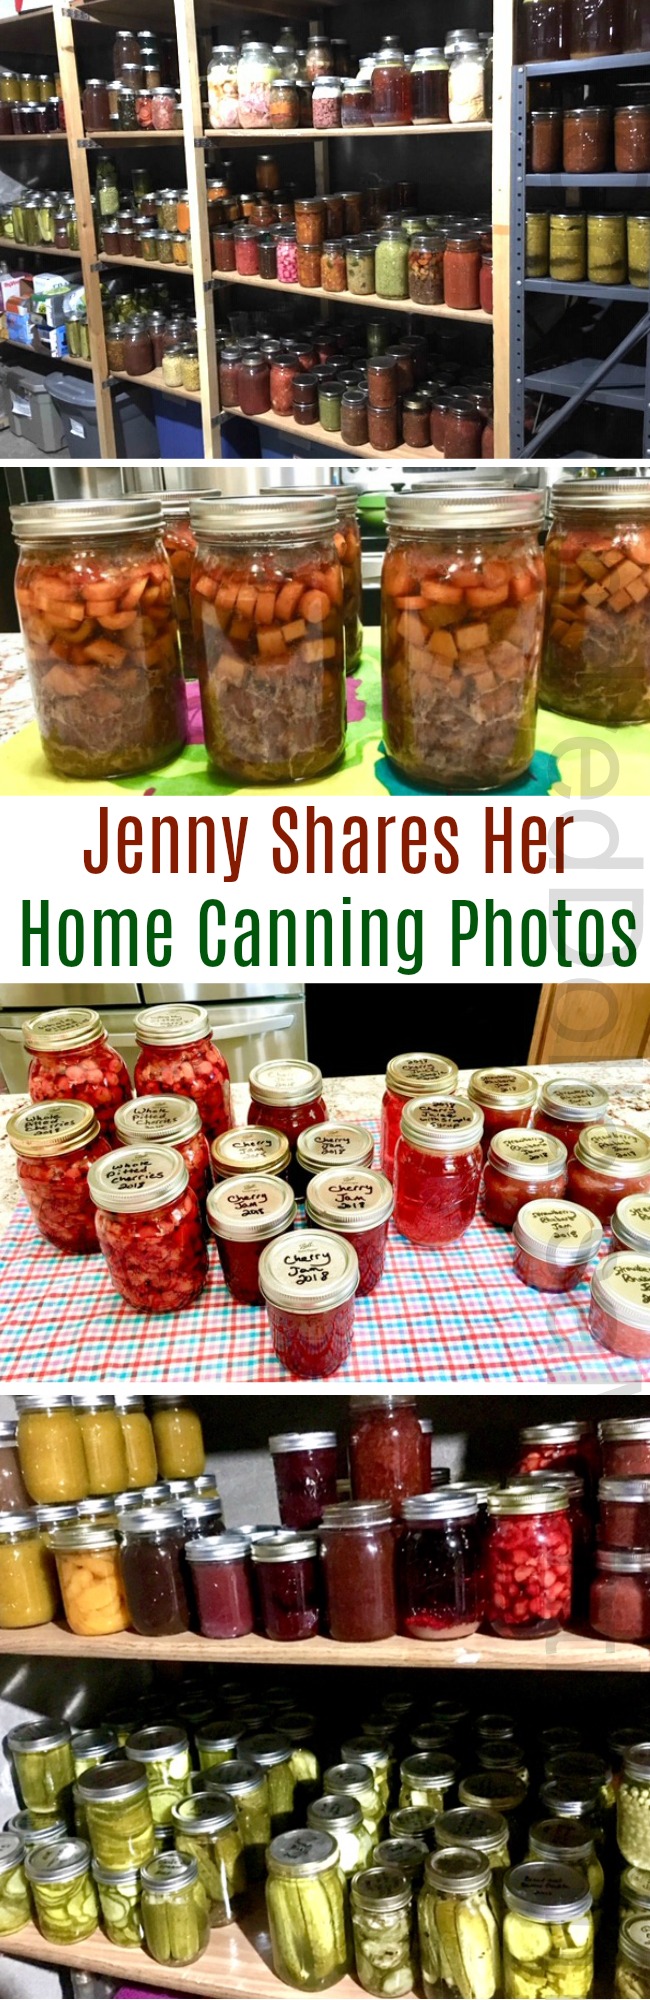
Mavis Mail – Jenny Sends in Her Amazing Canning Photos {WOWZA}
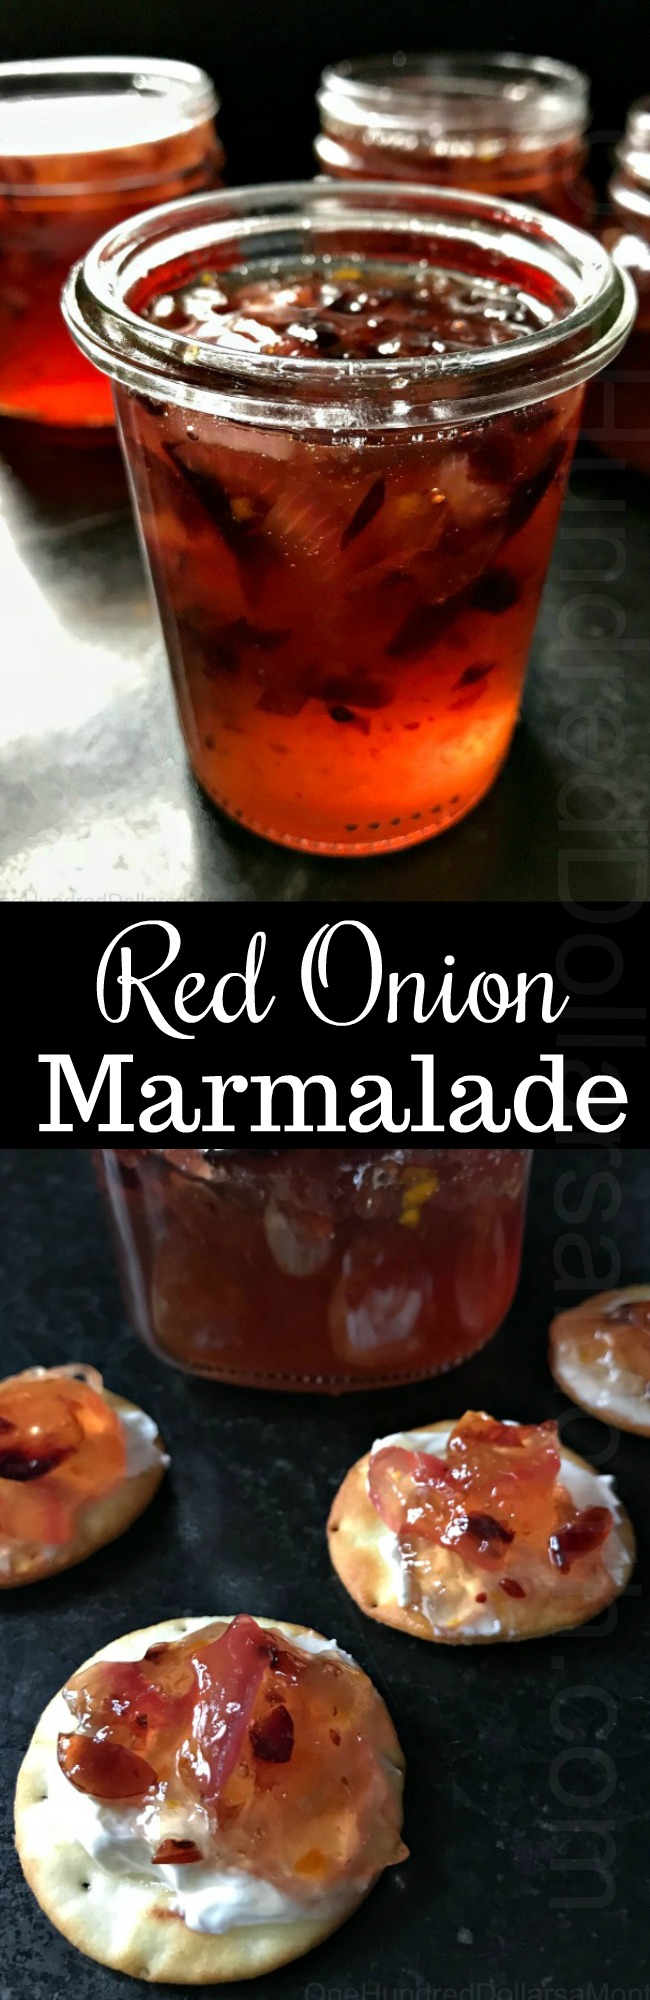
Red Onion Marmalade
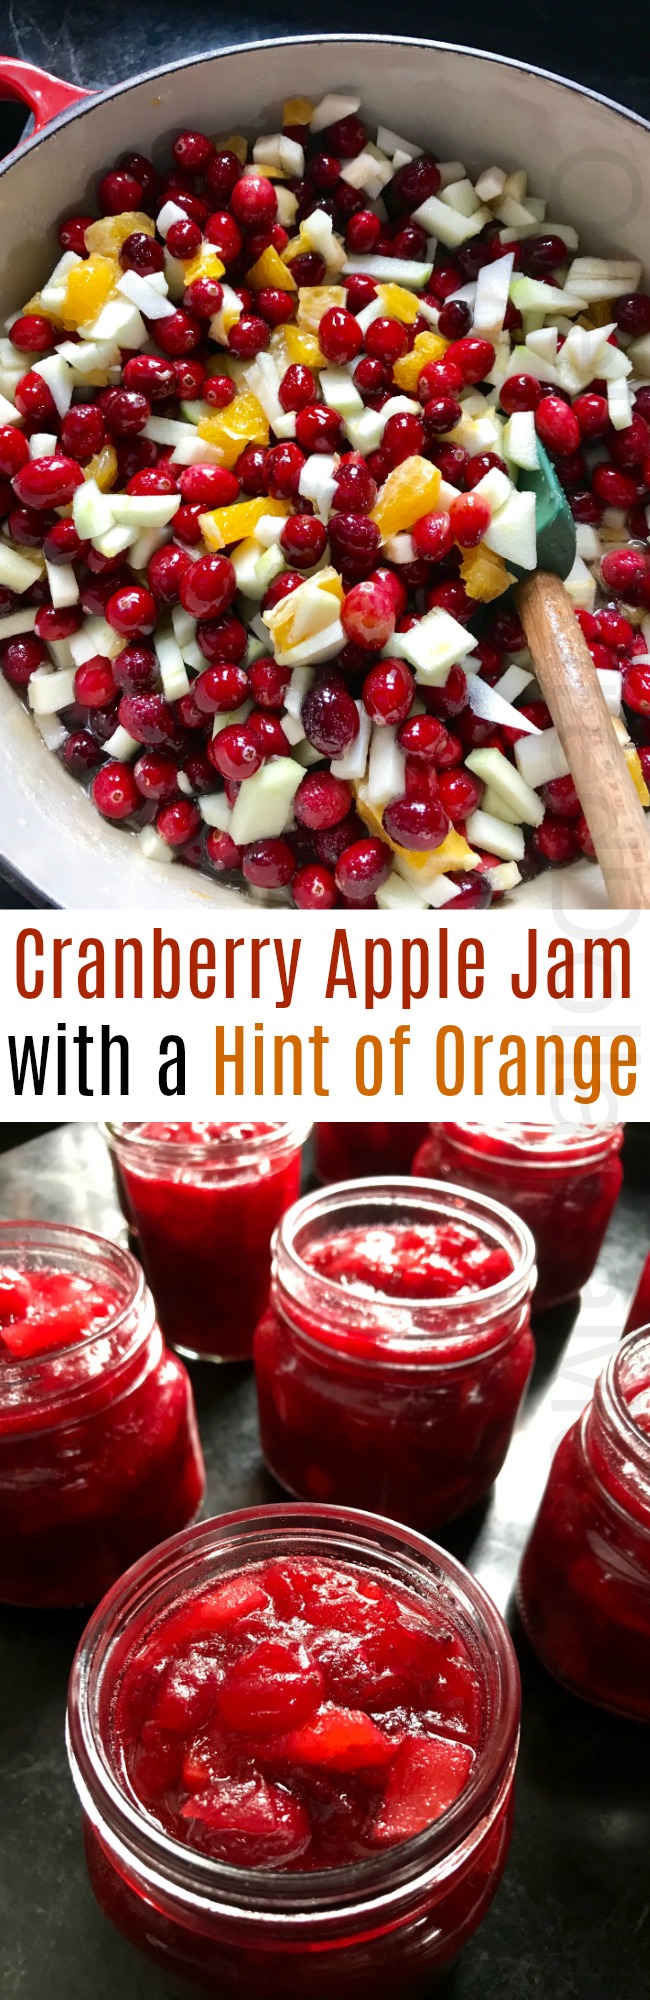
Cranberry Apple Jam with a Hint of Orange
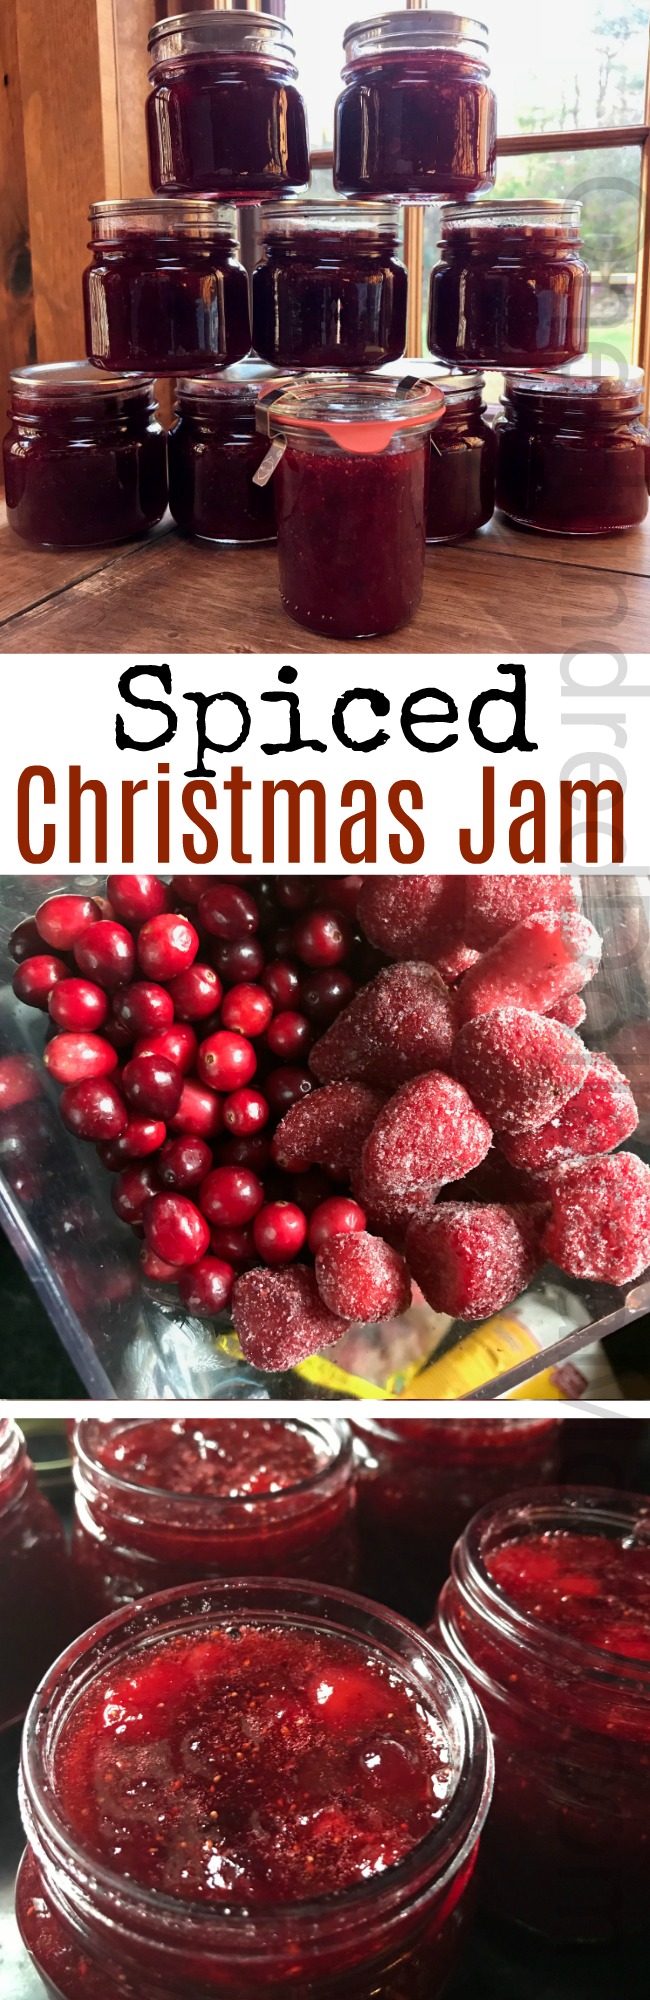
Spiced Christmas Jam
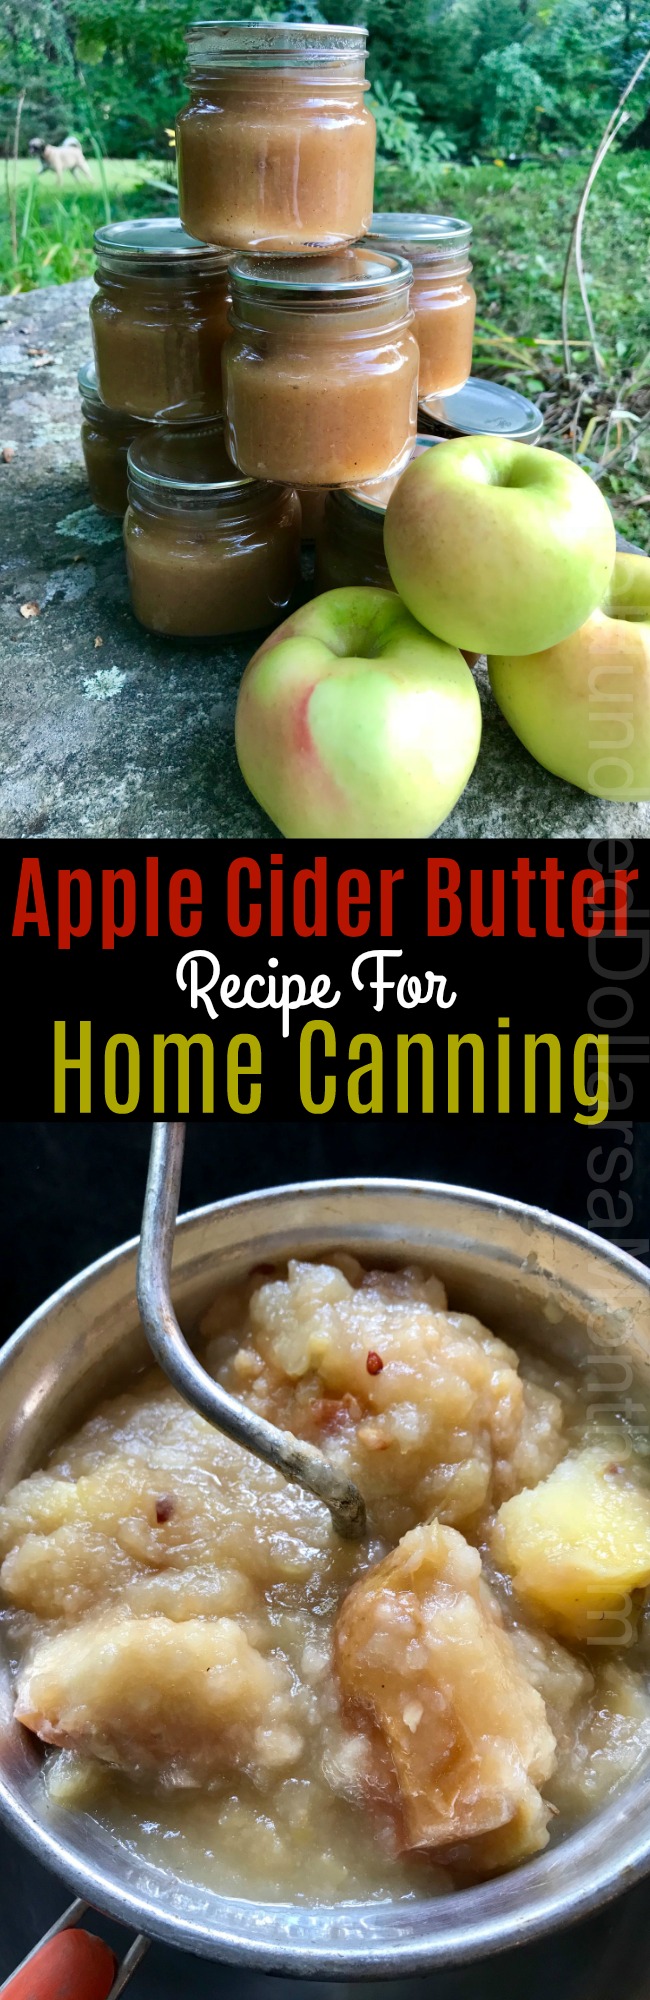
Apple Cider Butter Recipe for Home Canning
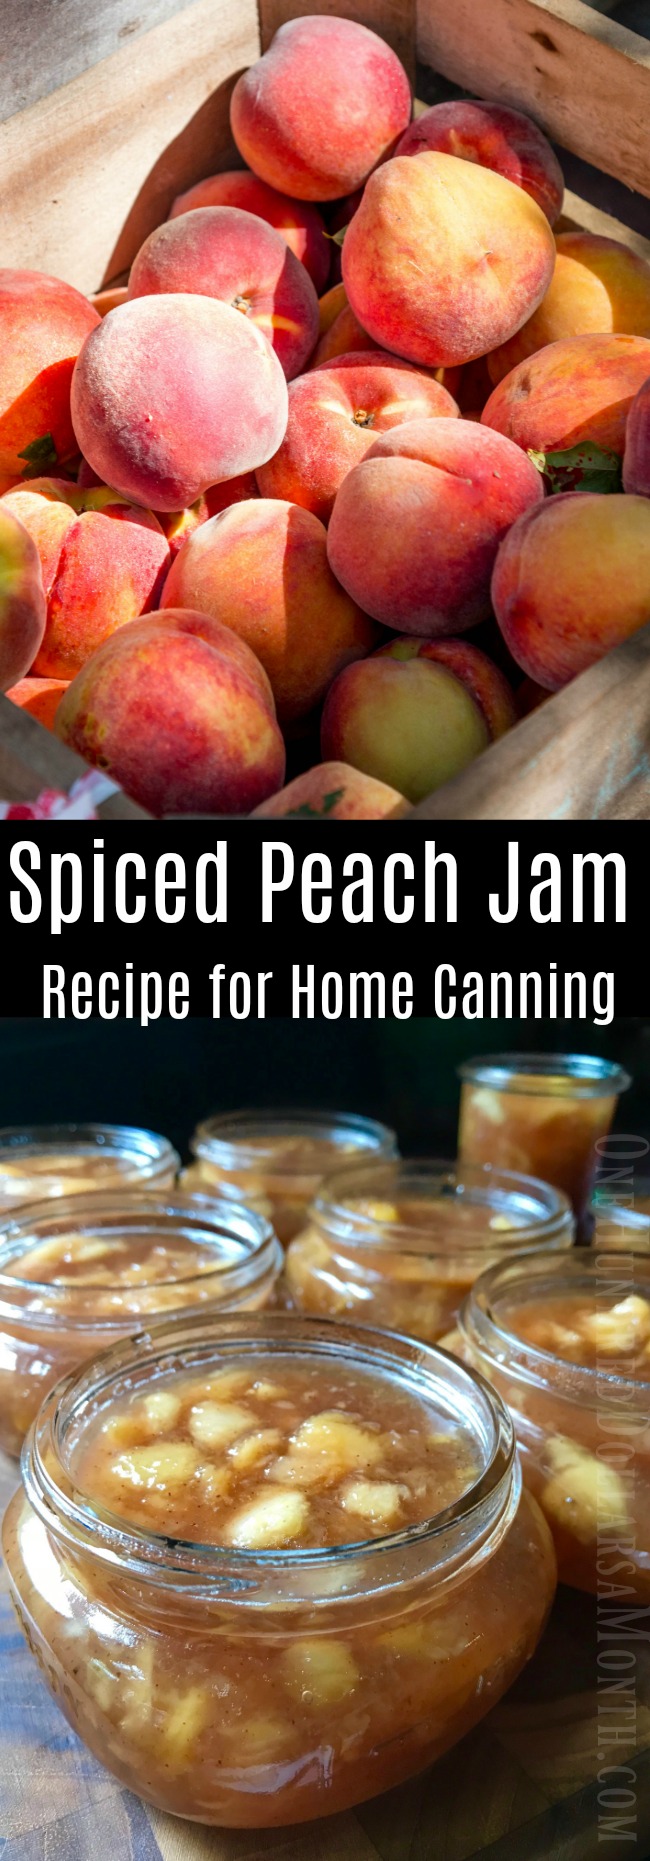
Home Canning – Spiced Peach Jam Recipe
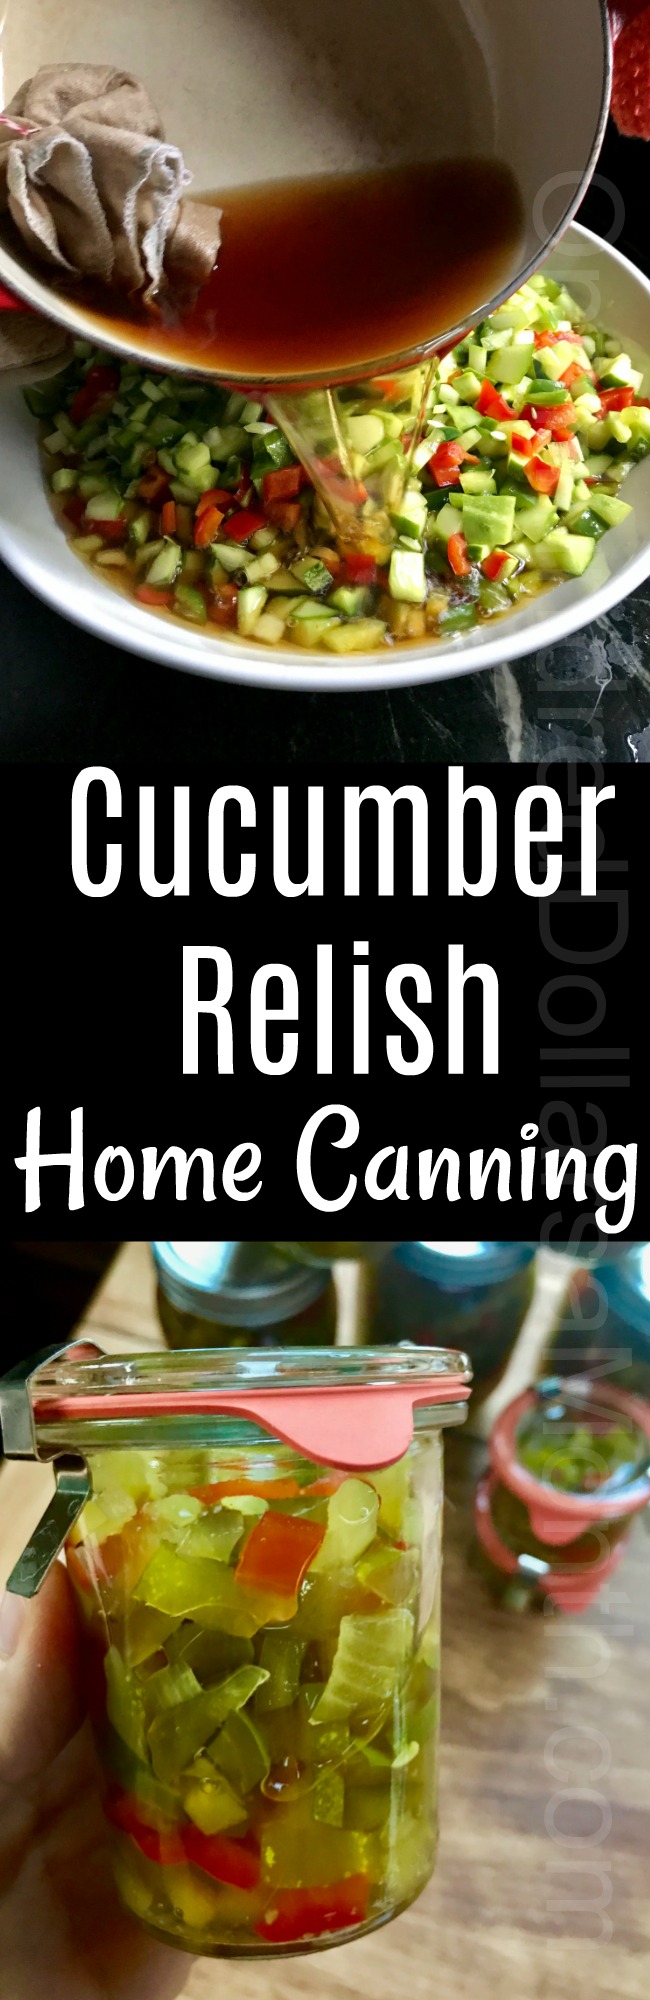
Cucumber Relish – For Home Canning
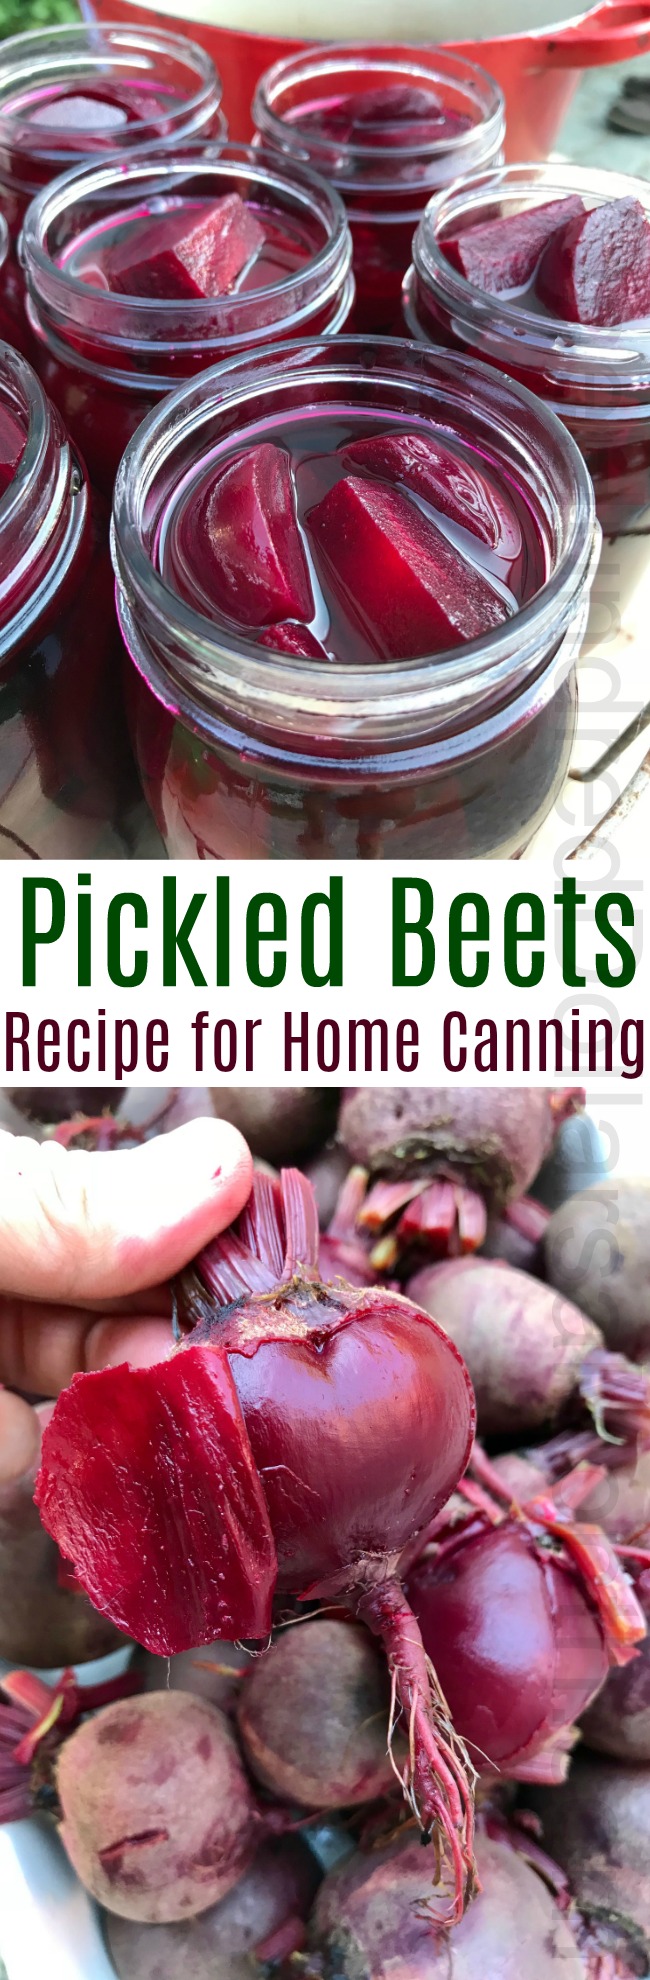
Canning Recipe for Old Fashioned Pickled Beets {No Funky Spices!}
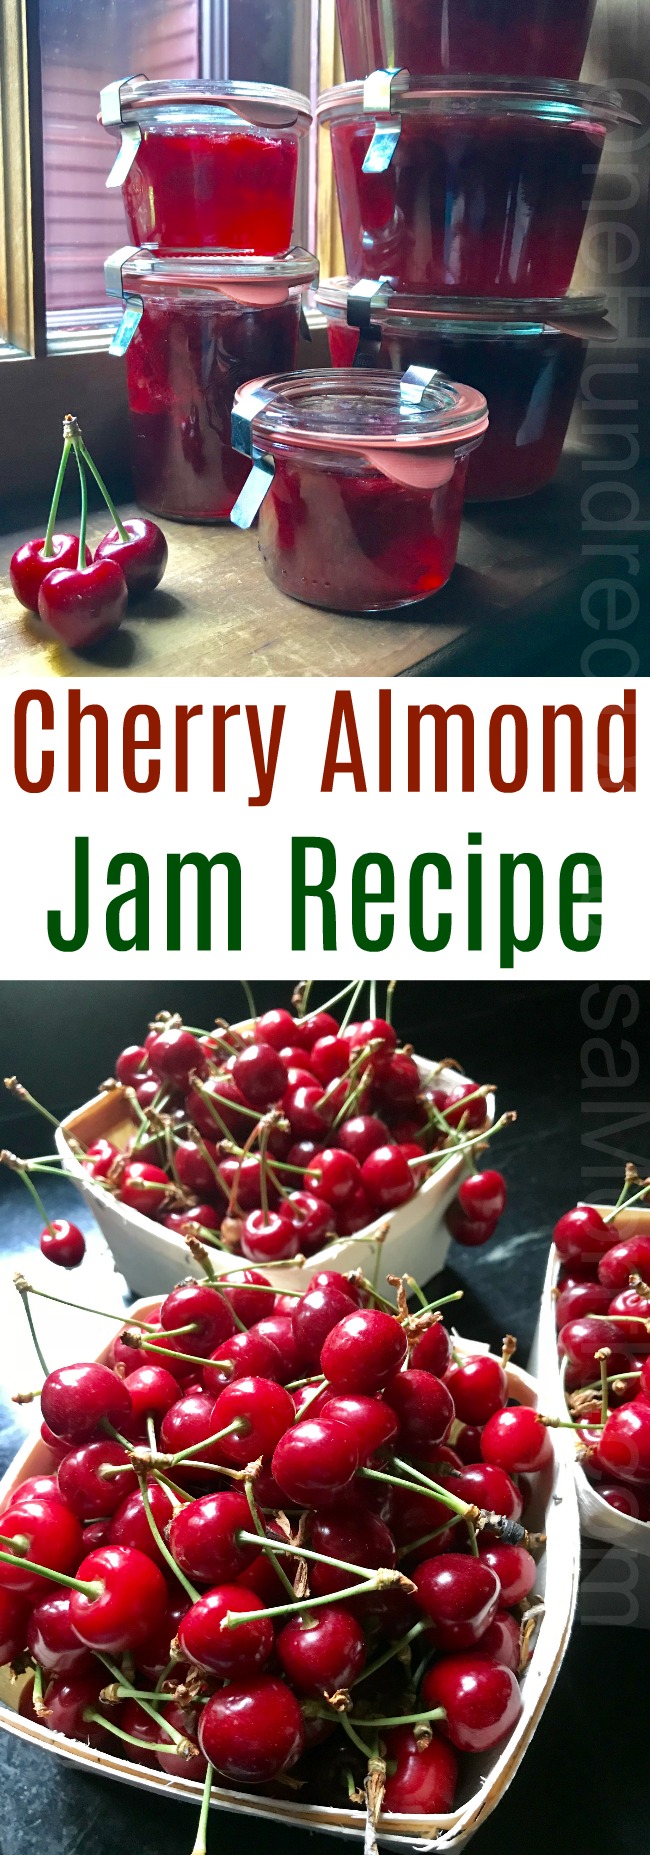
Cherry Almond Jam Recipe {It’s AMAZING!!!}
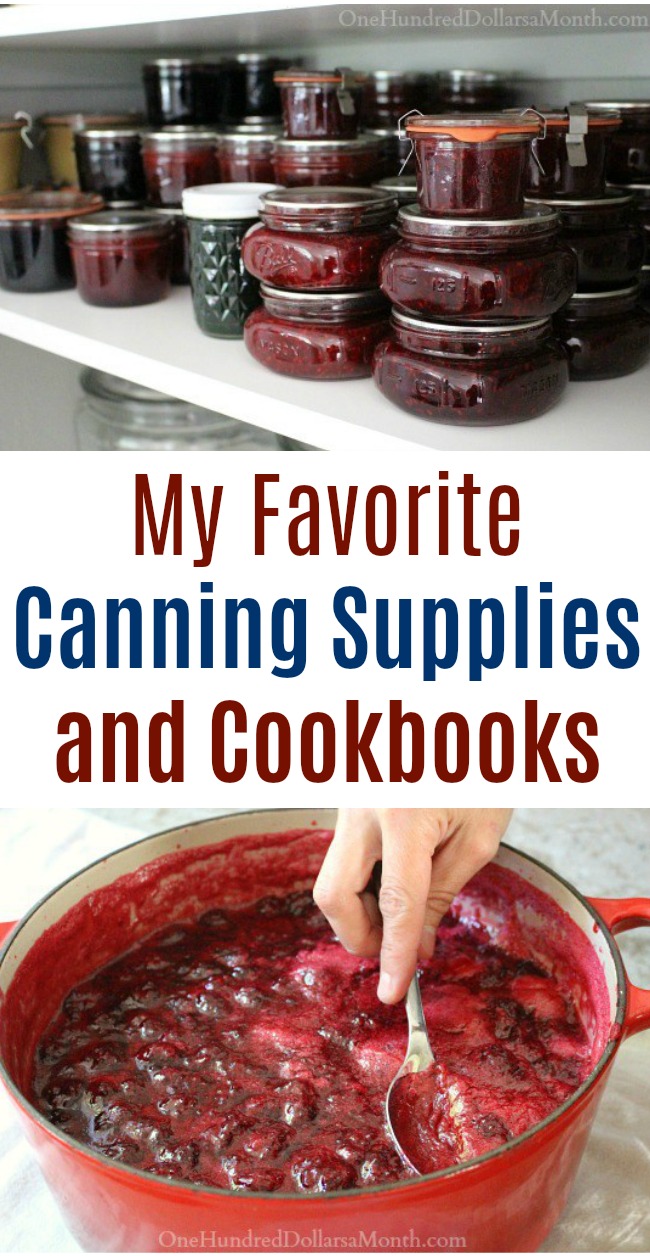
My Favorite Canning Supplies and Cookbooks
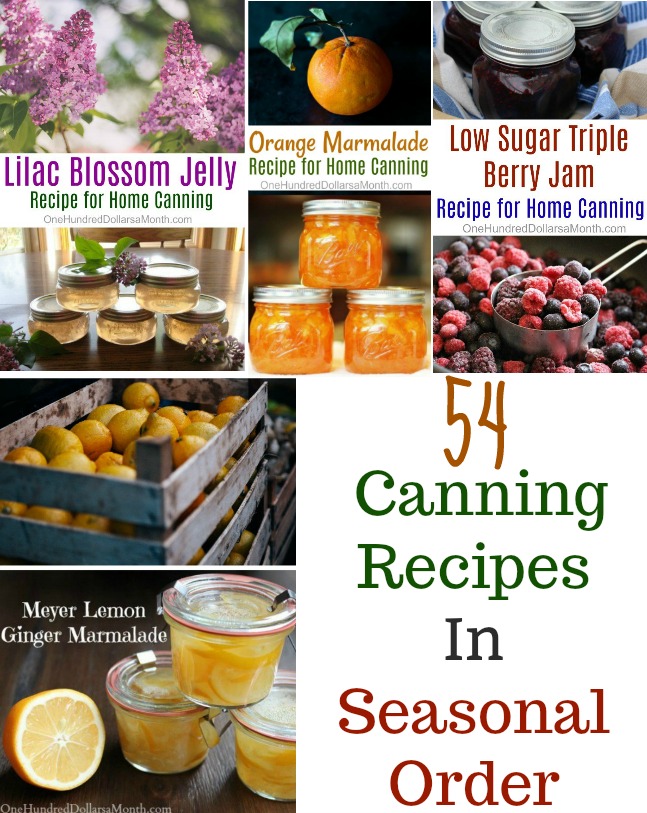
54 Canning Recipes In Seasonal Order
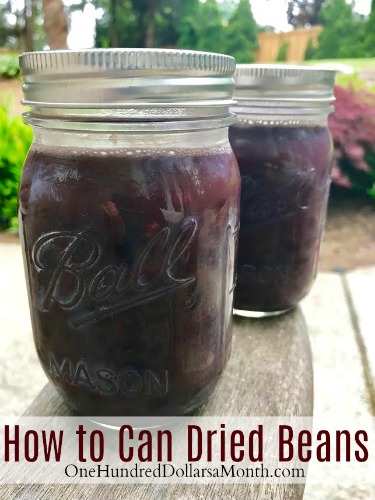
How to Can Dried Beans
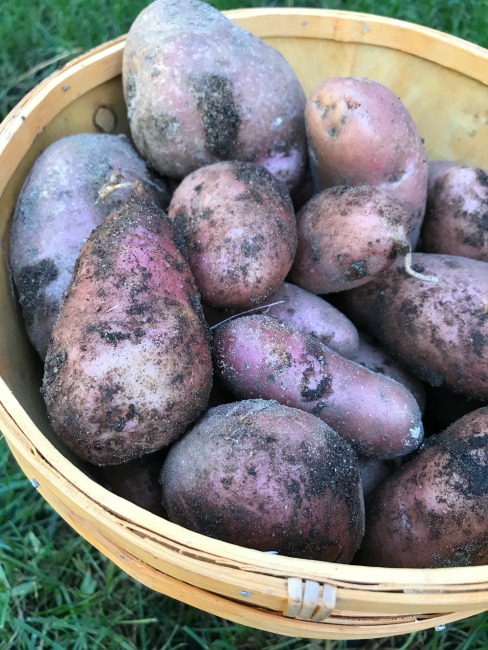
11 Ways to Use Up and Preserve Fresh Potatoes
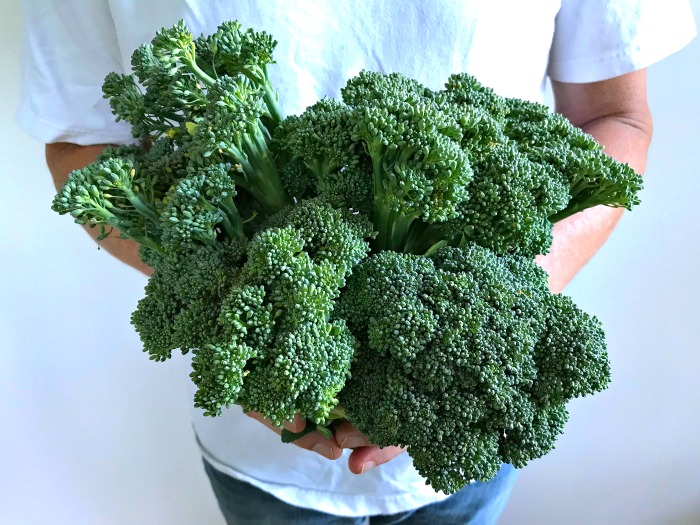
7 Ways to Use Up and Preserve Fresh Broccoli
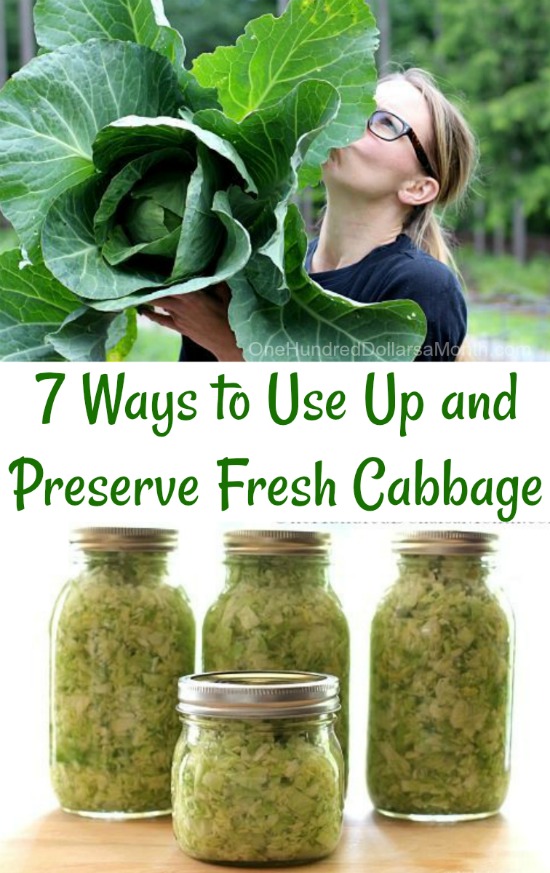
7 Ways to Use Up and Preserve Fresh Cabbage
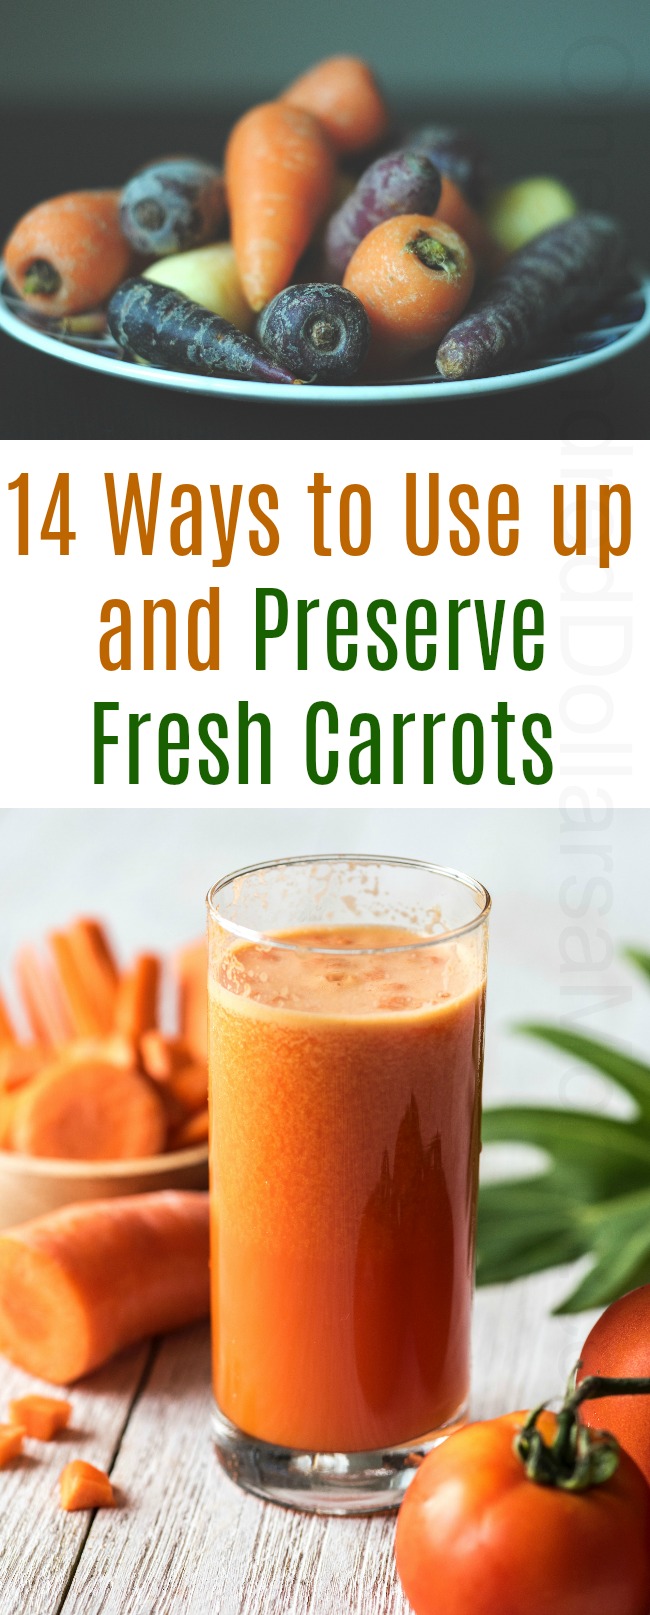
14 Ways to Use up and Preserve Fresh Carrots
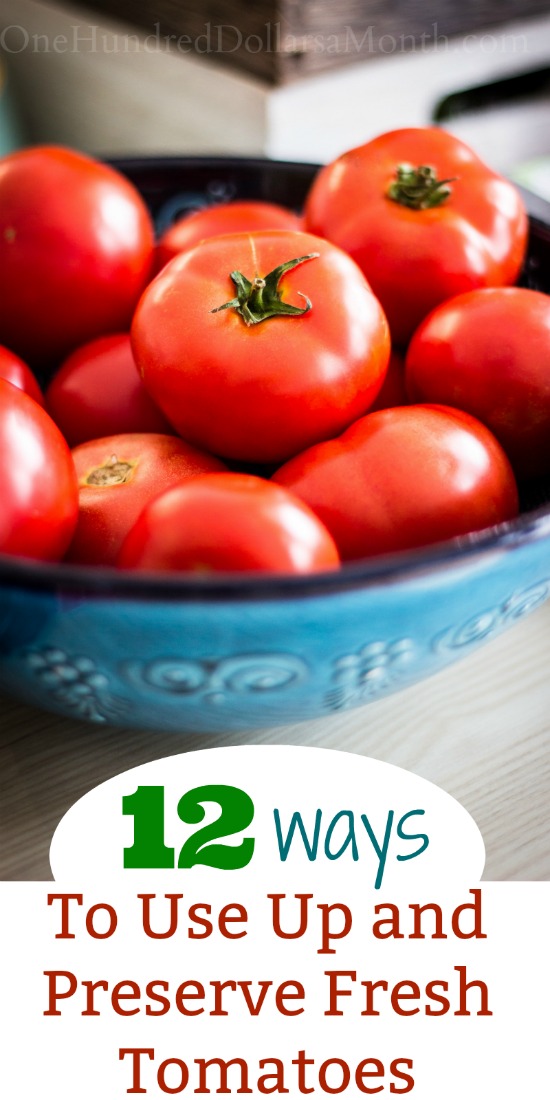
12 Ways to Use Up and Preserve Fresh Tomatoes
13 Ways to Use Up and Preserve Fresh Blackberries
12 Ways to Use Up and Preserve Fresh Peaches